The Secret to the Perfect Flake Classic Allbutter Pie Crust
- Banish the Soggy Bottom: Why This Butter-Based Recipe Reigns Supreme
- The Foundation of Flakiness: Unpacking the Magic of Homemade Pie Crust
- The Essential Building Blocks for Superior Dough Structure
- Mastering Ingredient Temperature: The Cold Truth About Success
- Step-by-Step Dough Development: Achieving the Ideal Shaggy Mass
- The Essential Chill Period: Why Resting Matters for Your Homemade Pie Crust
- Troubleshooting Common Dough Dilemmas and Fixes
- Storage Solutions: Keeping Your Crust Dough Fresh for Later Use
- Recipe FAQs
- 📝 Recipe Card
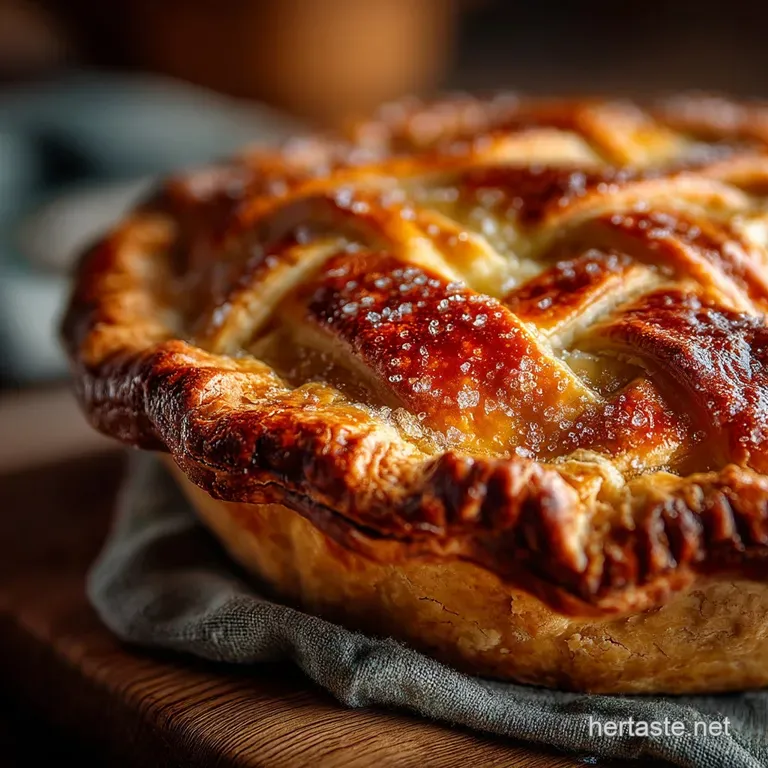
Banish the Soggy Bottom: Why This Butter Based Recipe Reigns Supreme
There is a monumental difference between the dough you buy pre-rolled and the glorious, shattering texture achieved only by making your Homemade Pie Crust from scratch.
Too often, home bakers settle for convenience, but when it comes to the foundation of a truly memorable dessert or savoury tart, compromise simply isn't an option. This recipe is designed to deliver that shatteringly flaky, deeply flavourful, and sturdy base that holds up beautifully to wet fillings.
Forget everything you think you know about tricky pastry; mastering this technique is about understanding the relationship between temperature and fat, resulting in a Buttery Pie Crust that becomes the star, not just the support.
The Foundation of Flakiness: Unpacking the Magic of Homemade Pie Crust
The true joy of baking lies in transforming simple raw components flour, fat, and water into something exquisite. This guide focuses on building structural integrity and supreme flavour into what many consider the most daunting part of pie making.
By focusing on method, you’ll find that creating a Pie Crust From Scratch is not only achievable but incredibly rewarding.
Elevating Your Baking Game Beyond Pre-Made Discs
When you reach for a pre-made disc, you sacrifice control over every crucial element: the quality of the fat, the salt content, and the hydration level. This Easy Homemade Pie Crust recipe, which yields enough for one double crust pie or two individual 9 inch shells, ensures that every bite is imbued with the rich flavour that only quality butter can provide.
It’s the essential first step to creating classics, whether you are making a Homemade Pie Crust for Apple Pie or something entirely different.
The All-Butter Difference: Flavor vs. Shortening
Many traditional recipes rely on a blend of butter and vegetable shortening. While shortening provides excellent tenderness and flakiness due to its high melting point, it contributes almost nothing to the final taste. Our goal here is maximum flavour, which is why this is an all-butter experience.
The complexity and richness imparted by pure, cold butter elevates this from a simple container to a truly Perfect Pie Crust . If you are looking specifically for a Homemade Pie Crust Without Shortening , this recipe is your answer.
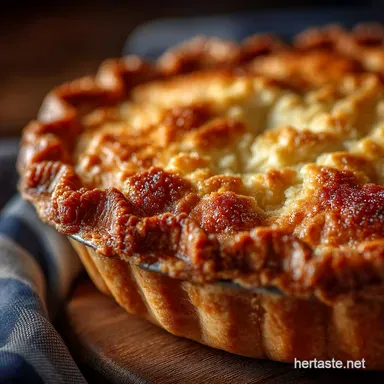
Setting Expectations: What Makes This Dough 'Perfect'?
A perfect crust is a study in contrasts: it must be tender enough to cut easily with a fork, yet robust enough not to tear when handled or become soggy when meeting a hot filling. Achieving this balance means keeping your ingredients extremely cold and handling the dough minimally.
The finished product should have visible layers of fat interspersed throughout the flour matrix these are the steam pockets that create lift and flakiness during baking.
The Essential Building Blocks for Superior Dough Structure
Our definitive recipe calls for just four main components, plus an optional dash of sugar for subtle sweetness, depending on your final application. For the double crust, we combine 2 ½ cups (315g) of all-purpose flour with 1 teaspoon of fine sea salt and, if desired, 1 teaspoon of granulated sugar.
The flavour powerhouse, however, comes from 1 cup (227g) of unsalted butter, cut precisely into ½-inch cubes.
Mastering Ingredient Temperature: The Cold Truth About Success
If there is one absolute golden rule for achieving sublime flakiness in your Homemade Pie Crust Recipe , it is this: everything must be cold. Fat and water work together, but only if the fat retains its structure until it hits the heat of the oven.
Precise Measurements for a Reliable All-Butter Crust
Accuracy ensures consistency. While some rustic baking allows for guesswork, pie crust benefits immensely from precision. Ensure your 1 cup of butter is measured after being cubed, and weigh your flour if possible (aiming for about 315g spooned and leveled).
Sourcing Your Flour: Choosing the Right Protein Content
We rely on standard all-purpose flour, which offers a moderate protein level. This provides enough structure to support a heavy filling, without causing excessive gluten development that would lead to toughness. Too much gluten development ruins the tenderness you are striving for.
The Critical Role of Ice Water and Vodka (The Secret Softener)
Hydration is added in the form of ice water, usually requiring between 6 to 8 tablespoons (90 120 ml). The ice is crucial; the cold water shocks the flour, preventing the gluten strands from fully aligning.
For an even lighter, more tender crust a technique often employed in professional kitchens you can substitute up to half of the required water with ice-cold vodka. The alcohol evaporates rapidly in the oven, leaving behind less residual moisture, which significantly aids in achieving a delicate texture.
Related Recipes Worth Trying
- The Best AllButter Pie Crust Recipe for Flaky Results — Forget shortening This foolproof all butter pie crust recipe uses grated frozen butter for the flakiest most flavourful pastry imaginable Master this...
- The Only Homemade Chocolate Syrup Recipe Youll Ever Need — Forget watery storebought syrup Learn how to make a rich velvety Homemade Chocolate Syrup in under 20 minutes Perfect for ice cream and milkshakes
- The Only Homemade Chocolate Sauce Recipe Youll Ever Need — Forget jars This simple chocolate sauce recipe delivers a thick decadent homemade sauce ready in 15 minutes Perfect for ice cream or churros
Step-by-step Dough Development: Achieving the Ideal Shaggy Mass
With your cold ingredients assembled, the next phase is incorporating the fat. Begin by whisking the flour and salt together in a large mixing bowl. Then, introduce the chilled, cubed butter.
Using a pastry blender or, even better, your fingertips (working quickly so your hand heat doesn’t warm the butter), cut the fat into the flour until the mixture resembles coarse meal peppered with distinct, pea-sized pieces of butter. These pieces are the very pockets that will create separation and flake!
Next, incorporate the ice water, adding it one tablespoon at a time. Toss the mixture gently with a fork between additions. The goal is to moisten the flour just enough so that when you gather the dough, it holds together when squeezed. Stop immediately before it forms a unified, smooth ball.
This resulting "shaggy mass" is exactly what we are looking for.
The Essential Chill Period: Why Resting Matters for Your Homemade Pie Crust
Once the dough is just combined, quickly divide it into two slightly unequal, flattened discs the slightly larger one reserved for the bottom crust. Wrap each disc tightly in plastic wrap.
This chilling period, which must last a minimum of one hour (though overnight is excellent), is non-negotiable for a truly successful Homemade Pie Crust .
Cutting the Butter: Techniques for Pea-Sized Pockets of Flavor
As mentioned, the visual cue for success is the retention of those pea-sized butter pieces. If your dough feels oily or the butter has completely disappeared into the flour, the dough will be tough, not flaky.
If your kitchen is warm, place the cubed butter in the freezer for 15 minutes before you start mixing.
The Minimalist Mix: Avoiding Over Glutenization
The mantra here is: mix only until just combined. Overworking the dough activates the gluten proteins in the flour, leading to elasticity and chewiness. We want tender structure, not bread like resilience. A shaggy, slightly messy dough is superior to a perfectly smooth one at this stage.
From Disc to Diameter: Rolling Out with Precision
After the dough has chilled, allow the disc to sit on the counter for about five minutes to become slightly pliable but not warm. Lightly flour your work surface. Start rolling from the centre outwards, rotating the dough frequently (about a quarter turn after every one or two rolls) to maintain a circular shape and prevent sticking.
Roll until the diameter is about 12 to 13 inches, ensuring enough overhang for your pie plate.
Shaping Secrets: Crimping Techniques for a Professional Edge
Gently drape the rolled dough over your 9 inch pie plate. Trim the edges, leaving about a 1 inch overhang. Tuck this excess dough neatly under itself, creating a thicker rim. Then, use your fingers or the back of a fork to crimp the edge decoratively.
If you are filling immediately with a wet mixture, place the shaped shell back in the refrigerator to firm up again before baking.
Troubleshooting Common Dough Dilemmas and Fixes
Even expert bakers face dough challenges. If your dough cracks significantly while rolling, it’s likely too cold; let it rest for another five minutes. If it feels sticky and greasy, your butter was too warm; wrap it up and chill it for at least 30 minutes before attempting to roll again.
Blind Baking vs. Filling First: When to Pre-Bake
The method you use for baking depends entirely on your filling. For fillings that require little to no oven time (like cream pies or fresh fruit tarts), you must blind bake the crust until golden.
For fillings that bake longer than 40 minutes (like many fruit pies), simply chilling the assembled pie thoroughly before baking is often sufficient to prevent the bottom from becoming soggy.
Savory Applications: Adapting This Crust for Quiches and Pot Pies
This adaptable recipe is fantastic for more than just desserts. If you are preparing a Savory Pie Crust Recipe —perhaps for a deep dish chicken pot pie or a classic Quiche Lorraine simply omit the optional teaspoon of sugar from the dry ingredients.
The buttery flavour pairs wonderfully with rich, savoury custards and meats, making it the ideal Homemade Pie Crust for Quiche .
Storage Solutions: Keeping Your Crust Dough Fresh for Later Use
The beauty of this dough is its flexibility for meal prepping. It stores beautifully, meaning you can have a ready-to-roll Homemade Pie Crust waiting in the fridge.
Freezing Your Masterpiece: Best Practices for Long Term Storage
Once shaped into discs and tightly wrapped in two layers of plastic wrap, the dough can be kept in the refrigerator for up to two days. For longer storage, place the tightly wrapped discs inside a freezer safe bag. Frozen dough will remain perfect for up to three months.
To use, transfer it directly to the refrigerator overnight to thaw slowly; avoid rushing the process at room temperature, as this warms the fat and defeats the purpose of the perfect chill.
Recipe FAQs
My Homemade Pie Crust always comes out tough rather than flaky what am I doing wrong?
Ah, the classic pitfall! The number one rule is to keep everything colder than a winter morning in Scotland. You must avoid overworking the dough; mixing too much develops gluten, which makes it chewy. Ensure your butter pieces remain distinct (pea-sized is ideal) right up until it hits the oven.
Do I absolutely have to chill the dough, or can I speed up making this Homemade Pie Crust?
Honestly, chilling is non-negotiable it’s the secret handshake for a perfect crust! Chilling allows the gluten strands to relax after mixing and, critically, lets the butter firm up again.
If you skip this step, the butter melts instantly when rolled, resulting in a tough, dense base rather than a flaky wonder.
How long can I store the unbaked pie dough, and can I freeze it?
You're in luck; this dough freezes beautifully! Wrap the discs tightly in plastic wrap and then foil, and they will keep perfectly in the freezer for up to three months. When ready to use, thaw them overnight in the fridge; just let them sit at room temperature for about 10 minutes before rolling.
Can I substitute the all-butter recipe for something lighter, like a shortening based crust?
You certainly can, though you'll sacrifice some flavour butter is king for taste! If you must substitute, use chilled vegetable shortening; it tends to create a slightly more tender, though less flavourful, crust.
For an interesting texture tweak, some bakers substitute up to half the water with ice-cold vodka, which inhibits gluten development nicely.
What's the best way to blind bake this crust for a custard pie?
For a proper blind bake, line your chilled pie shell with parchment paper and fill it right to the brim with baking weights, dried beans, or even uncooked rice this prevents shrinkage.
Bake at 400°F (200°C) for about 15 minutes until the edges look set, then remove the weights and paper and bake for another 5 10 minutes until the base looks dry and golden.
Allbutter Flaky Pie Crust