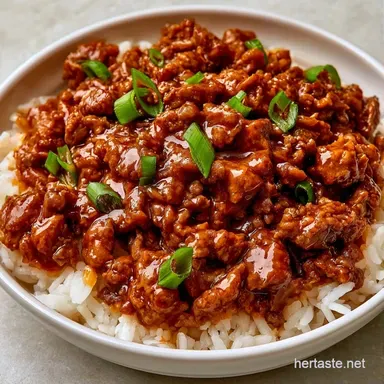
Korean Beef Rice Bowl in 30 Minutes
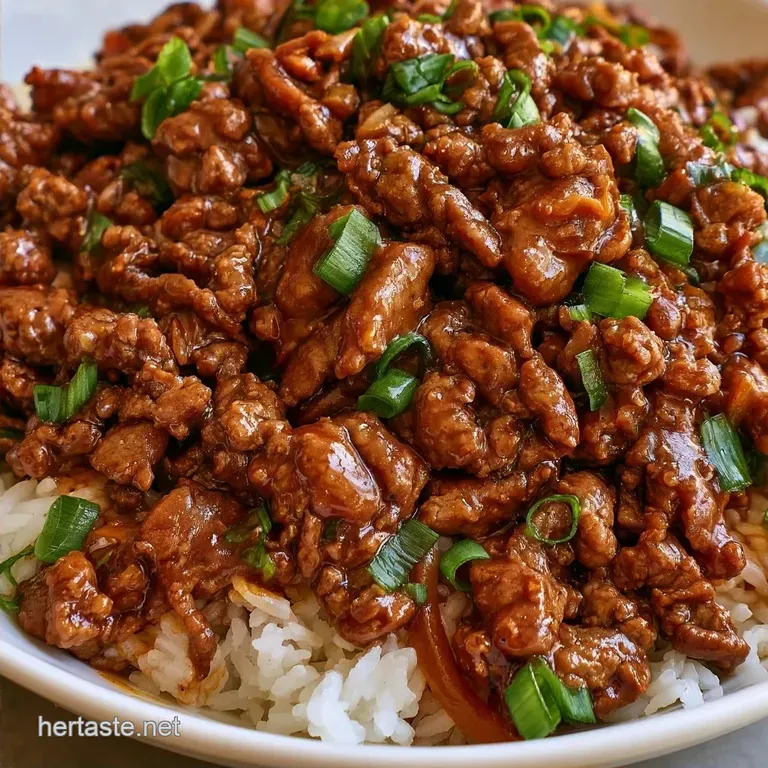
- Time: 15 min active + 15 min cooking
- Taste Profile: A savory, glossy glaze with a spicy kick
- Best for: Easy weeknight meals or meal prep
The aroma of garlic and toasted sesame oil hitting a hot skillet is an instant appetite booster. That distinctive sizzle where the beef caramelizes and the sugars in the glaze start to bubble is pure comfort.
In my early attempts, I rushed the searing process, resulting in pale meat and a thin, watery sauce. While edible, it didn't have that bold, concentrated punch a great bowl requires.
Everything changed once I focused on frying the beef in butter first. Now, it's my primary choice when I have just thirty minutes to get dinner on the table. You get an incredible umami depth without needing to marinate expensive cuts of meat for half a day.
This recipe prioritizes speed. Using ground beef keeps the dish budget friendly and fast, yet the flavors are every bit as vibrant as a slow cooked meal. Believe me, your family won't even miss the steak strips.
The Texture Trick
- The Initial Sear: Browning the beef first creates crispy, dark edges. This adds a layer of savory depth that balances the sweetness of the glaze.
- The Glaze Reduction: Simmering the sauce for a few minutes lets the water evaporate. This leaves a thick, glossy coating that clings to the meat instead of pooling at the bottom.
Quick Recipe Specs
Now, let's break down the workflow. This recipe is designed for maximum efficiency. I recommend starting the rice first, as it's the only step requiring more than a few minutes of active attention. While the rice steams, you can whisk the sauce and prep your garlic.
The total time is 30 minutes, though you'll only be actively working for about 15 of those. It's a streamlined process. If you're using this for meal prep, I suggest undercooking the vegetables slightly to ensure they don't become mushy when reheated later in the week.
Ingredient Deep Dive
I've found that using 90% lean beef is the sweet spot. If you go too lean, the meat can get dry. If you go too fatty, the sauce won't stick because it's fighting through a layer of grease.
| Ingredient | Role | If You Don't Have It |
|---|---|---|
| Ground Beef (90% lean) | Main protein and savory base | Ground turkey or chicken (lean) |
| Soy Sauce | Provides salt and umami | Tamari or Coconut Aminos |
| Brown Sugar | Caramelizes to create the glaze | Honey or Maple Syrup |
| Sesame Oil | Adds a nutty, toasted aroma | Neutral oil + 1 tsp toasted sesame seeds |
What You'll Need
Gather all your ingredients before you start cooking. Prepping everything in advance is the secret to keeping the total cook time to 15 minutes.
- 1 lb lean ground beef (90% lean) Why this? Great balance of flavor without too much grease
- 3 cloves garlic, minced Why this? A bold, fresh taste that dried garlic misses
- 1 tbsp fresh ginger, grated Why this? Brings a bright, citrusy zing
- 1/4 cup soy sauce Why this? The primary source of salt and depth
- 3 tbsp brown sugar, packed Why this? Crucial for that thick, caramelized glaze
- 1 tbsp toasted sesame oil Why this? Traditional nutty, aromatic notes
- 1/2 tsp crushed red pepper flakes Why this? A mild, lingering warmth
- 1/4 tsp black pepper Why this? A touch of basic earthiness
- 3 cups cooked white jasmine rice Why this? Scented and ideal for absorbing the sauce
- 1 tbsp butter Why this? Aids in browning and increases richness
- 3 stalks green onions, thinly sliced Why this? A bright, crisp offset to the sweet beef
- 1 tbsp toasted sesame seeds Why this? Gives it a subtle crunch
Needed Kitchen Tools
No specialized equipment is necessary here. A heavy bottomed skillet is the most critical piece of gear because it retains heat better, resulting in superior browning.
I prefer a 12 inch stainless steel or cast iron pan. While non-stick works, it won't create as many of those delicious browned bits on the bottom. You'll also need a sturdy spatula to break up the beef and a small bowl for whisking the sauce.
From Prep to Plate
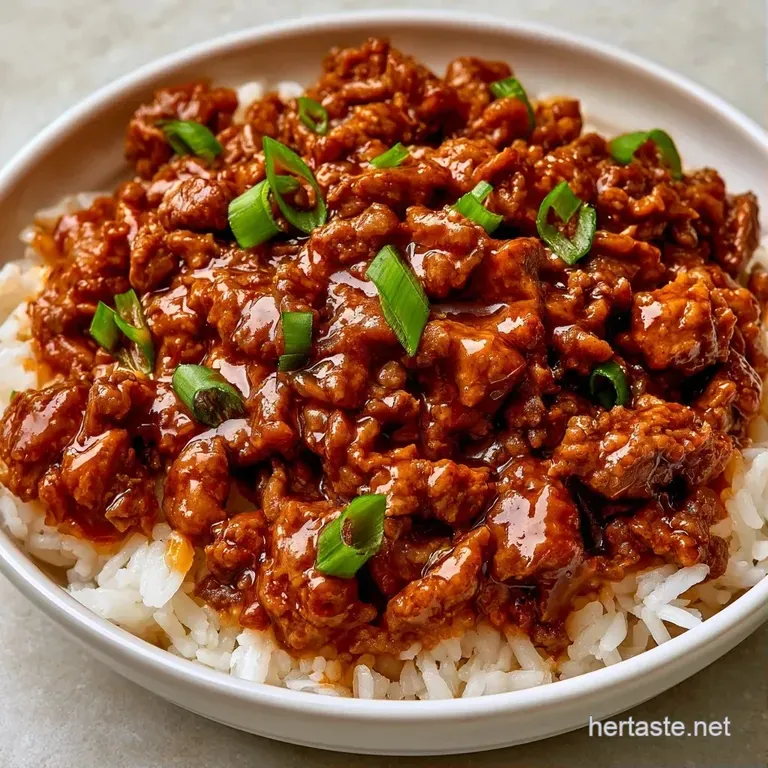
Let's get started. Follow these instructions to achieve a professional grade glaze in your own kitchen.
- Mix the sauce. In a small bowl, combine the soy sauce, brown sugar, sesame oil, red pepper flakes, and black pepper. Stir until the sugar has fully dissolved.
- Heat the skillet. Set a large skillet to medium high heat and melt 1 tablespoon of butter.
- Brown the beef. Add the ground beef to the pan, using a spatula to break the meat into small crumbles.
- Cook the meat. Sauté for 7-8 mins until the beef is brown and no longer pink.
- Add aromatics. Stir in the grated ginger and minced garlic. Cook for 60 seconds until the fragrance is released.
- Deglaze. Pour the sauce mixture into the skillet.
- Thicken the glaze. Stir continuously for 2-3 mins until the sauce bubbles and transforms into a thick, glossy glaze that coats the beef.
- Set the base. Portion the 3 cups of cooked jasmine rice into four separate bowls.
- Plate the dish. Scoop the glazed beef over the rice.
- Garnish. Finish with toasted sesame seeds and sliced green onions.
Chef Note: If the beef releases excess liquid, ensure it cooks off entirely before adding the sauce. Otherwise, you'll end up with a soup instead of a glaze.
Solving Common Issues
Dealing with the fat can be tricky. If the beef is too greasy, the sauce won't cling to the meat. I've previously made the mistake of pouring in the sauce too soon, which steamed the meat instead of searing it.
Temperature control is also vital. If the pan is scorching, the ginger and garlic will burn in seconds and turn bitter. To avoid this, toss in your aromatics immediately before the liquid goes in.
Handling Excess Grease
If your pan resembles a deep fryer after browning the beef, don't just add the sauce. Instead, tilt the pan to spoon out the oil or use a folded paper towel to blot the meat. This ensures the glaze actually adheres.
Fixing a Watery Sauce
If the consistency is too thin, it simply needs more time on the stove. Let it bubble for another 2 minutes. The sugar must reach a specific temperature to thicken and achieve that mahogany color.
Preventing Burnt Garlic
Should the garlic brown too rapidly, pour in the sauce immediately. The liquid will instantly drop the pan's temperature and stop the garlic from scorching.
| Problem | Fix |
|---|---|
| Beef is grey, not brown | Raise the heat; avoid crowding the pan |
| Sauce is too salty | Stir in a pinch of sugar or a squeeze of lime juice |
| Garlic tastes bitter | Cook aromatics for 60s max before adding sauce |
Serving and Enjoying
Balance is key here. Pairing the warm, salty beef with plain rice is a solid start, but a crisp side really rounds out the plate. I suggest serving this alongside steamed bok choy or some quick pickled cucumbers.
If you find yourself with extra rice, you might enjoy turning those leftovers into Italian rice balls for a tasty snack tomorrow. To finish the bowl, a bit of Kimchi or a swirl of Sriracha provides a fermented zip that balances out the heavy beef flavors.
Adjusting the Portion
Scaling this recipe is pretty straightforward, but don't just double everything blindly.
Cutting it in half: Use a smaller 8 inch skillet. Reduce the cooking time for the beef by about 20% since there is less mass in the pan. Beat one egg if you're adding an egg topping, then use half.
Doubling or Tripling: Do not crowd the pan. If you put 2 or 3 lbs of beef in one skillet, the meat will steam instead of sear. Work in batches. For the seasonings, I only increase salt and spices to 1.5x the original amount, then taste and adjust.
Reduce the total liquid by about 10% to ensure the glaze still thickens properly.
| Goal | What to change |
|---|---|
| Less sweet | Reduce brown sugar to 1 tbsp |
| More heat | Double the red pepper flakes |
| Thicker sauce | Simmer for 2 extra minutes |
Debunking Kitchen Myths
Searing meat does not "seal in juices." This is a common misconception. Moisture loss happens regardless of how you start the cook. The reason we sear the beef is for flavor, not to trap water inside.
Another myth is that you need expensive ribeye for a Korean style bowl. While traditional Bulgogi uses sliced ribeye, ground beef provides more surface area for the sauce to cling to, often making it more flavor packed per bite.
Storage and Reheating
You can keep the cooked beef and rice in the fridge for up to 3 days. I recommend storing the beef and rice separately. If you store them together, the rice absorbs all the sauce and becomes a bit mushy.
Reheating for Freshness: The best way to reheat is in a skillet over medium heat with a splash of water. This loosens the glaze and brings back the sizzle. Avoid the microwave if you can, as it can make the beef rubbery.
Zero Waste Tips: Don't toss your green onion roots. Put them in a glass of water on your windowsill, and they'll grow back. If you have leftover ginger scraps, freeze them in a freezer bag; you can grate them while they're still frozen for your next stir fry.
Flavor Variations
Once you have the base down, you can play with the profile. If you want a deeper, funkier flavor, stir in a tablespoon of Gochujang (Korean chili paste) with the soy sauce. It adds a fermented heat that is just brilliant.
For a low carb version, swap the jasmine rice for cauliflower rice or shredded cabbage. Just be sure to sauté the cabbage first so it doesn't release too much water into your bowl.
If you enjoy this kind of savory sweet beef profile, you might also like my teriyaki beef jerky for a snack that hits similar notes. You can also switch the protein to ground turkey or chicken, though you may need an extra tablespoon of butter since those meats are leaner and can dry out faster.
Recipe FAQs
What's in a Korean beef bowl?
It consists of lean ground beef glazed in a soy-ginger brown sugar sauce served over white jasmine rice.
Tip: Top with toasted sesame seeds and sliced green onions for a professional finish.
What is this dish called?
It is commonly known as a Korean style beef bowl or ground beef bulgogi bowl.
Tip: Use fresh ginger rather than powdered for the most authentic aromatic punch.
Which rice works best for this recipe?
Cooked white jasmine rice provides the ideal fragrance and fluffy texture to balance the savory glaze.
Tip: Rinse your rice thoroughly before cooking to remove excess starch and prevent clumping.
Is this beef bowl a healthy option?
Yes, because it utilizes 90% lean ground beef and fresh aromatics.
Tip: If you enjoyed the lean protein focus here, the same principle is used in our smoky steak dish.
How to reheat leftovers properly?
Heat the beef and rice in a skillet over medium heat with a splash of water.
Tip: Avoid the microwave to prevent the beef from becoming rubbery.
Can I use brown rice instead?
Brown rice works well as a heartier, fiber rich alternative to jasmine rice.
Tip: Ensure the brown rice is fully cooked and tender before adding the beef.
Is it true that ground beef must be simmered for hours to be tender?
Not true. Lean ground beef cooks quickly and remains tender when browned over medium high heat.
Tip: Break the meat apart with a spatula to ensure even browning.
Do I need to add cornstarch to make the sauce glossy?
Actually, no. The brown sugar and soy sauce reduce into a natural glossy glaze after 2-3 minutes of stirring.
Tip: Stir constantly during the reduction phase to avoid scorching the sugar.
Korean Beef Rice Bowl