Fluffy Taro Pancakes: a Sweet and Delightful Treat
- Discovering Fluffy Taro Pancakes: Sweet and Delightful Treat
- A Brief look into into History
- Why You Should Try Them
- Cooking with Love and Tips
- Your Essential Ingredients Guide for Fluffy Taro Pancakes
- Professional Cooking Method for Fluffy Taro Pancakes
- Extra Recipe Information for Taro Pancakes
- 📝 Recipe Card
Discovering Fluffy Taro Pancakes: Sweet and Delightful Treat
Oh my gosh, let me tell you about the first time i stumbled upon taro pancakes ! i was at this hole-in-the-wall southeast asian café, just craving something different.
As soon as i took my first bite of those fluffy creations, i felt a wave of happiness wash over me.
It was like breakfast and dessert had a beautiful love child, all wrapped up in a pretty purple package. honestly, it was love at first bite!
If you’ve never tried cook taro pancakes - fluffy and sweet treat , you’re seriously missing out. these beauties bring a whole new level to your brunch game.
Not only do they taste amazing, but they also add a fun twist to your morning routine, whether you're hosting friends or just cooking for yourself.
A Brief look into into History
So, what’s the deal with taro pancakes? this delight dates back to southeast asia, where it's cherished as a staple.
Taro root, known for its earthy taste and vibrant purple hue, is steamed and mashed before finding its way into delicious pancake batter.
Fast forward to now, and these purple yam pancakes are hot on the trend chart. from fancy brunch spots to your own kitchen, everyone loves whipping up this easy pancake recipe that’s so quick to make.
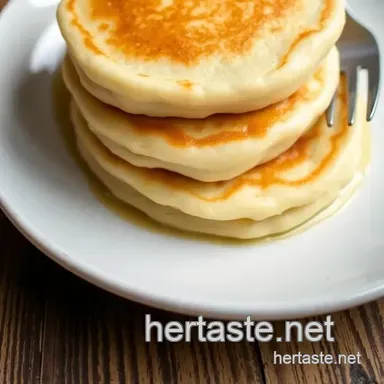
You can whip these up in just about 30 minutes! with a prep time of 15 minutes and a cooking time of another 15 minutes , you can have a delicious stack of breakfast pancakes in no time.
Plus, this recipe yields about 8 pancakes , making it perfect for families or lazy weekend brunches.
Why You Should Try Them
Now, let’s talk benefits. first off, these fluffy pancakes are not just tasty; they are loaded with nutrition. taro is rich in vitamins and minerals, making these healthy pancake recipes a fantastic choice for your mornings.
Plus, if you want to switch things up, you can enjoy them as a light dessert option too. serve them with a drizzle of maple syrup or a dollop of whipped cream, and voilà! you’ve got a dessert that feels special but is simple to make.
These pancakes are also perfect for any occasion! whether it's a holiday breakfast recipe, a cozy sunday brunch, or just a regular tuesday, they’re a crowd pleaser.
And for those with dietary restrictions, don’t fret! you can easily swap out ingredients for gluten-free pancake alternatives or vegan pancake options just use a dairy-free milk and a flax egg! it’s all about adapting to what you have on hand.
Cooking with Love and Tips
Now, you know i’m all about keeping it real. when making any pancakes, the key to achieving those perfect fluffy pancakes lies in not overmixing your batter.
A few lumps are totally cool! also, don’t forget these little guys can stick if you’re not careful. grease your skillet well (i usually use a bit of butter or oil) and keep your heat medium.
If it’s too high, things can get burny real quick trust me, i’ve learned the hard way.
Taro preparation methods are super straightforward; you just need to steam it until fork tender. let it cool and mash it up, then you’re ready for glory.
And listen, don’t shy away from getting creative with unique pancake toppings like seasonal fruits or even a sprinkle of nuts.
This really amps up the flavor and makes them feel fancy without you having to put in too much effort.
So, are you ready to dive into making these sweet taro desserts ? Gather your pantry staples for pancakes, and let’s get into the exciting part the ingredient list! The fun is about to get rolling, and I can't wait for you to try these out!
Your Essential Ingredients Guide for Fluffy Taro Pancakes
Let's talk about cooking particularly about whipping up fluffy taro pancakes . trust me, once you get the hang of these, you’ll want to make them every weekend.
Taro, that gorgeous purple yam, brings a sweet and nutty flavor that’s just outta this world. so, before we dive into the actual recipe, let’s get you set up with some essential ingredients and tips!
Premium Core Components
First things first, you gotta have your pantry stocked with the right stuff. For our taro pancake recipe , here’s what you need:
- 1 cup (120g) taro, steamed and mashed : Make sure to pick taro that’s firm and not dried out. Look for a nice purple hue.
- 1 cup (125g) all-purpose flour : The fresher, the better!
- 1 tablespoon (12g) sugar : Sweeten it just right without going overboard.
- 2 large eggs : Choose organic if you can they taste awesome!
- 1 cup (240ml) milk : This can be dairy or non-dairy, depending on what floats your boat.
- 2 tablespoons (30ml) vegetable oil or melted butter : Adds that irresistible moisture.
Storage guidelines : taro can be tricky! store it in a cool, dark place. it’s best used within a week.
The flour and sugar? keep those in some airtight containers, and they should last for ages.
Freshness Tips : Always give your ingredients a little sniff before using, especially those eggs and milk. You definitely don’t want any surprises when you cook.
Signature Seasoning Blend
Fluffy pancakes deserve a little extra oomph, right? Here's where your signature seasoning blend comes in.
- Baking powder and baking soda are your leavening heroes. They’ll make your pancakes super fluffy.
- A pinch of salt balances out the sweetness like a boss.
- Vanilla extract —don’t skip this! It adds a comforting aroma that’ll make everyone think you're a pro.
When you mix it all together, that sweet taro flavor shines through.
Smart Substitutions
Maybe you’re out of a few ingredients, or you need a gluten-free pancake alternative. No sweat!
- Common Alternatives : If you’re low on taro, sweet potato or pumpkin puree can step in. Just as delicious but with their own twist.
- dairy-free pancake substitutes : Swap the milk out for coconut milk for a tropical vibe.
- Emergency replacements : No eggs? Try flaxseed meal mixed with water; it does wonders!
Kitchen Equipment Essentials
Here’s the lowdown on the tools you need:
- Mixing bowls : You’ll need a couple of these, one for dry ingredients and one for wet.
- Whisk : Get a good one; it makes mixing a breeze.
- Non-stick skillet or griddle : The secret to no-stick pancakes! Heat it up nice and even.
- Spatula : A good flipper is your best friend when cooking pancakes.
Pro Tip : Before you even start mixing, make sure your skillet is hot enough. Flick a little water on it; if it dances, you’re ready to go!
Cooking Tips for Pancakes
- Don’t overmix : It’s okay to have some lumps. That’s the secret behind fluffy pancakes .
- Cook at medium heat : High heat means burnt pancakes. No one wants that!
- Keep 'em warm : If you're flipping a bunch, keep the ready ones warm in a low oven.
Now that you've got the essentials down, it’s almost time to roll up your sleeves and actually make these pancakes! feel free to get creative with your toppings like fresh fruit, maple syrup, or whipped cream.
Seriously, the sky’s the limit!
So, grab your ingredients, and let’s cook taro pancakes fluffy and sweet treat masterfully layered on your breakfast table! you won’t regret it, and your family will be thanking you every time you whip these up.
Time to dive into those step-by-step cooking techniques that’ll make you the breakfast star of the show!
Professional Cooking Method for Fluffy Taro Pancakes
Oh my gosh, if you have ever tried “ fluffy taro pancakes - fluffy and sweet treat ,” you know just how amazing they can be! originating from southeast asia, these beautiful purple yam pancakes are a dreamy way to kick off your day or treat yourself to a light dessert.
Before we dive into the actual cooking, let’s chat about some pro tips that’ll make your pancake making experience as smooth as maple syrup.
Essential Preparation Steps
Before you start flipping those pancakes, you gotta get organized. this is where mise en place kicks in basically, it just means having everything ready before you cook.
That means measuring out your ingredients, having your cookware ready, and maybe even having a plate for the finished pancakes handy.
Speaking of being ready, time management is key here. you won't want to be scrambling around looking for baking powder when you’ve got hot batters ready to go.
Try to prep your taro first (it needs steaming!) and while that’s happening, gather all your other pantry staples for pancakes .
And let’s not forget about safety! always be careful around the hot skillet. keep an eye out for splatters when you add oil to the pan.
Nobody wants a trip to the first aid kit while trying to whip up breakfast.
Step-by-step Process
Prepare Taro: Steam that taro until it’s fork tender this takes about 20 minutes . Let it cool, then get to mashing!
Make the batter: in one bowl, mix 1 cup flour , 1 tablespoon sugar , and others. in another, beat 2 eggs , and combine with 1 cup milk and mashed taro.
Fold the wet into the dry just mix until it’s combined. remember, don’t overmix; we want fluffy pancakes !
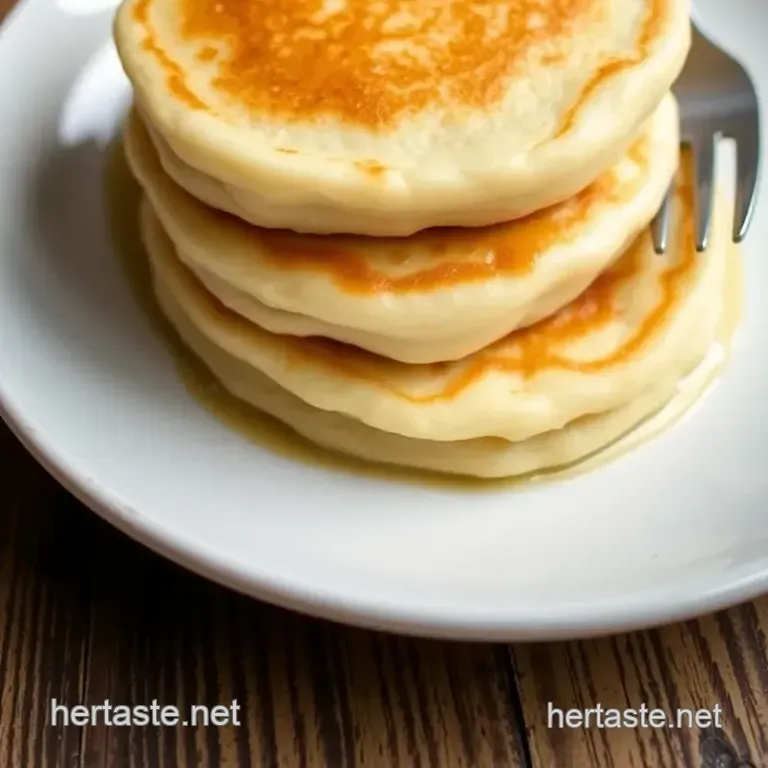
Cook the pancakes: heat your non-stick skillet over medium heat. grease it lightly. pour about ¼ cup of batter for each pancake and cook for 2- 3 minutes until bubbles form.
Flip ‘em for another 2- 3 minutes until golden brown.
Serve: Stack them high, and feel free to add those unique pancake toppings like whipped cream, fresh fruit, or even a drizzle of maple syrup. Yum!
Expert Techniques
Let’s talk about the critical steps here: controlling the temperature. if your skillet is too hot, your pancakes will burn; too low, and they’ll come out gummy.
Aim for medium heat that’s the sweet spot. careful flipping is crucial, too, to avoid pancake casualties.
As you cook, keep an eye out for visual cues for doneness those lovely bubbles indicate when it’s time to flip.
As for quality checkpoints, give them a gentle press; they should be springy, not hard.
Success Strategies
We’ve all been there pancakes that could double as hockey pucks, right? to get perfect results , avoid common mistakes like over mixing.
A few lumps in your batter? totally okay! they’ll disappear when cooked, making sure light and fluffy bites.
Try to enjoy a make-ahead option whip up a double batch and freeze them. Then, just pop them in the toaster when you need a quick breakfast idea for the family.
And if you're feeling adventurous, throw in some blueberries or sliced bananas into the mix, or even swap out the taro for dairy-free pancake substitutes like almond flour for some yummy variations!
Additional Information
So, dive right in and get cooking! Making homemade pancakes is way more fun with friends and family. Plus, you’ll have a delightful breakfast to share together.
Whether you go for the traditional toppings or get creative with whipped cream desserts , these sweet taro desserts are bound to win hearts.
Remember, cooking should be a joyful experience, so keep it light and fun. and if you get stuck, just look back through these cooking tips for pancakes to guide you along the way.
Happy cooking, everyone!
Extra Recipe Information for Taro Pancakes
So, let’s chat about cooking up some amazing fluffy taro pancakes ! these bad boys can brighten up any breakfast table or even make an awesome light dessert.
You think pancakes are basic? nah! with a little love and some pro tips, you can jazz them up and knock the socks off your family and friends.
Pro Tips & Secrets
First up, let’s dive into some pro tips that’ll make you a pancake master.
Chef’s personal insights: always steam your taro until it's super tender. trust me, it makes a world of difference when you mash it.
Don't let it pass too long just aim for that perfectly soft texture.
Time saving techniques: prep your ingredients the night before! yep, you can mix your dry ingredients and even mash your taro ahead of time.
It'll save you those precious minutes in the morning rush.
Flavor enhancement tips: a dash of vanilla goes a long way! it enhances that unique sweet taro flavor and adds depth.
If you’re feeling adventurous, mix in some coconut milk for a tropical twist.
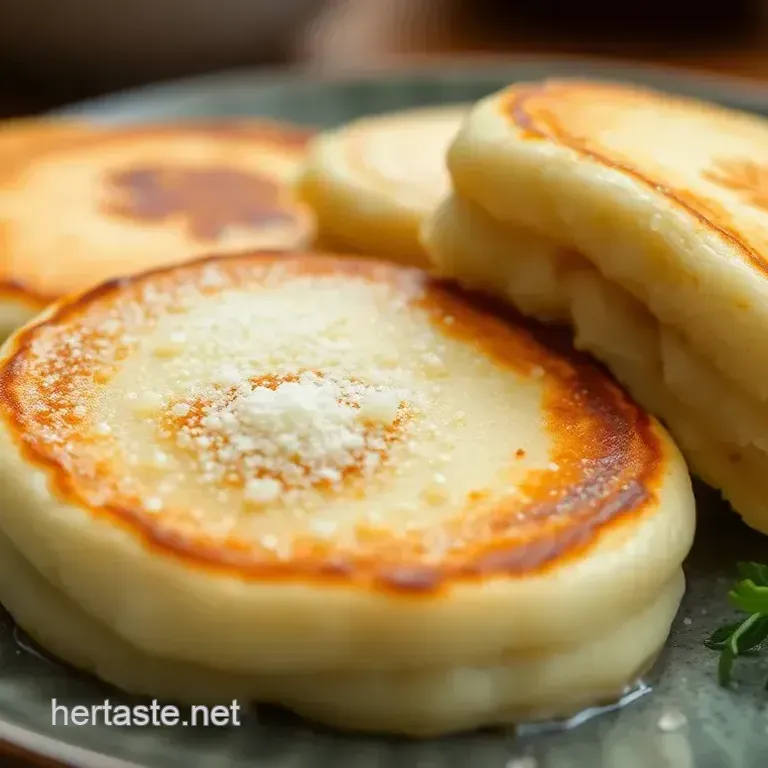
Presentation Advice: Stack those pancakes high! You want layers that scream, "Look at me!" Top them off with whipped cream and fresh berries for a vibrant display .
Perfect Presentation
Speaking of presentation, let’s make your fluffy pancakes shine!
Plating Techniques: Layer the pancakes on a colorful plate. You know those Instagram pics that make you drool? Channel that vibe!
Garnish Ideas: Fresh mint is a surprisingly nifty garnish. It adds a pop of color and a refreshing taste.
Color Combinations: The vibrant purple of taro pancakes paired with the bright red of strawberries and the snow white whipped cream is an absolute feast for the eyes!
Visual Appeal Tips: Don’t forget the syrup! A drizzle of maple syrup on top makes it look yummy and is also super delicious.
Storage & make-ahead
Getting ready for a family brunch or just meal prepping for the week? Here’s how to store and make ahead .
Storage Guidelines: Let your pancakes cool completely before storing. Pop them in an airtight container to keep them fresh.
Preservation Methods: You can freeze them too! Place parchment paper between each pancake to keep them from sticking.
Reheating Instructions: When it's time to eat, just toss them in the toaster or on the skillet. Quick and super easy!
Freshness Duration: These should last in the fridge for about 3-4 days. In the freezer, you’re looking at about a month.
Creative Variations
Why not get a little creative? Here are some variations to switch things up:
Flavor Adaptations: Want to mix it up? Swap the taro for sweet potatoes or even pumpkin for a seasonal twist.
Dietary Modifications: If you're aiming for healthier pancakes, consider using oat flour or going completely gluten-free with your favorite alternative flour.
Seasonal Twists: In autumn, why not sneak in some pumpkin spice? It's a game changer!
Regional Variations: Looking to tap into those iconic Southeast Asian recipes? Add some grated coconut for that authentic punch.
Complete Nutrition Guide
For all you health conscious folks, let’s break down what’s cooking in these pancakes.
Detailed Breakdown: A serving provides about 220 calories, which isn’t bad for a breakfast treat.
Health Benefits: Taro is rich in fiber and vitamins, making these pancakes a solid choice over regular ones.
Dietary Considerations: If you’re watching your sugar, consider swapping the regular sugar with something like coconut sugar.
Portion Guidance: A stack of two is pretty filling, but hey, you do you!
Expert FAQ Solutions
Got questions? I’ve got answers!
Common Questions: What if my pancakes don’t fluff up? Ensure your baking powder is fresh. It's key!
Troubleshooting Guide: If they’re flat, it might be overmixing. A little lumpiness is okay for those fluffy pancakes .
Success Tips: Always cook on medium heat! Too high and you risk burnt outsides with raw insides.
Variations Explained: Love toppings? Try your pancakes with fruit or different syrups maple or even chocolate!
So, there you have it! cook taro pancakes - fluffy and sweet treat with these tips, tricks, and cool variations.
Whether you’re going gourmet or keeping it simple, these pancakes are bound to impress. now grab your mixing bowl and get flipping! enjoy sharing these with your family or savoring them solo just don’t forget the maps syrup topping !
Happy cooking!
Cook Taro Pancakes Fluffy And Sweet Treat