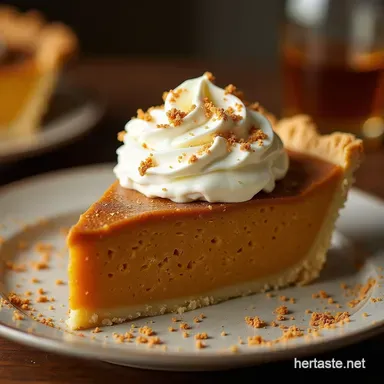
The Crumbly Crust Silky Soul My Ultimate Classic Pumpkin Pie
- Unveiling Autumn’s Definitive Dessert: The Pint-Sized Perfection Standard
- Why This Classic Recipe Outshines Every Store-Bought Contender
- Assembling Your Alchemist’s Pantry for Peak Flavor
- The Essential Toolkit: Beyond the Mixing Bowl
- Phase One: Crafting the Foundation – The Flaky Shortcrust
- Phase Two: Whipping Up the Silky Pumpkin Core
- The Grand Finale: Baking, Setting, and Serving Your Masterpiece
- Elevating Your Slice: Topping Variations and Creative Pairings
- Storage Secrets: Maintaining Freshness Beyond the Holiday Rush
- Recipe FAQs
- 📝 Recipe Card
Unveiling Autumn’s Definitive Dessert: The Pint Sized Perfection Standard
There are few aromas that encapsulate the shift in seasons quite like warm cinnamon and baked pumpkin. As an expert baker, I can confirm that while many dishes claim the title of ‘autumn classic,’ none hold the regal position quite like the Classic Pumpkin Pie .
It’s the undisputed star of holiday tables, a humble custard transformed by spice and wrapped in buttery pastry. We’re not aiming for merely ‘good’ here; we are striving for the Perfect Pumpkin Pie , the one that earns you hushed praise and requests for the recipe year after year.
This guide delivers the blueprint for The Crumbly Crust & Silky Soul: My Ultimate Classic Pumpkin Pie , ensuring you master both the flaky foundation and the velvety custard that defines a truly superior Pumpkin Dessert Recipes entry.
This particular iteration strikes the ideal balance: rich without being heavy, sweet but allowing the earthy pumpkin flavour to shine through.
Why This Classic Recipe Outshines Every store-bought Contender
The difference between a supermarket pie and a homemade one is astronomical. A store-bought version often relies on stabilizers and excessive sugar to mask inferior ingredients. Our focus in creating this Best Pumpkin Pie Recipe is purity of flavour and texture.
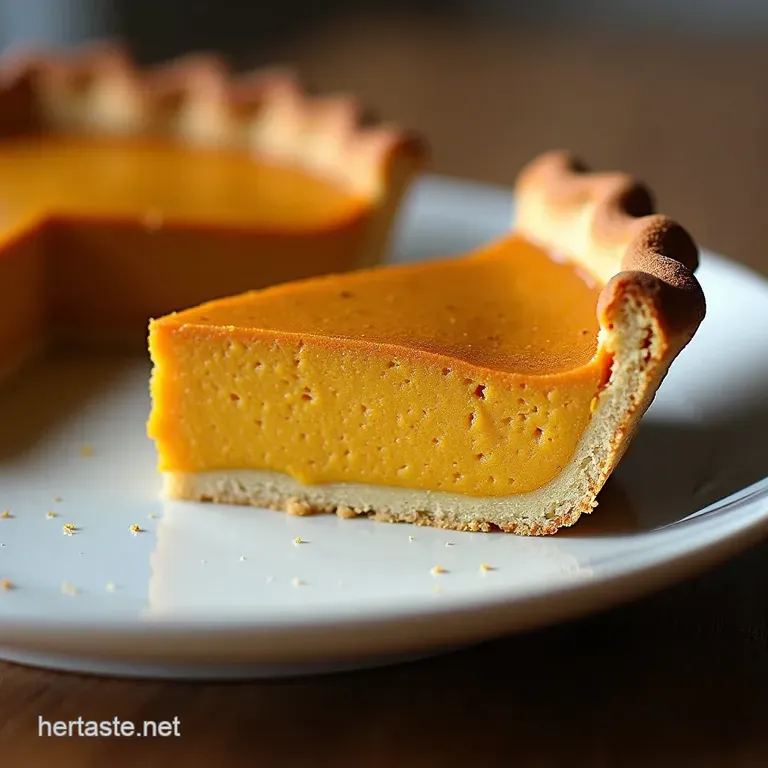
The result is a vibrant, deeply flavoured custard that contrasts beautifully with a shatteringly crisp crust. This is the definitive Pumpkin Pie From Scratch experience.
The Secret to That Luxurious, Not-Too-Sweet Filling
The magic ingredient that separates the sublime from the merely satisfactory is Sweetened Condensed Milk. This component does heavy lifting, providing both sweetness and the necessary fats and milk solids to create that incredibly smooth, almost mousse like custard set, eliminating the need for excessive egg yolks or heavy cream.
This is crucial for achieving the desired richness in our Pumpkin Pie Filling . We balance this inherent sweetness with only a small amount of packed light brown sugar, allowing the warmth of the spices to lead the flavour profile.
A Chef’s Promise: Baking Bliss Without the Baking Anxiety
Many home cooks approach pie-making with trepidation, often fearing a soggy bottom or a cracked, weeping custard. I promise you, this is an Easy Pumpkin Pie Recipe once you understand the mechanics.
The key lies in mastering temperature control keeping the pastry ingredients frigid and then ensuring the oven is hot enough initially to set the crust before dropping the temperature for the gentle custard bake.
By paying attention to the blind baking phase and learning when the pie is just set, we eliminate the two most common pitfalls.
Setting the Stage: What Makes This Pumpkin Pie Truly Definitive
To achieve the "Proper Pint Sized Perfect Pumpkin Pie," we must adhere strictly to the ratios that yield 8 generous slices. This means dedicating care to the flaky all-butter pastry , utilizing ice-cold butter cut into flour until coarse crumbs form, ensuring that when these pieces melt in the oven, they create steam pockets, resulting in true flakiness.
The filling must be whisked until just combined, respecting the delicate nature of the eggs.
Assembling Your Alchemist’s Pantry for Peak Flavor
Gathering your components thoughtfully is the first step toward success. For this Pumpkin Pie Recipe , we need two distinct sets of ingredients: those dedicated to the structural integrity of the crust and those forming the aromatic heart of the filling.
For the pastry, absolute coldness is paramount. For the filling, quality purée and precisely measured spices are non-negotiable. Ensure you have your 15-ounce can of 100% pumpkin purée (not the pre-spiced pie mix) and the full 14-ounce can of sweetened condensed milk ready to go.
The Essential Toolkit: Beyond the Mixing Bowl
While a standard mixing bowl and whisk will suffice for the filling, certain tools enhance the experience and guarantee a professional finish. A 9 inch glass or ceramic pie dish is ideal as it conducts heat evenly, promoting a set bottom crust.
For the dough, either a food processor (used briefly!) or a pastry blender is essential for incorporating the butter without overworking the gluten.
Finally, a reliable oven thermometer is your best friend; oven temperatures often fluctuate, and precise heat is the cornerstone of a perfect bake.
Mastering the Muddle: Choosing Superior Pumpkin Purée (Fresh vs. Canned)
While using fresh roasted and puréed pumpkin sounds noble, canned 100% pumpkin purée offers superior consistency and density, which is critical for the texture of the custard. Fresh purées often contain too much water, leading to a softer, less reliable set.
Stick to the can for this Homemade Pumpkin Pie Spice application unless you have the patience to roast and drain your own squash until it is extremely thick.
Spice Spectrum Calibration: Achieving the Perfect Warmth Balance
The spice blend here is calibrated for warmth without overwhelming the pumpkin. We call for 1 ½ teaspoons of ground cinnamon, complemented by ½ teaspoon of ginger and a quarter teaspoon of nutmeg. The secret weapon, though, is the merest whisper of ground cloves (just ⅛ teaspoon).
Clove is potent; too much can taste medicinal, but the right amount adds that deep, lingering warmth that defines true autumn baking.
Crust Components: Ensuring Unbeatable Flakiness with Cold Butter
The pastry ingredients are simple: flour, a touch of sugar, salt, ice water, and that crucial ½ cup of cubed, unsalted butter. The rule is simple: the butter must be rock hard. When you combine it with the flour, you are aiming for texture, not uniformity.
You want visible pieces of butter, ranging from the size of small peas to flattened pebbles. These chunks are what yield the stunning layers we seek in our Pumpkin Pie From Scratch .
Related Recipes Worth Trying
- Best Flaky Crust Pumpkin Pie Recipe From Scratch — Ditch the soggy bottom Learn to make the perfect creamy Pumpkin Pie filling with a shatteringly flaky allbutter crust Its the ultimate autumn bake
- Best Homemade Apple Pie Recipe Flaky AllButter Crust — Learn how to make a truly classic Apple Pie with a flaky allbutter crust and a deeply spiced filling This stepbystep recipe guarantees perfection
- The Foolproof Flip Easy NoRoll Pie Crust Recipe with Butter — Toss the rolling pin This easy NoRoll Pie Crust recipe yields a flaky buttery base pressed right into the dishperfect for your next quiche or pie Get the...
Phase One: Crafting the Foundation The Flaky Shortcrust
The preparation begins by mixing the dry ingredients for the crust 1 ¼ cups of flour, 1 teaspoon of sugar, and ½ teaspoon of salt. Next, incorporating the ½ cup of deeply chilled butter is the most tactile part of the process.
If using a processor, pulse it just a few times until the mixture resembles coarse crumbs interspersed with those tell tale butter pieces. Now, introduce the ice water, one tablespoon at a time, pulsing just until the dough begins to clump. Over mixing is the enemy of flakiness.
Immediately gather the dough into a cohesive disc, wrap it tightly, and send it to chill for a minimum of one hour. This resting period allows the gluten to relax and the butter to re-solidify, preparing it for the roll out.
Phase Two: Whipping Up the Silky Pumpkin Core
While the dough rests, turn your attention to the filling. In a spacious bowl, gently whisk together the 15-ounce pumpkin purée, the full can of sweetened condensed milk, and the packed ¼ cup of light brown sugar.
Next, introduce your two room temperature eggs, beating them lightly to break them up before incorporating them into the mixture. Once these wet ingredients are smooth, it’s time for the spices: cinnamon, ginger, nutmeg, clove, salt, and vanilla.
Whisk until everything is evenly distributed, but stop immediately once the spices are incorporated; vigorous mixing after the eggs are added can introduce too much air, which can lead to cracking during the bake.
The Grand Finale: Baking, Setting, and Serving Your Masterpiece
With the oven preheated and the filling ready, the final construction phase begins. The pre-baked crust must be handled with care, and the filling poured gently, ensuring even distribution.
Blind Baking Secrets: Preventing the Soggy Bottom Dilemma
Before adding any liquid, the crust demands a partial bake, or blind bake. Line the chilled, docked shell with parchment paper, fill completely with weights or dried beans, and place it into a 400° F ( 200° C) oven for 15 minutes.
After removing the weights and paper, return the shell to bake for an additional 5 to 7 minutes until the bottom appears dry and just starting to turn pale gold. This initial heat blast sets the starches in the crust, creating a barrier against the moist filling.
Immediately after this step, drop the oven temperature down to 350° F ( 175° C) for the custard portion.
Tempering Eggs for a Truly Smooth Custard Texture
Although the eggs are mixed into a thick purée, the principle of gentle heating remains vital. Placing the pie onto a sturdy baking sheet before sliding it into the oven allows for easier transfer and acts as an insulator against the direct heat of the bottom rack.
Pour the prepared filling carefully into the warm, pre-baked shell.
Achieving Zenith: Monitoring Internal Temperature for Perfection
Bake the pie at 350° F ( 175° C) for approximately 45 to 55 minutes. Resist the urge to check it frequently.
You are looking for the edges of the custard to appear firm and slightly puffed, but the very centre, about the size of a half dollar coin, should still have a noticeable, gentle wobble when the rack is nudged.
This slight under baking is the secret to avoiding cracks, as the residual heat will complete the setting process.
The Essential Chill: Allowing the Structure to Fully Set
Once out of the oven, the pie must cool slowly. Place it on a wire rack to cool completely at room temperature this takes about two hours. This slow descent from high heat prevents thermal shock that causes cracking.
Only once it is completely cool should you transfer it to the refrigerator to chill for at least two hours, allowing the custard to fully firm up before slicing.
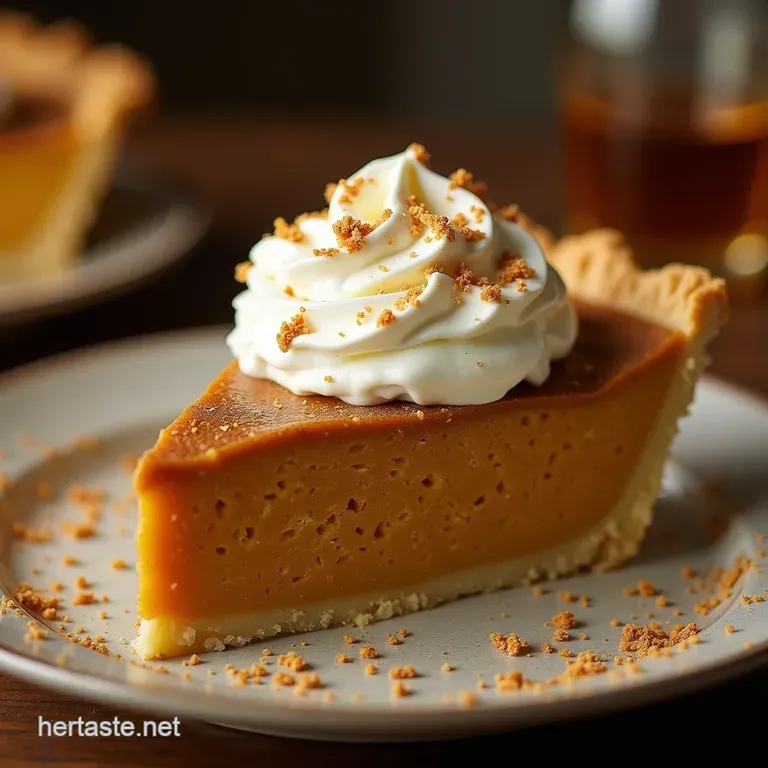
Elevating Your Slice: Topping Variations and Creative Pairings
While our Easy Pumpkin Pie Recipe stands proudly naked, toppings add flair. For a sophisticated presentation, serve it alongside Chai Spiced Whipped Cream , where a pinch of cardamom and black tea dust transforms the plain topping.
Alternatively, a light drizzle of homemade Salted Caramel Sauce cuts through the richness beautifully. When pairing beverages, the density and spice profile demand something robust, like a strong dark roast coffee or a dark, spiced hard cider.
Storage Secrets: Maintaining Freshness Beyond the Holiday Rush
This Pumpkin Pie keeps remarkably well. Stored tightly covered in the refrigerator, it maintains excellent texture for up to four days. The moisture in the filling helps keep the crust from drying out too quickly.
Next Level Whipped Cream Enhancements (Beyond Plain)
To make the whipped cream truly special, use heavy cream chilled nearly to freezing. Whip it to medium peaks, and then incorporate 1 tablespoon of pure maple syrup and a quarter teaspoon of vanilla extract.
For an added aromatic touch, crush a half teaspoon of star anise into a fine powder and fold that into the cream for a subtle licorice note that pairs wonderfully with the cloves in the pie.
Troubleshooting Common Recipe Pitfalls and Fixes
If your crust has shrunk during blind baking, gently stretch a small piece of leftover dough to patch any gaps before filling. If your custard seems too liquid after the designated bake time, return it to the oven for 5-minute increments, checking frequently.
If your top cracks despite cooling slowly, it usually means it was slightly overbaked; in this case, a generous topping of whipped cream or sauce will completely camouflage the flaw!
Make-ahead Strategies for Stress Free Entertaining
The beauty of this recipe is its adaptability. You can prepare the pastry dough up to three days in advance, keeping it chilled. The entire Pumpkin Pie can be baked, cooled, and refrigerated the day before serving.
In fact, many pastry chefs agree that the flavour profile of the spices actually deepens overnight, making this a true make-ahead champion.
Scaling the Recipe: From Pint Sized to Party Sized Pumpkin Pie
If you find yourself needing to serve a crowd larger than 8, scaling this recipe is straightforward. For a standard 10 inch tart pan, increase the crust ingredients by approximately 25% and the filling ingredients by 30%.
Be aware that larger pies require longer baking times; check for that telltale slight wobble closer to the 70-minute mark to avoid drying out the edges.
Recipe FAQs
Why is my Pumpkin Pie cracking on top? I thought I followed the steps perfectly!
Ah, the dreaded crack! This almost always happens because the pie was overbaked, causing the custard to dry out and shrink unevenly upon cooling. Remember our crucial tip: the centre should still have a slight wobble, like proper set jelly, when you take it out.
It will firm up beautifully on the wire rack as it cools that slight jiggle is your insurance against surface fissures!
Can I skip blind baking the crust for this Pumpkin Pie recipe? I’m short on time!
While you can technically skip it, I wouldn't advise it if you want to avoid a soggy bottom and nobody wants that, do they? Blind baking ensures the pastry is fully cooked and sets up a barrier against the wet filling.
If you absolutely must rush, at least bake the crust with weights for the full 20 minutes before adding the filling, and ensure your oven temperature is correct.
My filling looks a bit thin after baking; how long should I leave it before slicing it?
Patience is key here, just like waiting for the kettle to boil! The pie must cool completely on a wire rack for at least two hours after coming out of the oven. This allows the residual heat to finish setting the custard properly.
Trying to slice it warm is a recipe for a runny mess that looks nothing like the "silky soul" we aimed for!
What’s the secret to keeping the edges of the crust from burning while the middle cooks?
That's a classic oven conundrum! If you notice the edges getting too brown looking like they're about to turn into charcoal biscuits you need a shield. Take a strip of aluminium foil, fold it into a ring, and gently place it around the crimped edge of the pie crust for the last 20 minutes of baking.
This keeps the fat in the pastry from browning too quickly.
I only have fresh pumpkin purée; can I substitute it for the canned stuff in the Pumpkin Pie?
Absolutely, fresh is often best if you’ve roasted your own! However, fresh purée can sometimes hold more water than the commercially canned variety. If you are using fresh, make sure you cook it down until it’s quite thick aim for the same weight as the can (about 425g) but ensure it’s drier.
Excess water will result in a slacker filling.
Classic Flaky Pumpkin Pie