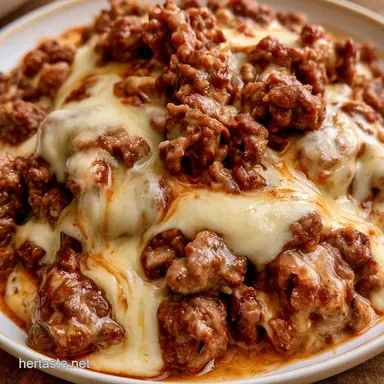
Cheesy Ground Beef Dip in 20 Minutes
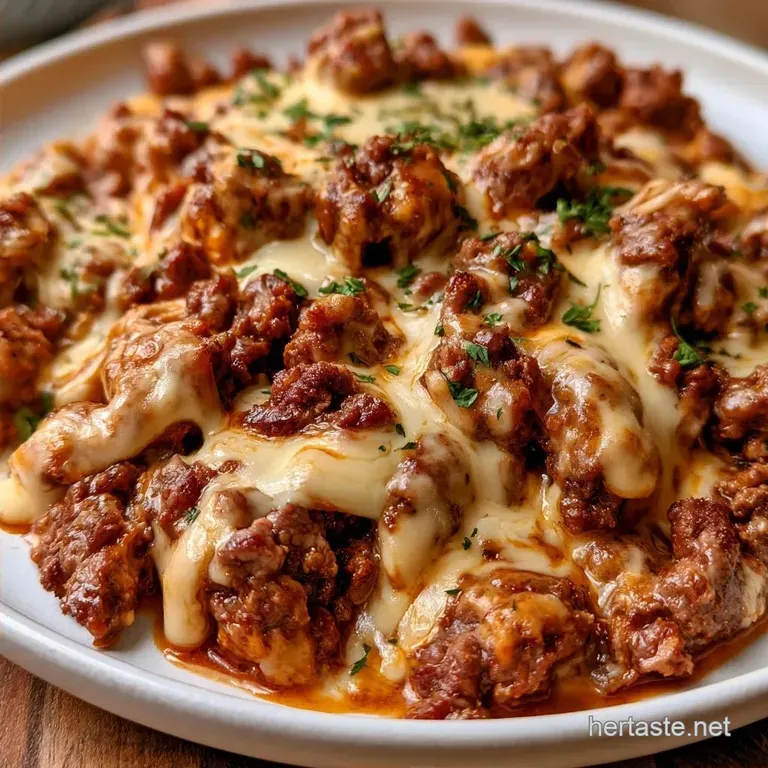
- Time: 5 min active + 15 min cook
- Flavor/Texture Hook: Hearty beef paired with a smooth, melted cheese glaze
- Perfect for: Sports parties, first-time cooks, and rapid appetizers
The sound of beef searing in a hot pan is incredibly satisfying. There's something about the aroma of sautéed garlic and onions that perfectly sets the mood before company walks through the door. I used to rely on a slow cooker, but that often led to a gritty consistency topped with a layer of grease.
Opting for 93% lean ground beef changed everything. It provides the robust flavor you want without the excess fat that typically breaks a cheese sauce. By reducing the grease, the cream cheese can properly stabilize the mixture, resulting in a velvety, thick texture.
You'll get a savory, protein rich appetizer that feels satisfying without being overly heavy. This Cheesy Ground Beef Dip is intended for quick, hot service, leaving you plenty of time to actually enjoy your guests.
Easy Cheesy Ground Beef Dip
Lean Beef Choice: Using 93% lean beef prevents the sauce from "breaking" into a puddle of grease.
Cream Cheese Base: The cream cheese acts as a thickener that holds the cheddar and beef together.
Temperature Control: Keeping the heat at medium low during the cheese phase stops the proteins from clumping.
| Style | Method | Time | Texture | Best For |
|---|---|---|---|---|
| Fast | Skillet | 20 mins | Glossy & Thick | Quick cravings |
| Classic | Slow Cooker | 4 hours | Softer & Looser | All day parties |
The lean beef is the most important part. If you use 80/20 beef, you'll spend ten minutes draining fat, and you'll still likely see oil beads on the surface of your dip. Lean beef ensures the cheese stays the star.
Recipe Specs
Now, let's talk timing. This is a quick project: 5 minutes of chopping and 15 minutes of cooking. It's a classic one-pan meal.
For the best outcome, ensure your cream cheese is fully softened. If you add a cold block, you'll be struggling with lumps in your beef for ten minutes. Let it reach room temperature for an hour or zap it in the microwave for 15 seconds.
Shopping List Breakdown
I recommend using sharp cheddar to balance the creamy base; a mild version often leaves the flavor feeling flat.
For the Savory Beef Base
- 1 lb lean ground beef (93% lean) Why this? Keeps the dip from becoming oily (Substitute: Ground turkey)
- 1 tbsp olive oil Why this? Handles high heat well (Substitute: Butter)
- 1/2 small onion, finely diced Why this? Builds aromatic layers (Substitute: Onion powder)
- 2 cloves garlic, minced Why this? Provides a bold flavor (Substitute: Garlic paste)
- 2 tbsp low sodium taco seasoning Why this? Offers a harmonious blend of spices (Substitute: Cumin and chili powder)
For the Creamy Cheese Blend
- 4 oz reduced fat cream cheese, softened Why this? Gives the dip structure (Substitute: Neufchâtel)
- 1.5 cups sharp cheddar cheese, shredded Why this? Intense, salty taste (Substitute: Pepper Jack)
- 4 oz diced green chilies, drained Why this? Adds a mild, tangy heat (Substitute: Diced jalapeños)
- 1/4 cup skim milk or beef broth Why this? Thins the mixture to the right texture (Substitute: Heavy cream)
Equipment Needed
No special gear is required for this. A large skillet is the main tool you'll need. I suggest using a stainless steel or non-stick pan to easily collect the browned bits from the beef.
A fine mesh strainer is useful for draining the beef, but a slotted spoon is a quicker alternative. You'll also need a sturdy spatula to crumble the meat and mix in the cheese.
How to Make It
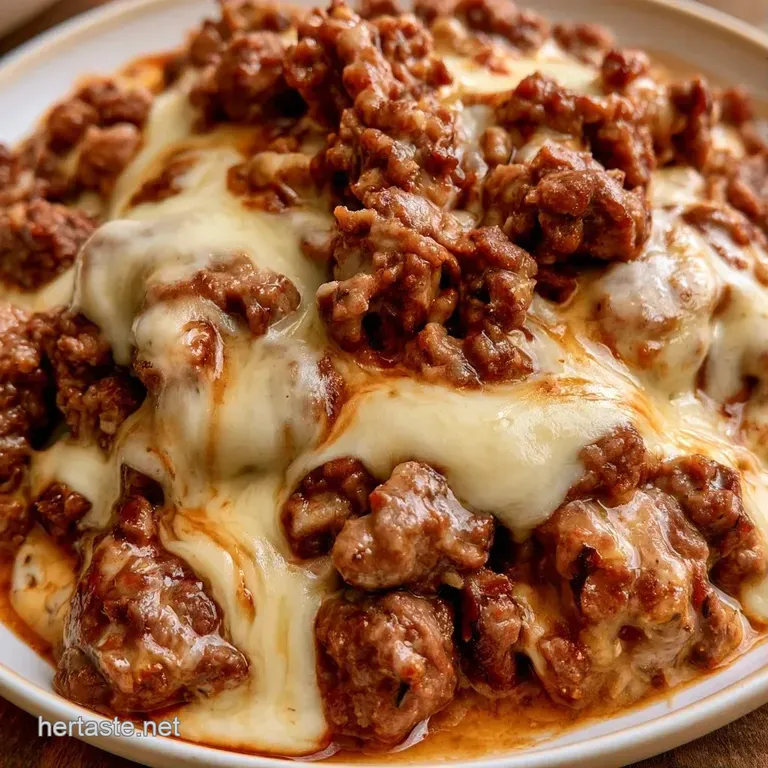
Phase 1: Browning the Protein 1. Warm olive oil in a wide pan on medium high heat, then sauté the diced onion for 3 minutes until translucent. 2.
Incorporate the ground beef, using a spatula to break it up and cooking until the meat is mahogany colored and fully browned. 3. Mix in the minced garlic and taco seasoning, heating for another 60 seconds until fragrant. 4.
Pour the mixture through a fine mesh strainer to remove any remaining liquid. Note: This step is vital to avoid a greasy dip.
Phase 2: Building the Creamy Base 5. Turn the heat down to medium low. 6. Place the softened cream cheese in the center of the pan, stirring constantly until fully melted and combined with the beef.
Phase 3: Final Emulsification 7. Fold in the diced green chilies and shredded sharp cheddar cheese, stirring gently until the cheddar is melted and the dip looks glossy. 8.
If the consistency is too thick, stir in the beef broth or milk one tablespoon at a time until a velvety consistency is reached. 9. Remove the pan from the heat immediately. Note: Overcooking the cheese makes it grainy.
Chef's Tip: For a deeper flavor, stir in a teaspoon of Worcestershire sauce during the browning phase. It adds a savory "umami" hit that makes people ask what the secret ingredient is.
Common Mistakes & Troubleshooting
The biggest issue people run into is the cheese "breaking." This happens when the heat is too high, causing the fat to separate from the solids. You'll see little orange oil bubbles on top.
If this happens, don't panic. Take the pan off the heat immediately and whisk in a tablespoon of cold milk. This helps re bind the fats and proteins. Also, make sure you aren't using pre shredded cheese if you can avoid it. Pre shredded stuff is coated in potato starch, which can make the texture a bit sandy.
Fixing Grainy Cheese
When cheese is overheated, the proteins clump. Remove from heat and stir in a splash of milk.
Adjusting Thick Texture
If the dip is too stiff to scoop, it needs more liquid. Add beef broth one tablespoon at a time.
Improving Bland Flavor
Usually, this means the beef wasn't browned enough or needs more salt. Add a pinch of salt or a squeeze of lime.
| Problem | Fix |
|---|---|
| Oil on surface | Use leaner beef or drain more thoroughly |
| Grainy texture | Lower the heat and add a splash of milk |
| Too thick | Stir in beef broth or milk one tablespoon at a time |
Perfect Complements
This dip is heavy, so you want sides that provide a crunch or a fresh acidity. Sturdy tortilla chips are the obvious choice, but toasted baguette slices also work.
For a bit of balance, serve this with sliced cucumbers, radishes, or bell pepper strips. If you're planning a full spread, this pairs well with a Mexican Pizza for a cohesive party menu.
Decision Shortcut:
- For a firmer set: Skip the milk/broth entirely.
- For more heat: Swap green chilies for fresh diced jalapeños.
- For a milder taste: Use Monterey Jack instead of sharp cheddar.
Storage & Reheating
You can keep this in a glass container in the cooler for about 3 days. Since it has dairy and meat, don't leave it out on the counter for more than two hours.
When you're ready to eat it again, don't just microwave it on high. The cheese will separate. Instead, put it in a small pot over low heat. Add a tablespoon of milk and stir constantly until it's smooth again.
If you have leftover beef and cheese but don't want more dip, you can stir the mixture into a Doritos Casserole for a quick lunch.
For zero waste, if you have a tiny bit of beef base left but not enough cheese, use it as a taco filler or stir it into some rice.
Make It Your Own
You can easily pivot this recipe depending on what's in your pantry. If you want a "Taco Style" dip, add a dollop of sour cream and some chopped cilantro on top after you remove it from the heat.
For a "Nacho Style" version, transfer the finished mixture to an oven safe dish, top with extra Monterey Jack, and broil for 2 minutes until the top bubbles and browns.
Scaling the Batch - Cutting it in half: Use a smaller skillet. Reduce the cooking time for the onions by about a minute and keep a close eye on the beef so it doesn't dry out. - Doubling the recipe: Work in batches if your skillet is small.
Don't double the salt or taco seasoning exactly; go for 1.5x the spices first, then taste and add more if needed.
Common Beliefs - Searing seals in juices: This is a myth. Searing creates flavor through browning, but it doesn't stop the meat from losing moisture. - low-fat cheese melts the same: Not really.
Low-fat versions often have different emulsifiers that can make the dip feel "plastic" or grainy. Stick to full fat for the best mouthfeel.
- 1. Onions
- Exactly 3 minutes until translucent.
- 2. Garlic/Seasoning
- 60 seconds max to avoid burning.
- 3. Cheese Phase
- Medium low heat only.
Recipe FAQs
How do I make a simple cheesy ground beef dip?
Brown lean ground beef with onions, garlic, and taco seasoning before stirring in cream cheese and cheddar.
Tip: drain the meat through a fine mesh strainer to avoid a greasy dip.
Can I use Velveeta instead of the listed cheeses?
You can substitute it, but the combination of cream cheese and sharp cheddar provides a richer flavor profile.
Tip: if you enjoy these rich savory flavors, you might like the depth of our homemade steak sauce.
Is it true that pre-shredded cheese creates the smoothest melt?
That's a myth. Pre-shredded cheese contains potato starch that can result in a sandy texture.
Tip: grate your own cheddar from a block for a glossy finish.
What do I do if the cheese starts breaking into orange oil bubbles?
Remove the pan from heat immediately and whisk in a tablespoon of cold milk.
Tip: keeping the heat at medium low prevents the fats from separating.
How should I reheat leftovers to keep the texture smooth?
Place the dip in a small pot over low heat and stir in a tablespoon of milk.
Tip: avoid the microwave on high settings to prevent the cheese from splitting.
Is it a requirement to use beef broth for the consistency?
Not true. Skim milk works just as well to reach a velvety consistency.
Tip: add the liquid one tablespoon at a time so the dip doesn't become too runny.
How can I use this mixture for nachos?
Spoon the hot beef and cheese mixture over corn chips and broil for two minutes.
Tip: top with the diced green chilies for an extra kick of heat.
Which meat is best for this specific dip?
Use 93% lean ground beef to minimize excess grease in the final product.
Tip: cook the meat until it is mahogany colored for the best flavor.
Cheesy Ground Beef Dip