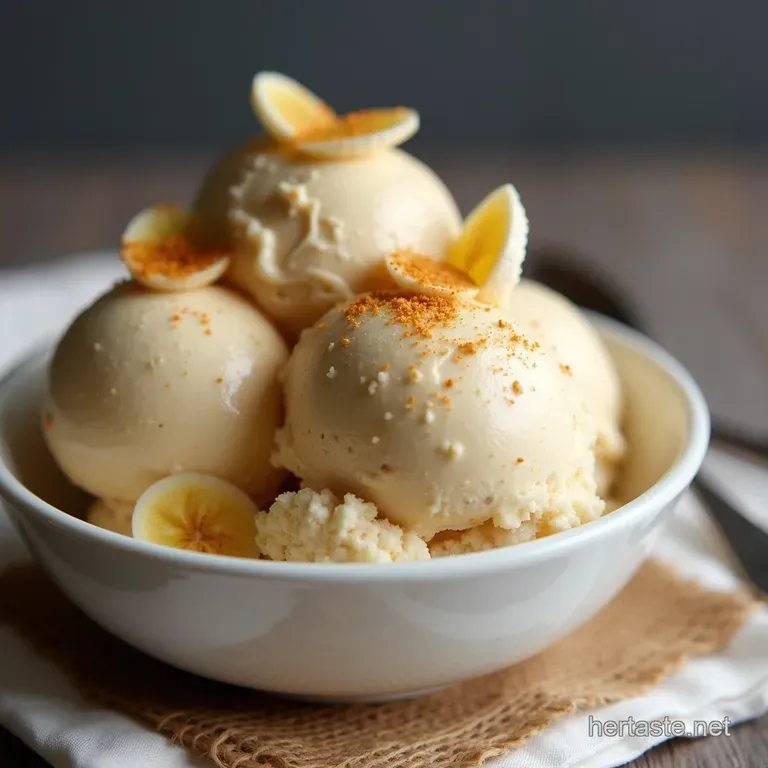
The Great British Banoffee Dream 3Ingredient Speedy Banana Ice Cream
- Ditching The Drama: Why This Banana Ice Cream Recipe Reigns Supreme
- The Allure of Effortless Dessert: Achieving Proper Creaminess Fast
- The Minimalist Pantry: Sourcing Your Trio of Components
- Tool Talk: Essential Gear for Instant Banana Ice Cream Success
- The Quick Transformation: From Frozen Chunks to Velvety Dessert
- Mastering the Blend: Achieving the Ideal Soft Serve Consistency
- Elevating Your Scoop: Simple Flavor Additions to Enhance the Cream
- Storage Secrets for Maintaining Homemade Excellence
- Recipe FAQs
- 📝 Recipe Card
Ditching The Drama: Why This Banana Ice Cream Recipe Reigns Supreme
If the thought of making homemade ice cream conjures images of complicated machinery, lengthy cooking times, and tempering egg yolks, then I have news for you: you can completely bypass all that fuss and still achieve dessert perfection.
We are diving deep into the world of Banana Ice Cream , specifically a version so gloriously simple it feels like cheating. This isn’t just about saving time; it’s about harnessing the natural magic of fruit.
This particular Banana Ice Cream Recipe relies on just three core components to deliver a texture that rivals anything you’d find in a high end scoop shop, making it the ultimate champion among Summer Banana Desserts .
Forget the bulky Banana Ice Cream Maker Recipe —we’re going straight for instant gratification.
The Allure of Effortless Dessert: Achieving Proper Creaminess Fast
What’s the secret sauce to truly excellent Ice Cream With Bananas ? It’s all about transformation. When you blend frozen, perfectly ripe bananas, the fruit breaks down into a structure that mimics the fat content and air incorporation of traditional dairy based desserts.
We aim for immediate, velvety satisfaction, which means understanding the process and the few critical elements required.
Solving the Home Churn Conundrum: Our Streamlined Approach
Traditional churning methods introduce air gradually while freezing the mixture simultaneously, preventing large ice crystals from forming. Since we are skipping the machine entirely, we rely on two things: intense, high speed mechanical action and the inherent properties of the banana structure itself.
This Quick Banana Ice Cream Recipe doesn't require churning; it requires sheer processing power to force the frozen fruit into submission, turning solid chunks into a swirlable, smooth base instantly.
What Makes This 'Proper Creamy' Banana Ice Cream a Weeknight Winner
The creamy factor hinges on ingredient selection and technique. We are utilizing the naturally high pectin and starch content of very ripe bananas, combined with a small injection of rich fat in this case, solidified coconut cream.
This richness emulsifies the fruit solids, yielding that sought after luxurious mouthfeel. You’ll find that this 3 Ingredient Banana Ice Cream produces a result that is remarkably similar to a high-quality soft serve right out of the bowl.
Setting Expectations: A Truly Simple Recipe That Actually Works
To be clear, this is not a fussy, multi day affair. The active time is negligible around 10 minutes of prep for slicing the fruit, plus the necessary waiting period for freezing.
The result is a naturally sweet, wholesome Healthy Banana Ice Cream that genuinely satisfies that intense craving without the long ingredient list or complex methodology associated with conventional frozen treats.
The Minimalist Pantry: Sourcing Your Trio of Components
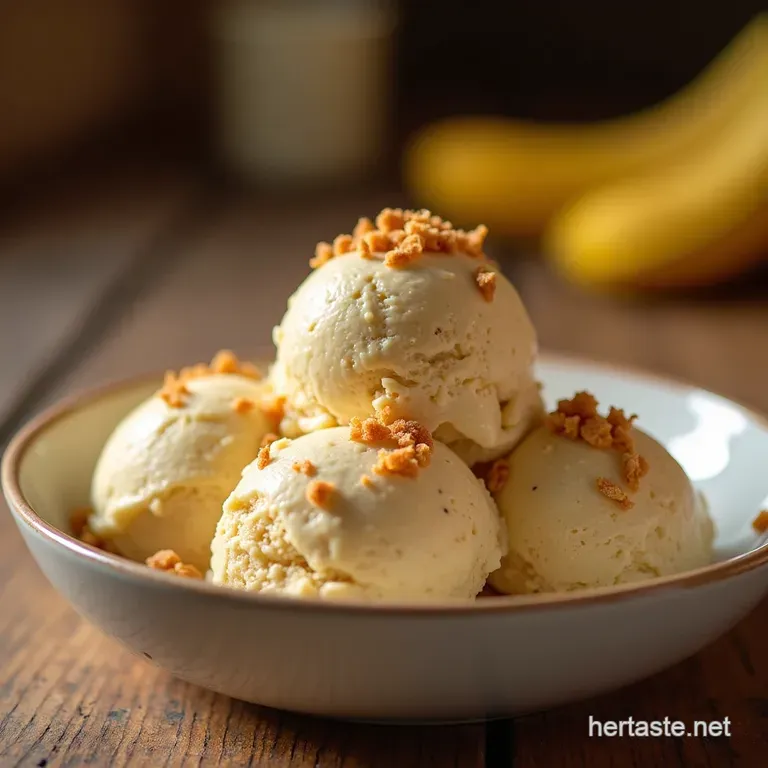
The beauty of this creation lies in its restraint. To achieve the pinnacle of flavour and texture for our Banana Nice Cream Recipe , we only need three things: high-quality ripe bananas, luxurious coconut cream, and a dash of pure vanilla extract.
The foundation must be solid. You need about three large, very ripe bananas those with plenty of brown speckling. Those brown spots signal the conversion of starch to sugar, which is crucial for both sweetness and the final creamy texture. If your bananas are too yellow, the result will be starchy and bland.
Following this, source a can of full fat coconut milk and chill it thoroughly in the refrigerator overnight. You'll only use the thick, solid cream layer that separates at the top, acting as our natural emulsifier. Finally, a teaspoon of high-quality vanilla extract ties the flavour profile together beautifully.
Tool Talk: Essential Gear for Instant Banana Ice Cream Success
While we are avoiding the traditional churning device, the blending equipment you choose is non-negotiable for success.
The Crucial State of Your Frozen Bananas
Before any blending begins, the bananas must be completely rock solid. Peel your ripe bananas and slice them into rough one-inch coins. Lay these slices in a single layer on a lined baking sheet, ensuring they aren't touching, and flash freeze them for a minimum of six hours.
This isolation prevents them from sticking together in one giant frozen clump, which is essential for even processing later.
Unlocking Natural Sweetness: Ingredient Ratios Explained
For two generous servings, we rely on the three-to-one ratio of fruit to fat/flavouring, approximately. Three large frozen bananas provide the bulk and sweetness. The liquid component, the solid cream skimmed from the top of your chilled coconut milk (about 1/4 cup or 60 ml), acts as the necessary binder.
The vanilla extract (1 teaspoon) provides aromatic depth, ensuring that even though it’s a simple recipe, the flavour remains sophisticated.
Processing Power: Choosing Between a Food Processor and a High Speed Blender
For this particular texture transformation, a food processor reigns supreme. Its wide, low blade configuration is better suited to continuously scraping the bottom and sides and cutting through large chunks of frozen material evenly.
A high speed blender can work, but it often requires much more stopping, scraping, and coaxing, and risks turning the mixture icy if you don't use the tamper constantly.
Related Recipes Worth Trying
- Healthy Banana Nice Cream Creamy Soft Serve in 5 Minutes — Whip up the creamiest Healthy Banana Nice Cream with this deadsimple recipeno ice cream maker required Its the perfect quick vegan dessert fix
- The Golden Spud Bake Creamy Sweet Potato Casserole with Marshmallows — Forget bland sides This Foolproof Sweet Potato Casserole with Marshmallows recipe guarantees a velvety spiced filling beneath a glorious toasted topping Get...
- The Best Incredibly Moist Effortless Banana Bread Recipe — Forget dry loaves This easy banana bread recipe uses only simple ingredients for the most tender flavourful homemade banana bread youll ever bake Get the recipe
The Quick Transformation: From Frozen Chunks to Velvety Dessert
This is where the magic happens the rapid transition from hard fruit to smooth dessert. Once your bananas are completely frozen, transfer them immediately to the bowl of your food processor. Do not let them thaw, as this is the fastest way to sabotage the texture and end up with mush instead of ice cream.
Mastering the Blend: Achieving the Ideal Soft Serve Consistency
The blending stage requires patience, but it is rapid. You must understand the textural progression the mixture will go through to know when you are close to the finish line.
Initial Blitz: Breaking Down the Frozen Fruit Base
Begin by pulsing the frozen banana coins several times without running the motor continuously. This initial blitz breaks the large, intimidating chunks into a coarse, gravel like consistency. If you try to process them whole, you risk overheating your motor or creating deep air pockets in the bowl.
Scraping Down and Patience: Encouraging True Cream Formation
Once crumbled, you must process continuously, stopping every 30 to 60 seconds to scrape down the sides of the bowl with a sturdy spatula. During this phase, the texture will shift dramatically: first to a thick paste, then a grainy mound, and finally, if you persist, it will suddenly collapse into a smooth, soft serve swirl.
This is the point where the crystalline structure has completely broken down and emulsified.
The Optional Firming Stage: Tips for Spoonable Ice Cream Texture
If you prefer a firm, scoopable texture reminiscent of traditional hard packed dessert, you must transfer the soft serve mixture into an airtight container immediately after blending. Place this container in the freezer for a further one to two hours. This allows the mixture to firm up slightly, ready for scooping.
If you eat it straight away, you'll enjoy a perfect soft serve experience, which is fantastic for a Quick Banana Ice Cream Recipe .
Elevating Your Scoop: Simple Flavor Additions to Enhance the Cream
While the base is phenomenal on its own, this framework is excellent for customization. Once you’ve reached that beautiful soft serve stage just before the final 30 seconds of processing this is the moment to introduce any further flavourings to ensure they blend seamlessly rather than being layered on top.
Storage Secrets for Maintaining Homemade Excellence
If you aren't planning to devour this creamy delight immediately, proper storage is vital to prevent freezer burn and crystallization, which is the nemesis of homemade Banana Ice Cream Bars or scoops.
Next Level Twists: Injecting Other Flavours into Your Banana Ice Cream
Want something truly decadent? Consider swirling in two tablespoons of smooth peanut butter during the final blending stage. For a chocolate lover’s dream, 2 tablespoons of high-quality unsweetened cocoa powder transforms this into a deeply satisfying chocolate treat.
A splash of dark rum or bourbon also works wonders for an adult twist, adding warmth without impacting the texture significantly.
Troubleshooting Common Blending Hiccups
If your mixture seems stubbornly stuck and won't blend into a smooth mass, it’s likely too cold or you don’t have enough fat/liquid content. Stop the machine, allow the bananas to temper for just five minutes on the counter, and then try processing again.
If that fails, add just one teaspoon of plant based milk or water to encourage movement. Never add too much, or you risk ruining the creamy density you worked so hard to achieve.
Optimal Storage Containers for Freezing Homemade Cream
When you opt for the firmer texture, the container matters. Use a shallow, airtight container like a loaf pan lined with parchment paper rather than a deep round tub. A shallower vessel allows the mixture to freeze more uniformly and quickly.
Ensure you press a layer of plastic wrap directly onto the surface of the ice cream before sealing the lid; this prevents ice crystals from forming on the exposed top layer, guaranteeing excellent texture retention until you are ready to enjoy your frozen bounty.
Recipe FAQs
Why do my bananas need to be so spotty for this Banana Ice Cream recipe?
Think of the brown spots as nature's way of adding sugar! Underripe, yellow bananas contain a lot of starch, which results in a slightly chalky or flavourless texture when frozen and blended.
Those dark spots mean the starches have converted to simple sugars, giving you that essential natural sweetness and that super smooth, creamy mouthfeel we are after.
I don't have a food processor; can I use a regular blender to make this?
You can try, but it’s a bit of a gamble, bless your heart! A high powered blender might manage it, but you must use the tamper attachment religiously, stopping and stirring frequently to prevent the motor from overheating.
A food processor is definitely the preferred tool because its wider base helps chop the frozen chunks more effectively into that lovely soft serve consistency.
My mixture went from creamy back to icy after blending too long what went wrong?
Ah, that’s the peril of over processing! When you blend frozen fruit, you are essentially creating an emulsion; if you keep processing past the smooth, soft serve stage, you are incorporating too much air and potentially warming the mixture slightly, which can cause the tiny ice crystals to refreeze unevenly.
Stop blending the moment it looks perfectly creamy, transfer it to the tub, and chill it quickly if you want it firmer.
How long can I keep this homemade Banana Ice Cream in the freezer?
For the absolute best quality, try to eat it within a week; after that, you might notice a slight toughening of the texture. Always store it in a shallow, airtight container with a layer of cling film pressed directly onto the surface before sealing the lid this acts as a brilliant barrier against pesky freezer burn, keeping it tasting fresh!
Can I add things like chocolate chips or nuts to this recipe?
Absolutely, that’s where the fun starts! The trick is when to add them: stir in any mix-ins like chocolate chips, chopped walnuts, or a swirl of peanut butter after the mixture is completely smooth (just before you transfer it to the freezer for hardening).
If you blend them in too early, they can damage the blade or break down too finely.
3ingredient Banana Ice Cream

