Roll Fresh Veggies with Tasty Garden Spring Roll
- Roll Fresh Veggies with Tasty Garden Spring Roll
- The Magic of Spring Rolls
- Why You’ll Love Them!
- Let’s Get Rolling!
- Essential Ingredients Guide for Your Tasty Garden Spring Rolls
- The Art of Cooking: Roll Fresh Veggies with Tasty Garden Spring Rolls
- Pro Tips & Secrets
- Perfect Presentation
- Storage & Make-Ahead
- Creative Variations
- Complete Nutrition Guide
- Expert FAQ Solutions
- Wrap It Up
- 📝 Recipe Card
Roll Fresh Veggies with Tasty Garden Spring Roll
Oh my gosh, let me tell you about my first experience rolling fresh vegetable spring rolls . picture this: i was hosting a little get-together in my backyard, the sun was shining, and all my girlfriends were running late (as usual!).
I decided to whip up something fresh and fun. that's when i stumbled upon the idea to roll fresh veggies with tasty garden spring roll !
I vividly remember the squeal of delight as we took our first bites. the first crunch was crucial. that satisfying, crispy snap was music to our ears.
Not just were these vegan spring rolls packed with colorful veggies and herbs, but they were also such a hit that everyone wanted to learn how to make them.
The Magic of Spring Rolls
Did you know these delightful rolls originate from southeast asian cuisine , particularly vietnam? they’ve been around for ages and are loved for their lightness and vibrant flavors.
Nowadays, these babies are more popular than ever, showing up in fancy restaurants, food trucks, and even our kitchens.
This is an easy spring roll recipe that takes about just 25 minutes from start to finish. yep! you heard me right no cooking required.
Just chop, roll, and dig in! plus, it yields about 8 crispy delights , perfect for a chill outdoor party or a casual snack at home.
The cost? minimal! a little bit of fresh produce goes a long way, meaning you can whip these up without breaking the bank.
Why You’ll Love Them!
Let’s talk about the benefits because trust me, you’re gonna want to know why these spring rolls are worth your time.
First off, they're loaded with nutrients. we're talking fresh herbs in cooking , crunchy vegetable snacks , and simply a medley of colors that is good for the eyes and the tummy!
Another win is their adaptability. you can serve them at a summer bbq, a birthday, or even a cozy game night.
And let’s be real, who doesn’t love a good dipping sauce for spring rolls ? whether it's a sweet chili sauce or a spicy peanut butter dip, they can perfectly balance the lightness of the rolls.
You can even swap out ingredients as needed. feeling adventurous? try adding shrimp or tofu for a heartier twist!
Plus, they're incredible for those of us aiming for healthy eating options . light on carbs and packed with vitamins, they’re perfectly aligned with current food trends focusing on fresh produce and nutrient dense appetizers.
Let’s Get Rolling!
Ready to dive into it? the ingredients you'll need are as simple as the steps: fresh veggies, rice paper, and your favorite dipping sauce.
Make sure to have your chopping board and a shallow dish of warm water handy because we’re about to roll some magic.
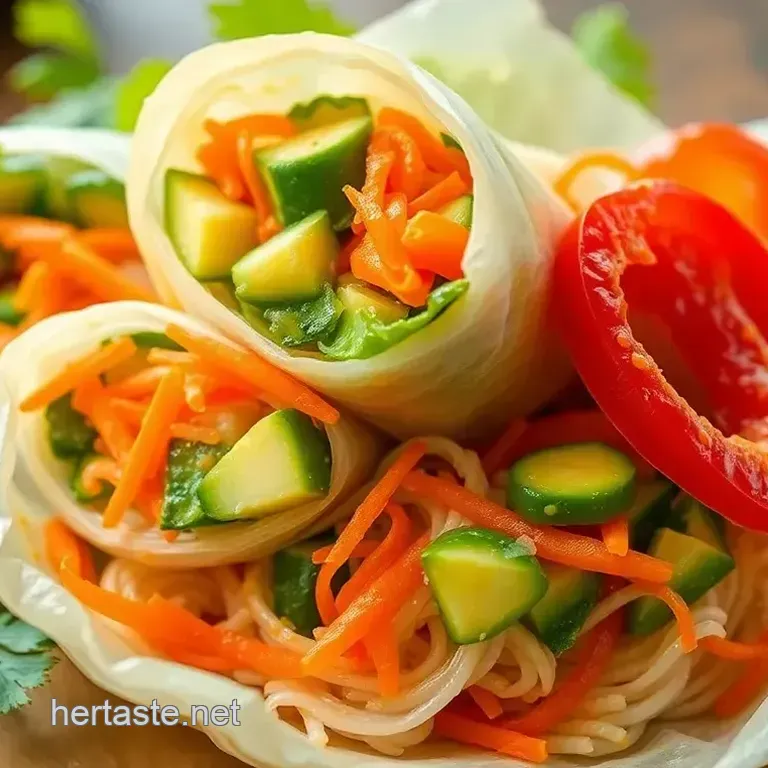
Imagine the fresh aroma of shredded cabbage, julienned carrots, and fragrant herbs wrapping up snugly in rice paper. let’s just say, as they come together, they’re not just food; they’re a beautifully arranged masterpiece.
You’ll discover that rolling them can be a slight learning curve, but that’s all part of the fun! sometimes a roll might tear, but hey, it just adds to the charm.
Who doesn’t love a little rustic vibe? and before you know it, you’ll be creating your own spring roll variations with all sorts of filling ideas.
So, grab your fresh ingredients, because we’re about to take casual dining to a whole new level with these light vegetarian meals .
All set? let's jump into the ingredients and make the world a little crunchier and tastier, one roll at a time!
Essential Ingredients Guide for Your Tasty Garden Spring Rolls
Alright, let's dive right into the deliciousness of making roll fresh veggies with tasty garden spring roll ! first up, let’s chat about the essential ingredients that can elevate this fresh vegetable spring roll experience.
You won’t just throw things together; there’s a bit of magic in knowing what to pick.
Premium Core Components
Fresh vegetables are the heart of these rolls. for a stellar spring roll, you'll need 1 cup (150g) shredded cabbage , 1 cup (150g) julienned carrots , and 1 cup (150g) cucumber .
Make sure those veggies are fresh and crisp. you can always squeeze a little lime or sprinkle salt to test how fresh they are.
If they crunch, you’re in business!
Storage and shelf life ? well, keep your veggies in a cool fridge. grab them within a week for peak freshness.
Just wash ‘em before you chop. measurements are pretty key too. if you’re not feeling like busting out the scale, keep it simple with cups!
Signature Seasoning Blend
Now, let’s jazz this up a bit with some signature seasonings . fresh herbs like cilantro and mint are your best buds here! for an asian flair, give a nod to lemon grass or some thai basil for those herb infused vibes.
And don’t forget the dipping sauce for spring rolls . store-bought soy sauce mixed with a touch of rice vinegar, honey, and a splash of sesame oil creates that zesty kick that’ll have you dipping away like there’s no tomorrow.
It’s all about layering those flavors!
Smart Substitutions
What if you’re missing something? No sweat. Common alternatives are your best friends. Out of cucumbers? Use bell peppers or even radishes for a crunchy change!
Dietary modifications come in handy too. want it gluten-free? swap soy sauce with tamari. and if you’re looking for raw and vegan, skip the honey for agave syrup.
Keep it versatile and fun!
Kitchen Equipment Essentials
You might be thinking, "what do i need to whip these up?" well, must have tools are simple! grab a large mixing bowl for your veggies, a cutting board, and a sharp knife.
A shallow dish for soaking your rice paper is a must too!
Prep doesn't get easier than this. lay out everything you need beforehand. think of it as your little assembly line! pro tip: keep a damp cloth handy to cover those leftover rice papers to avoid drying out.
Trust me; nobody wants torn rolls!
Wrapping It All Up
So here we are, ready to roll fresh veggies with tasty garden spring roll . imagine sitting outside on a sunny day, these vibrant, crunchy vegetable snacks are a breeze to throw together and perfect for outdoor party food ideas.
Each bite is refreshing, healthy, and packed with nutrients. you'll feel good indulging in these light vegetarian meals.
Now that you’ve got the essentials down, let’s shift gears to how you actually make these beauties. get jazzed; we're diving into the step-by-step instructions to create your perfect easy spring roll recipe ! trust me, once you get the hang of it, you’ll be a spring roll pro in no time.
Ready? let’s roll!
The Art of Cooking: Roll Fresh Veggies with Tasty Garden Spring Rolls
When it comes to whipping up something fresh and fun, roll fresh veggies with tasty garden spring roll takes the cake or should i say, the whole platter! honestly, these aren’t just your ordinary spring rolls.
They are a vibrant explosion of fresh veggies and aromatic herbs, all wrapped snugly in delicate rice paper. no cooking required, just chopping, rolling, and, of course, dipping!
So, grab your cutting board and let’s dive into how this dish can elevate any gathering.
Essential Preparation Steps
Mise en place that fancy french term just means having everything ready to roll before you start. chop your veggies like shredded cabbage, julienned carrots, and fresh herbs and have them organized.
Guys, i can’t stress this enough. a chaotic kitchen makes for a chaotic cook! so, set up a little assembly line.
It makes everything smoother, trust me.
Oh, and time management is key here! You’ll want to soak those rice papers for about 10-15 seconds each until they’re nice and bendy so plan your filling assembly accordingly.
And let's talk safety considerations ! With sharp knives and delicate rice papers, take it easy. Keep those fingers safe and avoid slip ups.
step-by-step Process
Alright, here’s how we roll:
Get your veggies ready : wash and chop your ingredients. you’ll want about 1 cup each of cabbage, carrots, and cucumber, plus a handful of fresh cilantro and mint.
Fresh herbs make all the difference!
Make that dipping sauce : combine 1/4 cup soy sauce, 1 tablespoon rice vinegar, and a dash of sesame oil in a bowl.
Whisk it up until it sings. seriously, this sauce is going to rock your taste buds.
Soak the rice paper : Fill a shallow dish with warm water. Dip one rice paper in for just 10-15 seconds until it’s soft, then lay it flat on your work surface.
Fill it up : place your assorted veggies in the middle, leaving some space at the edges. don’t overstuff, or you’ll have a messy roll on your hands.
Roll gently from the bottom up. it’s like tucking in a burrito but with finesse!
Repeat : Keep rolling until you’ve got a lovely platter full of spring rolls.
Now for the part that’s really important: visual cues for doneness aren’t applicable here since nothing needs cooking, but trust your vibes.
If your rolls are sticking together, you’ve probably overfilled them. if they’re not holding, try again with a lighter hand!
Expert Techniques
Now, let’s talk some pro tips. avoid those common mistakes when making fresh vegetable spring rolls . one major blunder is overfilling.
Trust me, your rolls will thank you if you aim for simplicity.
When it comes to quality checkpoints, ensure your veggies are fresh. Like, really fresh. They should be crisp and vibrant. If they look sad, toss ‘em and grab better ones.
And if you run into trouble? Don’t sweat it! Just re-soak the rice paper if it tears, or try again. It’s all about practice!
Success Strategies
So, how do you ensure every round of spring rolls turns out fab? Here’s the lowdown.
Avoid the usual pitfalls: using wilted veggies or not prepping enough rice papers can lead to chaotic rolling. always keep a damp cloth handy to cover your rice papers if you’re not using them right away.
And lastly, know your options! these herb infused spring rolls are perfect for a light meal idea or as asian inspired appetizers at your next outdoor bash.
Want to make-ahead? just assemble and keep in the fridge, but make sure they’re airtight.
A Little Extra
So why not take that plunge and roll these fresh veggie delights? they’re great as a quick prep dish or a healthy appetizer recipe .
Just imagine them at your next potluck or picnic everyone will rave about your nutrient dense appetizers .
As you embark on this cooking adventure, whether you’re a newbie or a seasoned pro, remember: it’s not just about the food.
It’s about the fun, the people you share it with, and the stories that come along.
So roll those fresh veggies up, dip them in that zesty sauce, and let the appreciation roll right back to you.
Stay tuned for more additional information on serving suggestions, variations, and everything else you need to become a spring roll superstar!
Pro Tips & Secrets
Oh my gosh, let’s talk about some pro tips for making those roll fresh veggies with tasty garden spring rolls absolutely unforgettable! first off, use the freshest veggies you can find.
I swear, the crunch of a fresh cucumber or crisp cabbage makes all the difference. for time saving techniques, chop your veggies ahead of time and store them in an airtight container in the fridge.
This way, when you're ready to roll, everything’s prepped and ready to go like your own little veggie army waiting to get wrapped up!
Now, let’s enhance those flavors, shall we? i like to add a bit of lime juice to the dipping sauce .
It gives a bright zing that complements the fresh vegetable spring rolls so well. and presentation? don't forget to lay those rolls out pretty! place them on a platter like they’re at a fancy restaurant.
A sprinkle of sesame seeds or a drizzle of your dipping sauce right on top can transform your plate from average to instagram worthy in seconds!
Perfect Presentation
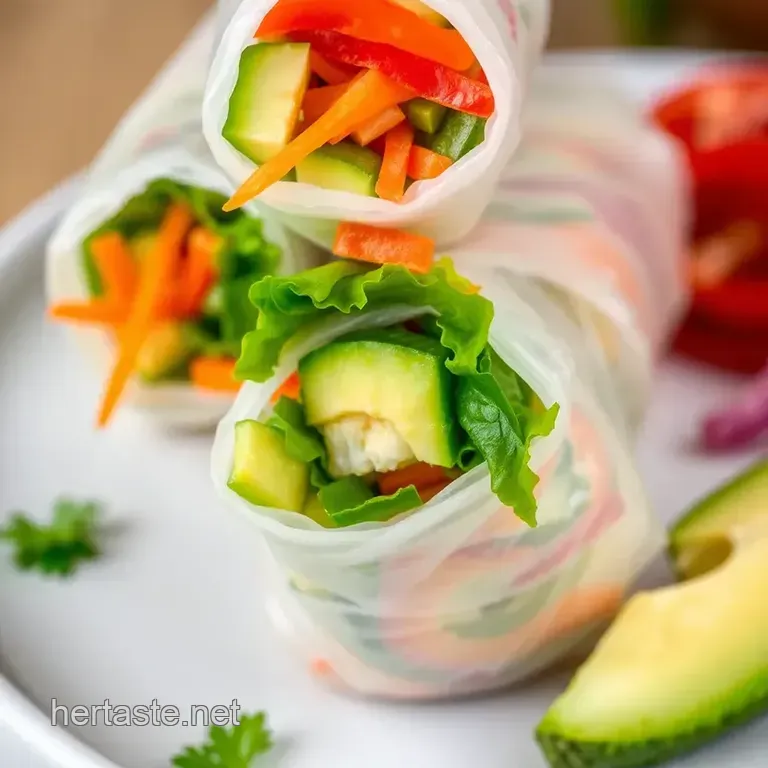
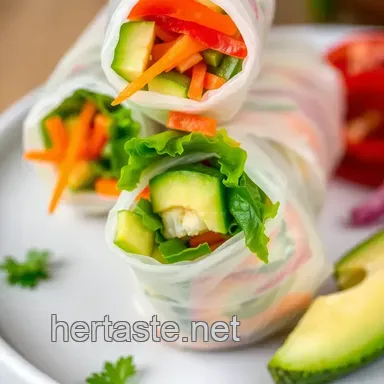
Speaking of presentation, let’s get a bit fancy! plating techniques are just as crucial as taste. arrange your vegetarian spring rolls bobbing like rainbows in a shallow dish.
You want those colors to pop against a simple backdrop. pair colors that look stunning together, like bright orange carrots with lush green herbs.
You can even garnish with fresh herbs like cilantro or mint for a dash of color and aroma.
Visual appeal matters. a compelling plate can be a game changer. you could even serve them stacked up like a tower, balancing them artfully.
Trust me, folks love a good surprise when they dig in!
Storage & make-ahead
Now, let's chat about storage. if you’ve got leftovers (lucky you!), they can be kept in an airtight container in the fridge for up to two days.
But heads-up: the rice paper can get a bit chewy, so fresh is best . to preserve them longer, just keep those ingredients separate.
Roll them up just before serving for that crispy, fresh feel.
When it comes time to reheat (if you have to), skip the microwave nobody wants a soggy roll! instead, give them a quick dip in hot water to fluff them back up, and boom! you’ve got a delightful snack ready to enjoy.
Creative Variations
Alright, listen up! this is where things get exciting. the beauty of spring roll variations is that they allow you to get creative.
Want a spicy kick? toss in some sliced jalapeños or maybe an herb infused spring roll with fresh basil and lemongrass.
Feeling fruity? think mango or even a cheeky slice of ripe avocado that melts in your mouth! and if you're looking for gluten-free options, just swap out the soy sauce with tamari.
The world is your oyster or, in this case, your veggie!
Complete Nutrition Guide
You can feel good about munching on these nutrient dense appetizers . each roll is pretty light just around 100 calories and gives your body some great vitamins.
They’re packed with fiber and good for-you greens. honestly, they’re a fantastic healthy appetizer recipe for those nights when you just want something light yet filling.
Portion guidance? i suggest two to three rolls per person, especially if you’re serving them as a light meal or at an outdoor party.
Pair 'em with a cooling drink, and you have an awesome summer feast!
Expert FAQ Solutions
Got questions? don’t sweat it; here’s a little faq just for you. a common concern is how to keep your rolls from sticking together.
Use parchment paper between them if stacking. if you find them tearing don’t worry; it happens to the best of us! just roll them a tad tighter, and they’ll hold up better.
If you have leftover ingredients, just toss them in a quick salad with a light vinaigrette. It seamlessly transforms leftover veggies into a refreshing summer snack .
Wrap It Up
So, there you have it! making roll fresh veggies with tasty garden spring rolls is not only a fun activity but also a quick prep dish that’s perfect for any gathering.
Whether you’re hosting a dinner party or just craving something light, these spring rolls pack a flavorful punch and can be tailored to suit anyone's taste.
Remember, cooking should be joyful and easy. so grab your friends, get those veggies rolling, and enjoy the simplicity of these delicious rice paper rolls! happy cooking, everyone!
Roll Fresh Veggies With Tasty Garden Spring Roll
Ingredients:
Instructions:
Nutrition Facts:
| Calories | 100 kcal |
|---|---|
| Protein | 2g |
| Fat | 2g |
| Carbs | 20g |
| Fiber | 2g |
| Sugar | 2g |
| Sodium | 300mg |
