The Only Homemade Chocolate Syrup Recipe Youll Ever Need
- Unveiling the Secrets to Truly Decadent Homemade Chocolate Syrup
- Why This Recipe Elevates Every Dessert
- Mastering the Component List for Intense Chocolate Flavor
- Step-by-Step Guide to Crafting Your Perfect Batch
- The Cooking Process: Achieving Silky Smoothness
- Storage Mastery and Shelf Life Expectations
- Creative Applications Beyond the Basics
- Recipe FAQs
- 📝 Recipe Card
Unveiling the Secrets to Truly Decadent Homemade Chocolate Syrup
Forget the thin, watery, overly processed bottles that linger in the back of your pantry. When you crave that deep, comforting richness that only true chocolate can deliver, you need something made right in your own kitchen.
We are diving into the definitive Homemade Chocolate Syrup Recipe , a batch so intensely flavourful and perfectly viscous it will transform every dessert it touches.
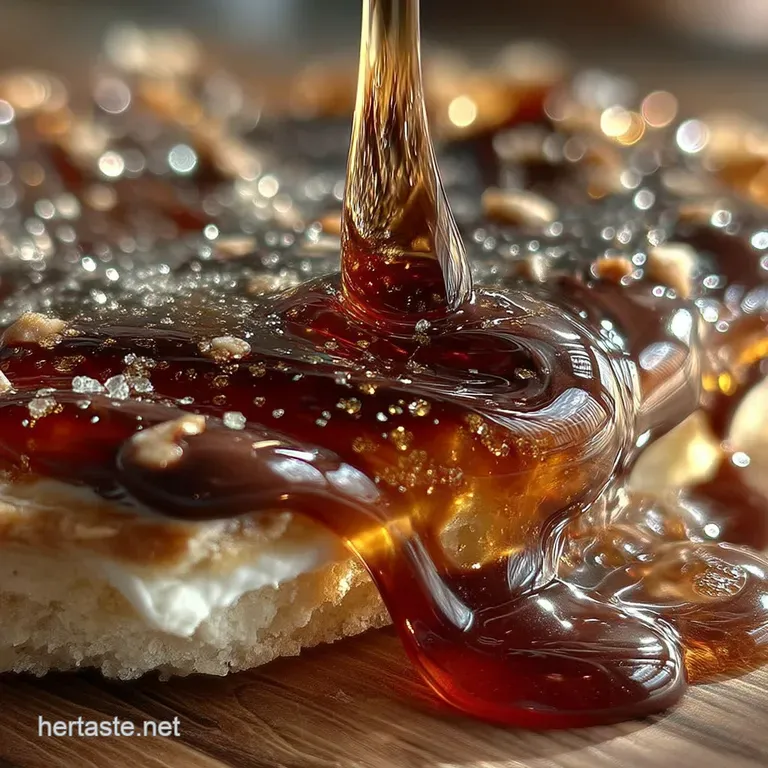
This isn't just a simple drizzle; it’s a commitment to quality, yielding a velvety smooth creation that begs to be used everywhere, from morning coffee to late night sundaes.
Why This Recipe Elevates Every Dessert
This particular iteration which I affectionately call the 'Ultimate Homemade Chocolate Syrup' is designed for maximum impact. We move beyond basic sweetness to achieve a balanced, profound chocolate essence.
The beauty of crafting this yourself is controlling every variable, ensuring that the final product meets your exact standards for richness and texture.
The Superiority of Scratch Made Chocolate Sauce Over store-bought
The fundamental difference between our efforts here and commercial alternatives lies in the intensity of the cocoa. store-bought syrups often rely heavily on corn syrup and artificial flavourings to achieve thickness and shelf stability.
Conversely, this Rich Chocolate Syrup Recipe relies on the pure flavour of high-quality unsweetened cocoa powder, often Dutch processed, which gives us that deep, almost earthy bitterness that cuts beautifully through sweetness. This depth is what separates a good topping from a truly great one.
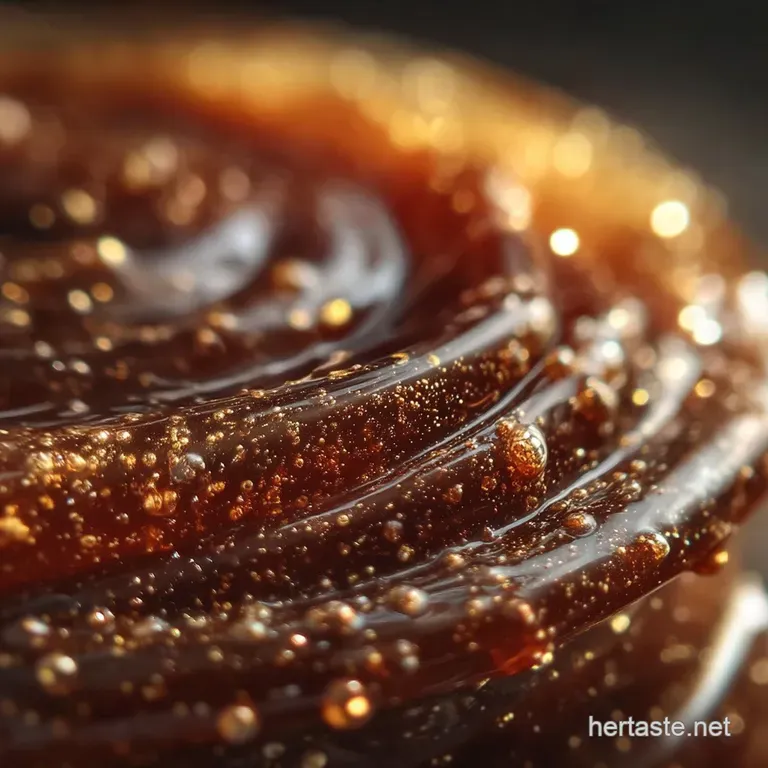
A Luxurious Viscosity: Achieving the Perfect Coating Consistency
One of the most frustrating issues with commercial syrups is their tendency to run off your ice cream immediately. Our goal is a texture that clings beautifully. By carefully balancing the ratio of water, sugar, and cocoa, and allowing for a specific simmering time, we achieve a glorious mouthfeel one that coats the back of a spoon perfectly.
This specific texture ensures that when you are asking How To Make Chocolate Syrup , you are aiming for that ideal, clingy finish.
How This Syrup Transforms Simple Beverages into Gourmet Experiences
This concoction is not limited to ice cream; it's the secret weapon for your drink station. Imagine stirring a spoonful into cold milk for the Best Homemade Chocolate Syrup experience, instantly yielding a gourmet chocolate milk that tastes far superior to anything carton bought.
It’s equally brilliant when melted slightly and whisked into espresso for a truly decadent mocha.
Mastering the Component List for Intense Chocolate Flavor
The success of any great recipe rests on its ingredients, and this is particularly true for something so pure as a syrup. We need components that harmonize to provide depth without becoming cloying. Our Chocolate Syrup With Cocoa Powder approach keeps things simple yet potent.
Selecting the Right Cocoa Powder for Deep Color and Bitterness
For the richest outcome, I strongly recommend using Dutch process cocoa powder. This type has been alkalized, which neutralizes some of the cocoa’s natural acidity, resulting in a darker colour and a much smoother, less sharp flavour profile.
If using natural cocoa, you might find the final taste slightly sharper, which is fine, but Dutch process is the path to true indulgence.
Sugar Ratios: Balancing Sweetness with Richness
We employ a 1:1 ratio of sugar to water initially, which is classic for achieving a stable syrup base. However, it is the subsequent addition of the cocoa powder that shifts the balance.
This ensures enough sugar is present to create the necessary binding structure while allowing the bitterness of the cocoa to shine through, preventing the final product from tasting overly saccharine.
The Role of Vanilla and Salt in Flavor Amplification
Do not skip the salt! A mere ¼ teaspoon of fine sea salt is perhaps the most crucial non-chocolate ingredient. Salt acts as a flavour enhancer, making the chocolate taste more chocolatey and providing a necessary counterpoint to the sugar.
Similarly, adding pure vanilla extract after cooking rounds out the flavour profile, adding aromatic complexity that elevates the entire experience.
Quick Check: Do You Have All the Necessary Utensils?
The required toolkit is wonderfully minimal. You need a medium, heavy bottomed saucepan this is non-negotiable, as it prevents hot spots that can scorch the sugar and cocoa solids.
A reliable whisk is essential for that initial lump free mix, and a fine mesh sieve is your best friend for ensuring a perfectly silky final product when preparing this Homemade Chocolate Syrup .
Related Recipes Worth Trying
- The Only Homemade Chocolate Sauce Recipe Youll Ever Need — Forget jars This simple chocolate sauce recipe delivers a thick decadent homemade sauce ready in 15 minutes Perfect for ice cream or churros
- The Ultimate Velvety Dark Chocolate Sauce Recipe Ready in 15 Mins — Ditch the jar This easy homemade chocolate sauce recipe uses cocoa powder for a rich glossy drizzle perfect for ice cream or pudding Ready in 15 minutes
- The Ultimate Cozy Cuppa Homemade Vanilla Cinnamon Milk Tea — Learn how to make vanilla cinnamon milk tea at home This comforting recipe is easy balanced and far better than takeaway Perfect for a rainy afternoon
step-by-step Guide to Crafting Your Perfect Batch
The magic happens swiftly. With only about five minutes of prep and roughly ten minutes of cooking time, you can have this Homemade Chocolate Syrup for Ice Cream ready to cool down in under 20 minutes total.
The Cooking Process: Achieving Silky Smoothness
Initial Infusion: Blooming the Cocoa in Hot Liquid
The absolute first step is critical: whisk together the water, granulated sugar, cocoa powder, and salt while the mixture is still cold . Never add dry cocoa directly to a hot liquid; it clumps immediately.
By combining everything in the cold saucepan first, you ensure the cocoa is fully hydrated and lump free before heat is applied. This diligence is key to avoiding gritty texture.
Simmering Sensibly: Preventing Scorching and Grittiness
Once combined, place the pan over medium heat. Stir constantly until the mixture reaches a gentle simmer. You must reduce the heat slightly at this point to maintain a steady, non-aggressive bubble. We need to cook this for about 5 to 7 minutes.
This isn't just about dissolving the sugar; this simmering period is when the starches and sugars begin to cook down, creating the body. Be diligent about scraping the bottom with your spoon or spatula to prevent any sediment from sticking and burning.
The Crucial Cooling Phase for Optimal Thickness
Once the syrup coats the back of your spoon beautifully, remove it from the heat immediately. Let it sit for about five minutes before stirring in the teaspoon of pure vanilla extract.
The syrup will continue to thicken significantly as it cools, which is why we remove it just before it seems "perfectly done" on the stove. Patience during the final cooling stage ensures you don't end up with something too thin.
Troubleshooting: Fixing Common Texture Issues in Your Homemade Chocolate Syrup
If, after cooling completely, your Homemade Chocolate Syrup for Milk seems too thick (perhaps you cooked it a minute too long), don't panic. It’s easily fixed.
Simply warm up a small portion of the cooled syrup and whisk in a teaspoon of warm water at a time until the desired consistency is reached. If it seems too thin, reheat it gently and simmer for another minute or two, constantly stirring, until it reduces slightly.
Storage Mastery and Shelf Life Expectations
Proper storage is vital for maximizing the enjoyment of your rich chocolate syrup. Once completely cooled to room temperature, transfer the syrup into a clean, sterilized airtight container a sealed Mason jar works perfectly.
Due to the high sugar content, this syrup has a respectable shelf life, but because it contains only water and no added preservatives, it must be refrigerated. Stored correctly, you can expect this syrup to maintain peak quality for up to two weeks.
Creative Applications Beyond the Basics
While drizzling this over ice cream is delightful, exploring the versatility of this homemade creation unlocks its full potential.
Optimal Refrigeration and Container Choice for Longevity
Always use glass for storage if possible, as it doesn't retain odours or leach chemicals. Ensure the lid is tight to prevent surface flavour absorption from other items in the fridge. Remember, the syrup will become quite dense when cold, making it perfect for thick layers on baked goods.
Revisiting Nutrition: Understanding the Energy Content Per Serving
While this is a treat, understanding the breakdown helps in moderation. This recipe yields a concentrated product; therefore, a small serving goes a long way. Each portion delivers concentrated energy, primarily from the sugar content, balanced by the dark notes of the cocoa.
It's a delicious indulgence, best enjoyed mindfully.
Flavor Twists: Infusing Spices and Different Sweeteners
To explore beyond the classic profile, try incorporating other elements during the simmering stage. Adding a small piece of cinnamon stick or a few coffee beans can introduce exciting undertones.
For a different character entirely, experiment with swapping out half the granulated sugar for maple syrup, though you must remember to reduce the initial water measurement slightly to maintain that critical viscosity.
Serving Suggestions: From Ice Cream Topping to Cocktail Mixer
Beyond its role as the Homemade Chocolate Syrup for Ice Cream , consider whisking a few tablespoons into steamed milk for the ultimate hot chocolate experience far superior to any packet.
It also shines when used as a base for dark chocolate cocktails, lending a deep, real chocolate flavour to drinks that bottled syrups simply cannot replicate. Don't forget using it in recipes for Homemade Chocolate Syrup Canning if you decide to make an extra large batch, ensuring you follow proper water bath canning procedures for shelf stability beyond two weeks.

Recipe FAQs
How long will this Homemade Chocolate Syrup last in the fridge?
Stored properly in an airtight container in the refrigerator, this syrup is generally good for about two weeks. Because it’s made with simple ingredients and no preservatives, it’s best to use it within that timeframe.
Give it a good shake before using, and if you notice any cloudiness or off smells, chuck it, as we say!
My syrup seems too thin; did I do something wrong?
Don't fret, this is a common hitch, much like finding a rogue sock in the washing machine! The key is that the syrup thickens significantly as it cools down completely. If it’s still thin after cooling overnight, it likely needed another minute or two on the hob during the simmer stage.
Next time, make sure you hit that 5-7 minute simmer time.
Can I make this syrup without using granulated sugar, perhaps using honey or maple syrup?
You absolutely can tinker with it, but you'll need to adjust the liquids. If you substitute sugar with honey or maple syrup, reduce the initial water by about a quarter cup to compensate for the liquid already present in those sweeteners.
Be aware that these alternatives will alter the final flavour profile slightly, giving it a more autumnal note.
How can I make my Homemade Chocolate Syrup taste richer, more like café quality?
To achieve that proper, decadent depth, always opt for high-quality Dutch process cocoa powder; it’s darker and less acidic than standard cocoa. Also, remember that pinch of salt we added it's non-negotiable for balancing the sweetness and bringing out the true chocolate flavour.
A tiny splash of instant espresso powder during the cook also works wonders!
My syrup has some annoying little lumps, even after cooking; how do I get it velvety smooth?
Ah, those pesky lumps mean the cocoa didn't fully hydrate before the boil. The best fix is to strain the warm syrup through a fine mesh sieve into a clean bowl before it cools down completely.
For the next batch, ensure you whisk the cocoa powder and sugar vigorously into the cold water first before turning the heat on that's the secret to a silky result.
Rich Homemade Chocolate Syrup
Ingredients:
Instructions:
Nutrition Facts:
| Calories | 3043 kcal |
|---|---|
| Protein | 28.4 g |
| Fat | 44.0 g |
| Carbs | 225.9 g |
| Fiber | 33.4 g |
| Sodium | 40386 mg |
