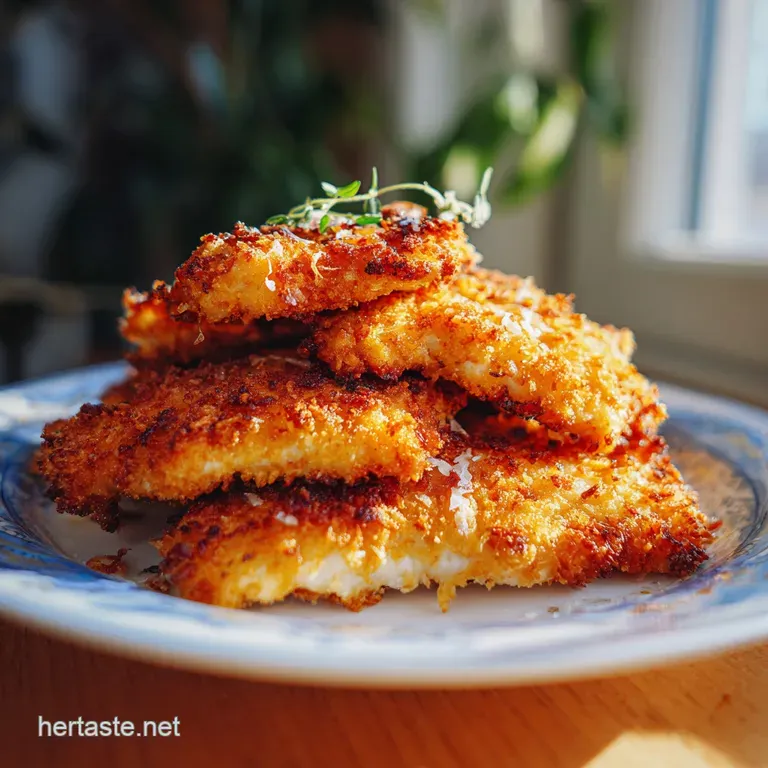
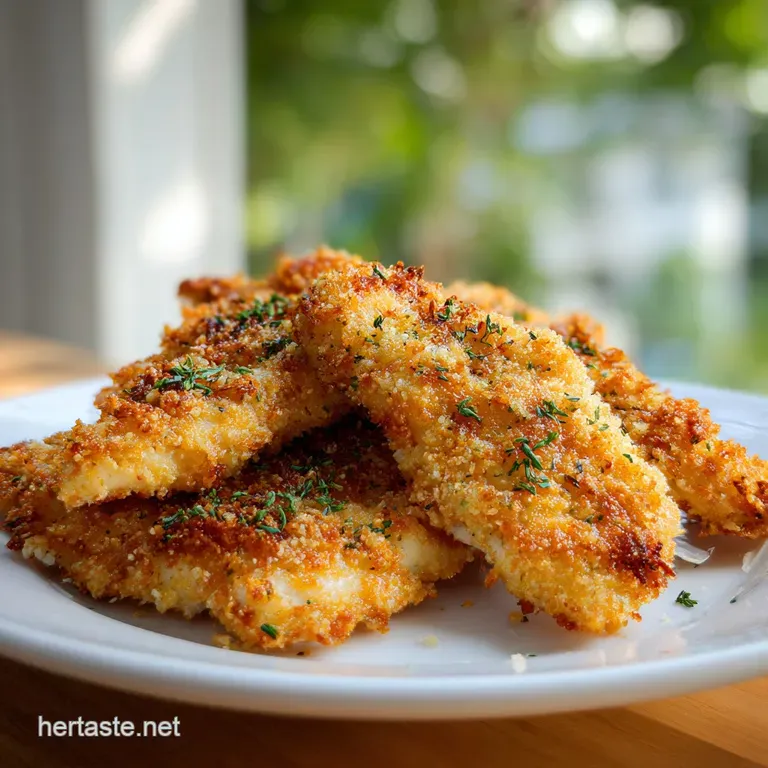
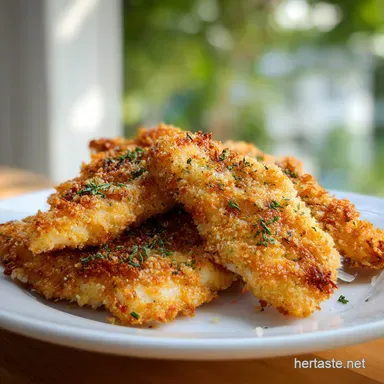
Parmesan Crusted Chicken: Crispy and Golden
- Time: Active 15 minutes, Passive 20 minutes, Total 35 minutes
- Flavor/Texture Hook: Shatter crisp Panko with a velvety, garlicky interior
- Perfect for: Weeknight dinners where you want a restaurant quality crunch without the frying mess
- Creating the Ultimate Parmesan Crusted Chicken
- Why This Technique Works
- Essential Recipe Specifications
- Selecting the Right Ingredients
- Necessary Kitchen Tools
- Step by Step Cooking Process
- Solving Common Baking Problems
- Versatile Flavor Variations
- Adjusting for More Guests
- Debunking Kitchen Rumors
- Storing and Reheating Tips
- Best Serving Suggestions
- Recipe FAQs
- 📝 Recipe Card
Creating the Ultimate Parmesan Crusted Chicken
Listen, I've seen it all when it comes to breaded poultry. Most of the time, you end up with a kitchen covered in flour, three dirty bowls, and a piece of meat that’s dry on the inside and mushy on the bottom.
It’s frustrating when you're craving that specific, golden crunch but don't want to deal with the heavy oil of a deep fryer. This specific method changes the game because we're ditching the traditional flour egg-breadcrumb shuffle for something much more effective.
The first time I tried using mayonnaise as a binder, I was skeptical. I thought it might taste too oily or just plain weird. But then I pulled the tray out of the oven. The aroma of toasted cheese and garlic hit me instantly, and when I tapped the crust with a fork, it actually sounded like I was hitting a cracker.
It was a complete revelation for my Tuesday night routine.
We're going for a texture that's bold and a flavor that's deeply savory. You don't need fancy equipment, just a few smart tricks and a over high heat roasting technique. We're forging a new way to do "fried" chicken that's actually baked, and trust me, you won’t miss the skillet one bit.
Let's get into why this works so well.
Why This Technique Works
The success of this dish isn't accidental; it’s about managing moisture and fat in a way that protects the protein while blasting the exterior with heat.
- Fat Based Insulation: The mayonnaise creates a waterproof barrier around the meat, preventing the juices from evaporating in the high heat of the oven.
- Emulsion Stability: Unlike an egg wash which can slide off, mayo is an emulsion that grips the meat and holds onto the heavy Panko Parmesan mixture with incredible strength.
- Even Heat Distribution: Pounding the meat to a uniform 2cm thickness ensures the center reaches the safe 74°C mark at the exact same moment the crust turns mahogany gold.
- Maillard Enhancement: The proteins in the Parmesan cheese and the sugars in the Mayo react quickly under the 218°C heat, creating a deep, complex savory flavor.
Choosing Your Cooking Path
Before we start, you need to decide how much time you have. While the classic method is excellent, this fast track version is designed for efficiency without sacrificing that signature shatter crisp texture.
| Feature | Fast Method (This Recipe) | Classic Breading | Result Difference |
|---|---|---|---|
| Binding Agent | Garlic infused Mayonnaise | Flour and Egg Wash | Mayo stays juicier |
| Preparation | Single coat application | Triple dredge process | Fast saves 15 minutes |
| Cleanup | Two small bowls | Three large shallow dishes | Less flour dust in air |
This comparison highlights why the mayo binder is such an innovative move for a busy cook. It’s not just about speed; it’s about the fact that fat is a better conductor of flavor than a watery egg wash.
Essential Recipe Specifications
When we're talking about reliable results, we have to look at the numbers. Precision is what separates a good meal from one you'll want to make every single week. We're looking for an internal temperature of 74°C (165°F), which usually takes exactly 20 minutes in a well calibrated oven at 218°C.
| Thickness | Internal Temp | Rest Time | Visual Cue |
|---|---|---|---|
| 1.5 cm | 74°C | 3 minutes | Firm to the touch |
| 2.0 cm | 74°C | 5 minutes | Juices run clear |
| 2.5 cm | 74°C | 7 minutes | Crust is dark gold |
If you go much thicker than 2cm, you risk the crust burning before the center is safe to eat. This is why the pounding step in the instructions is absolutely non negotiable.
Selecting the Right Ingredients
To get that Longhorn Parmesan crusted chicken recipe vibe, you need the right components. Quality matters here because there are so few ingredients.
Component Deep Dive
The magic is in the crumb. We aren't using standard breadcrumbs here because they tend to turn into a sandy paste. We want structure.
| Ingredient | Science Role | Pro Secret |
|---|---|---|
| Panko | High surface area for crunch | Use unseasoned to control salt |
| Parmesan | Structural fat and umami | Grate it fresh for better melt |
| Mayonnaise | Moisture lock and binder | Use full fat for better browning |
Using a high-quality Parmesan (like Parmigiano Reggiano) provides a sharp, nutty finish that pre grated "shaker" cheese just can't match. The fresh stuff has more moisture, which helps it fuse to the breadcrumbs.
The Full Ingredient List
- 4 boneless skinless chicken breast halves (approx. 0.6 kg): Why this? They cook quickly and provide a flat surface for the breading.
- 0.5 tsp Kosher salt: Essential for drawing out the natural flavors of the meat.
- 0.5 tsp freshly cracked black pepper: Provides a subtle heat that cuts through the rich cheese.
- 120 ml real mayonnaise: Why this? It acts as the ultimate glue and keeps the meat velvety.
- 5 ml Dijon mustard: Adds a necessary acidic tang to balance the mayo.
- 2.5 g garlic powder: Distributes flavor more evenly than fresh garlic in this dry crust.
- 60 g Panko breadcrumbs: These Japanese style crumbs stay crispy even when cooled.
- 50 g freshly grated Parmesan cheese: Creates a lacy, savory structure within the crust.
- 2.5 g smoked paprika: Why this? Adds a beautiful copper color and a hint of woodsmoke.
- 15 ml extra virgin olive oil: Moistens the crumbs so they brown instantly in the oven.
- 15 ml fresh Italian parsley: Adds a pop of green and a fresh, herbaceous finish.
For a substitution, if you find yourself out of Panko, you can use crushed saltine crackers, though the texture will be slightly denser. If you're looking for a different profile entirely, check out my One Pan Mushroom Chicken for a saucier alternative.
Necessary Kitchen Tools
You don't need a lot of gear for this, but two specific items make a massive difference in the final texture.
- Meat Mallet: Used for evening out the breasts. If you don't have one, a heavy rolling pin or the bottom of a cast iron skillet works perfectly.
- Wire Cooling Rack: This is the secret to the "anti soggy" campaign. By elevating the chicken, hot air circulates underneath, crisping the bottom as much as the top.
- Rimmed Baking Sheet: To catch any drips of oil or cheese.
- Small Whisk: For emulsifying the garlic powder and mustard into the mayo.
- Digital Meat Thermometer: The only way to guarantee the meat isn't dry.
step-by-step Cooking Process
Now, let's get into the actual work. Follow these steps closely, especially the drying phase. Moisture on the surface of the meat is the enemy of a good crust.
Phase 1: The Prep
- Level the meat. Place the chicken breasts between two sheets of plastic wrap. Use your mallet to pound the thickest part of the breast until it’s a uniform 2cm thickness.
- Dry and season. Remove the plastic and pat every inch of the chicken dry with paper towels. Season both sides with the salt and pepper.
- Mix the binder. In a small bowl, whisk the mayonnaise, Dijon mustard, and garlic powder until smooth.
Phase 2: The Breading
- Hydrate the crumbs. In a separate shallow bowl, toss the Panko, Parmesan, smoked paprika, and parsley. Drizzle the olive oil over the top and mix until the crumbs look like damp sand.
- Slather the chicken. Using a pastry brush or the back of a spoon, coat the chicken breasts opaquely with the mayo mixture. Do not be shy; this is your glue.
- Apply the crust. Press each breast firmly into the crumb mixture. I like to literally push down with my palm to fuse the cheese and crumbs into the mayo.
Phase 3: The Bake
- Set the rack. Place your wire rack onto the baking sheet. Lay the chicken on the rack, making sure they aren't touching each other.
- Roast high. Slide the tray into the center of a preheated 218°C oven.
- Monitor doneness. Bake for 15 to 20 minutes until the crust is a deep mahogany and the internal temp hits 74°C.
- Rest the meat. Transfer the chicken to a clean plate and let it sit for 5 minutes. This allows the fibers to relax and the juices to redistribute.
Chef's Tip: If you want that extreme "Longhorn" look, turn on the broiler for the last 60 seconds, but watch it like a hawk. Parmesan burns in the blink of an eye.
Solving Common Baking Problems
Even with a straightforward recipe, things can go sideways if the oven temperature is off or the chicken was too cold when it went in.
Why Your Crust Is Falling Off
This is usually a moisture issue. If the chicken wasn't dried properly, steam forms between the meat and the mayo, pushing the crust away. Another cause is "over handling" once the chicken is on the rack, don't touch it until it's time to take it out.
| Problem | Root Cause | Solution |
|---|---|---|
| Soggy Bottom | Steam trapped under meat | Use a wire rack for airflow |
| Burnt Crust | Oven rack is too high | Move to center or lower rack |
| Rubbery Meat | Temperature was too low | Ensure oven is a full 218°C |
Common Mistakes Checklist
- ✓ Forgetting to pound the chicken (results in raw centers and burnt edges).
- ✓ Skipping the oil in the crumbs (crumbs will stay white and floury instead of golden).
- ✓ Using "shaker" canned Parmesan (it has anti clumping agents that prevent a good melt).
- ✓ Overcrowding the pan (this creates steam instead of dry roasting heat).
- ✓ Pulling the chicken out too early (that last 2 minutes is where the "shatter" happens).
Versatile Flavor Variations
Once you have the base method down, you can start forging your own paths with different flavor profiles. The mayo binder is a blank canvas.
- The Zesty Herb Version: Replace the smoked paprika with 1 tbsp of lemon zest and use fresh thyme instead of parsley.
- The Spicy Kick: Add a teaspoon of Sriracha to the mayo binder and use pepper jack instead of half of the Parmesan.
- The Pesto Twist: Swap the Dijon mustard for a tablespoon of basil pesto for a vibrant green, nutty crust.
If you're looking for a totally different chicken experience that focuses more on bright citrus, my Lemon Herb Roasted Chicken is a great next project to try.
| Original Ingredient | Substitute | Why It Works |
|---|---|---|
| Mayonnaise | Greek Yogurt (full fat) | Similar tang, but slightly less browning due to lower fat. |
| Panko | Crushed Pork Rinds | Perfect for keto; provides a very high fat, crispy finish. |
| Parmesan | Pecorino Romano | Much saltier and sharper; reduce added salt if using. |
Adjusting for More Guests
Scaling this recipe is simple because the proportions are basically 1:1 for the dry ingredients.
- For a Crowd (8-12 servings): Don't just double the salt and spices; use about 1.5x the seasonings to avoid it becoming overwhelming. You will need to bake in batches unless you have two ovens, as overcrowding the pans will lead to soggy crusts.
- For Two: Half the recipe exactly. You can use a smaller toaster oven for this, provided it can reach 218°C.
- Baking Large Batches: If you're doing 12 breasts, lower the temperature to 200°C and extend the time by 5-8 minutes to ensure even heat penetration without the edges drying out.
Debunking Kitchen Rumors
One of the biggest myths is that you need an egg wash for breading to stick. As we've seen, fat based binders like mayo or even heavy cream are actually more effective at creating a seamless bond between meat and crumb.
Another common misconception is that you need to flip the chicken halfway through. If you're using a wire rack, flipping is not only unnecessary but actually harmful to the crust. Every time you flip, you risk knocking off that beautiful Parmesan layer we worked so hard to fuse. Let the air do the work.
Finally, people often think that "crusted" chicken is inherently unhealthy. While it's not a steamed salad, baking it on a rack allows excess fat to drip away, and using Panko means you're using far less total breading than a traditional thick flour batter.
Storing and Reheating Tips
Parmesan crusted chicken is best eaten immediately, but life happens. If you have leftovers, you need to handle them carefully to preserve the crunch.
Fridge Storage: Store in an airtight container for up to 3 days. Do not stack the pieces, or the bottom ones will get mushy from the weight and moisture of the top ones.
Zero Waste Tip: If you have leftover crumb mixture, don't throw it out! Toast it in a dry pan for 2 minutes and sprinkle it over roasted broccoli or pasta. It's essentially "savory dust" that makes everything better.
The Best Reheating Method: Never use the microwave unless you want a rubbery, sad mess. Instead, use an Air Fryer at 180°C for 3-4 minutes.
If you don't have an air fryer, the oven at 200°C for 6 minutes on a rack will bring back about 85% of that original shatter crisp texture.
Best Serving Suggestions
This chicken is the star of the show, but it needs the right supporting cast. Because the crust is rich and salty, you want sides that offer contrast.
A crisp arugula salad with a simple lemon vinaigrette is my go to. The peppery bite of the greens cuts through the mayo and cheese perfectly. If you want something heartier, a side of roasted asparagus or garlicky green beans works beautifully.
If you're feeling indulgent, serving this over a bed of fettuccine alfredo turns it into a restaurant style feast. Just make sure to slice the chicken after it has rested for 5 minutes so the juices don't run all over your pasta.
The contrast of the velvety sauce and the crunchy chicken is truly innovative.

Recipe FAQs
How to ensure the chicken cooks evenly?
Place the chicken between two sheets of plastic wrap and pound the thickest part. Pounding the meat until it reaches a uniform 3/4 inch thickness prevents the center from remaining raw while the edges burn.
Why is my breadcrumb crust not turning golden?
You likely skipped the olive oil in the crumb mixture. The oil is essential to toast the Panko and Parmesan during the 20-minute bake time; without it, the crust remains pale and dry. If you enjoyed achieving this perfectly toasted golden texture, you might appreciate how we develop rich, golden crusts in our other oven baked dishes.
Is it true I can use canned, pre-grated Parmesan?
No, this is a common misconception. Pre-grated canned cheese contains anti clumping agents that prevent it from melting properly, which ruins the texture of your crust; always use freshly grated Parmesan for the best results.
How to prevent the breading from falling off?
Pat the chicken thoroughly dry with paper towels before adding the binder. Moisture on the surface creates a barrier that prevents the mayonnaise and mustard mixture from adhering to the meat.
How to store leftovers without making the crust mushy?
Place the pieces in a single layer inside an airtight container. Do not stack the chicken, as the weight and trapped moisture will cause the bottom pieces to lose their crispness within the three day storage window.
How to tell if the chicken is finished cooking?
Use an instant read meat thermometer to verify an internal temperature of 165°F. Relying on this temperature is more accurate than timing alone, ensuring the meat is safely cooked while the crust remains crispy.
What can I do with leftover breadcrumb mixture?
Toast the remaining crumbs in a dry pan for two minutes. Once golden, these make a fantastic crunchy topping for roasted vegetables or pasta dishes.
Parmesan Crusted Chicken
Ingredients:
Instructions:
Nutrition Facts:
| Calories | 492 kcal |
|---|---|
| Protein | 38.4 g |
| Fat | 34.2 g |
| Carbs | 10.8 g |
| Fiber | 0.6 g |
| Sugar | 0.9 g |
| Sodium | 748 mg |
