Kitchenaid Ice Cream: Simply Splendid Vanilla Bean Recipe
- Achieving Velvety Perfection: Simply Splendid Vanilla Bean
- The Essential Pantry: Ingredients for a Perfect Batch
- The Science of Splendor: Why Our Ice Cream Base is Superior
- Method Mastery: Churning Simply Splendid Ice Cream
- Troubleshooting the Churn: Expert Tips and Fixing Flaws
- Preserving Perfection: Proper Storage Techniques
- Elevating the Scoop: Serving and Pairing Ideas
- Recipe FAQs
- 📝 Recipe Card
Achieving Velvety Perfection: Simply Splendid Vanilla Bean
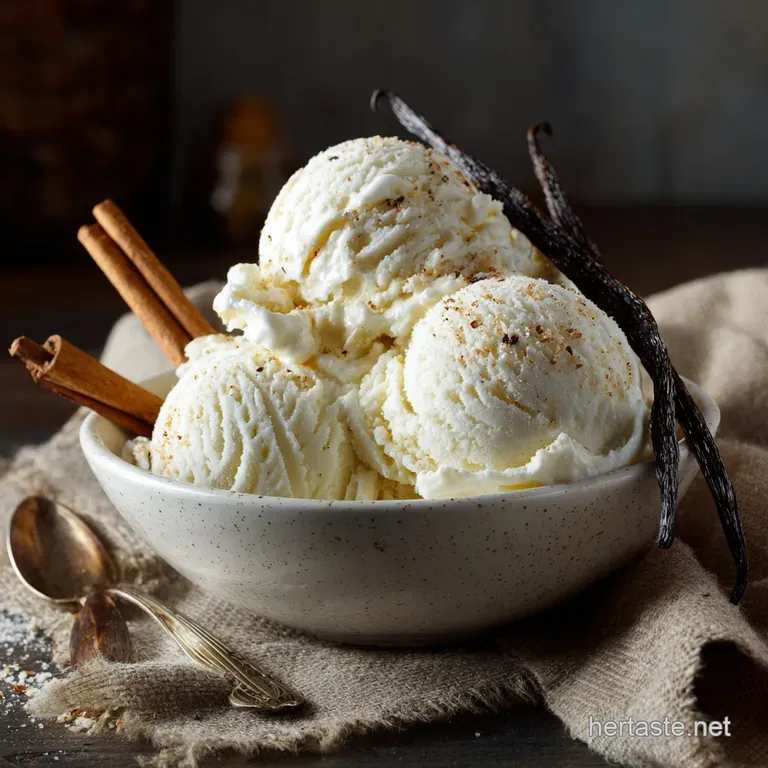
Nothing beats the smell of pure vanilla when it’s warming up in heavy cream. It’s rich, comforting, and instantly transports you to a proper ice cream parlor, even if you are just standing in your own kitchen.
When you pull out that first scoop of dense, velvety homemade goodness, you know the effort was absolutely worth it.
Seriously, I used to think making ice cream was complicated, involving boiling custard and fiddly tempering, but I was wrong. This method skips the fussy egg yolks while still giving you a luscious texture that blows those watery tubs from the supermarket out of the water.
It’s actually surprisingly fast the machine does all the heavy lifting.
That’s where our trusty stand mixer comes in. If you own the attachment, you are halfway to heaven, and I’m here to guide you past all the common pitfalls. We're going to make simply splendid vanilla bean KitchenAid Ice Cream —the ultimate version that tastes incredible and always sets perfectly.
Let’s crack on!
The Joy of the Philadelphia Style Base (No Tempering Needed)
This is the secret weapon for making speedy, delicious KitchenAid Ice Cream without stress. Philadelphia style means we skip the egg yolks, which instantly removes the worry of accidentally scrambling your custard when heating the base.
You just gently heat the dairy and sugar, chill it down, and churn it until thick. It’s an incredibly efficient method for a dense, American style texture.
What Makes This KitchenAid Ice Cream Recipe Special
Unlike some no-cook methods that leave a slightly gritty sugar residue, we heat the mixture just enough to guarantee every sugar crystal is dissolved. This small, intentional step is massive for preventing an icy, grainy mouthfeel in your finished KitchenAid Ice Cream .
We also use high fat ratios because, honestly, this isn't the time to skimp on the good stuff. The quality of your ingredients directly impacts the quality of your final scoop.
Setting Expectations: Prep Time vs. Churn Time
People always panic about the time commitment, but look closely at the breakdown. Your active time is maybe 45 minutes total, right? The key to great homemade ice cream is patience; the chill time is absolutely non-negotiable.
Don’t cheat the freezer bowl or the base, or you will end up with disappointment trust me, I learned that the hard way with my very first batch of attempted KitchenAid Ice Cream years ago. Preparation is everything here.
The Essential Pantry: Ingredients for a Perfect Batch
We are keeping this simple so the vanilla truly shines, but knowing what you can swap out is crucial. Every component plays a specific role in texture and freezing point. When making KitchenAid Ice Cream , the fat content is your number one priority for success.
| Ingredient | Substitution/Alternative |
|---|---|
| Heavy Cream (35% Fat) | Full fat canned coconut cream, refrigerated overnight to skim the thick cream off the top. |
| Whole Milk | Avoid skim milk completely! Use 2% if you must, or substitute with creamy oat milk for non-dairy. |
| Granulated Sugar | You can use liquid sweeteners like maple syrup or honey, but use slightly less. Note: liquid sugars result in softer ice cream straight from the freezer. |
| Vanilla Bean Paste | Double the amount of high-quality vanilla extract for a slightly less intense visual appeal. |
| Fine Sea Salt | Omit if necessary, but that pinch really enhances the sweetness and balances the whole flavor profile. |
The Science of Splendor: Why Our Ice Cream Base is Superior
Prioritizing Quality: Selecting the Best Heavy Cream and Milk
If you want truly amazing KitchenAid Ice Cream , the base ingredients must shine through. Always opt for the freshest, highest fat dairy you can find, usually 35% heavy cream and whole milk.
low-fat milk leads directly to larger, crunchy ice crystals it’s just the unfortunate science of freezing water, folks.
The Vanilla Factor: Bean vs. Paste vs. Extract
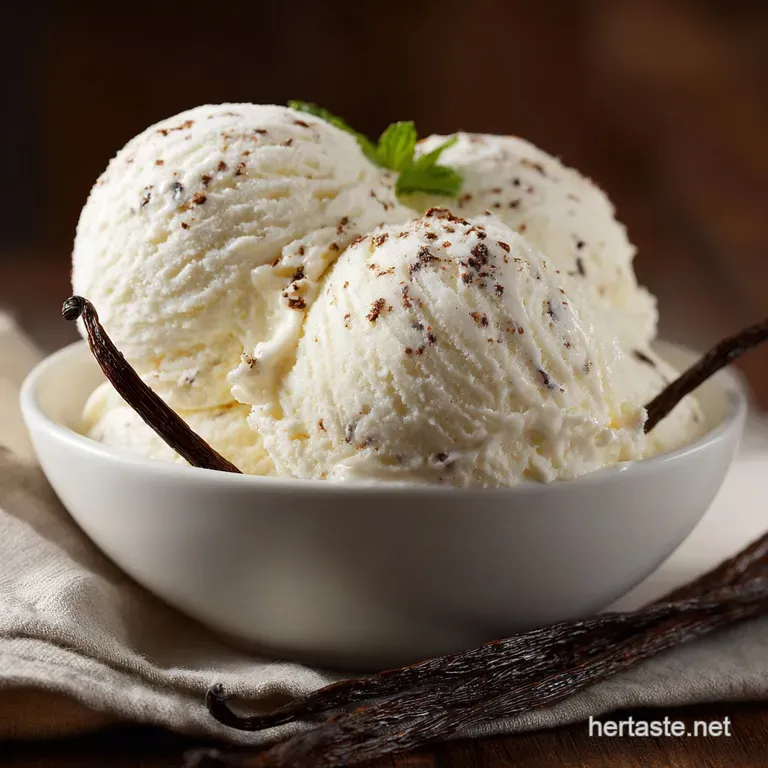
I swear by vanilla bean paste for this recipe. It gives you that beautiful speckle and robust flavor that extract alone just can’t replicate. If you are making a premium batch of homemade KitchenAid Ice Cream , the vanilla is the main star, so it's worth the slightly higher cost to use the paste or even scrape a fresh bean.
Sugar Swaps: Using Alternatives (And How They Affect Freezing)
Remember, sugar is more than just a sweetener in ice cream; it’s an essential anti freeze agent. If you decide to go the low-carb route and use erythritol or stevia blends, your final KitchenAid Ice Cream will freeze much harder.
To combat this, you might need to add one tablespoon of vodka or clear rum to the chilled base before churning the alcohol lowers the freezing point.
Maximizing Creaminess: The Ideal Fat-to-Sugar Ratio
We aim for maximum fat here because the fat globules are what trap the tiny air pockets during churning, giving you that smooth, luxurious mouthfeel. That high fat ratio is the fundamental difference between a sad, icy dessert and the ultimate homemade KitchenAid Ice Cream experience that makes people ask for seconds.
Dissolving the Difference: Avoiding the Granular Crunch
This is precisely where the gentle heating of Step 1 comes in handy. If you rub a bit of the warm base between your fingers and feel any gritty resistance, you haven't heated it long enough to fully dissolve the sugar.
A granular base mixture will always result in gritty KitchenAid Ice Cream once frozen. Simple fix: heat for another minute or two, stirring well.
Method Mastery: Churning Simply Splendid Ice Cream
Step 1: Infusing the Dairy (The Gentle Simmer)
Combine the heavy cream, milk, sugar, and salt in a medium, heavy bottomed saucepan. Whisk continually over medium heat until steam rises, but watch it like a hawk. Do not let the mixture boil or scorch.
Once the sugar is fully dissolved (check for grit!), remove it immediately from the heat and stir in your vanilla extract and paste. This careful infusion ensures maximum flavor for your KitchenAid Ice Cream .
Step 2: The Critical Chill (Ensuring Optimal Freezing)
Strain the base through a fine mesh sieve into a clean, airtight container, then cover and shove it in the fridge. Seriously, an overnight chill is best, but a minimum of four hours is required.
If the base isn't cold enough (ideally below 40°F/4°C), the freezer bowl thaws too quickly, and your final texture will absolutely suffer.
Step 3: Engaging the KitchenAid Attachment for Creamy Results
Take out that rock solid freezer bowl. Install the dasher (paddle) and attach the unit to the mixer. Crucially, turn the KitchenAid mixer on Speed 1 (Stir) before pouring in the base. This prevents the initial shock from freezing the liquid instantly and jamming the paddle.
Pour the cold liquid slowly into the running machine, and watch the magic happen as the base transforms into fluffy KitchenAid Ice Cream over the next 20 to 25 minutes.
Step 4: The Final Freeze (Hardening for Scoopability)
Once the mixture hits the desired consistency of thick soft serve, immediately stop the mixer and quickly scrape it into a pre-chilled, airtight container. Press a layer of plastic wrap right onto the surface, then seal the lid. You must move fast here!
Freeze the soft mixture for a minimum of two hours (or up to four) to finish hardening your perfect homemade KitchenAid Ice Cream .
Troubleshooting the Churn: Expert Tips and Fixing Flaws
Chef's Note: The single biggest mistake people make with KitchenAid Ice Cream is not freezing the bowl long enough. If you hear a gentle slosh of liquid when you shake the bowl, stop immediately and put it back in the deep freeze for another 12 hours. Impatience leads directly to disappointment.
Why Pre-Chilling Your Bowl is Non-Negotiable
If your freezer bowl isn't truly frozen, the entire batch will stay liquid, churning for 25 minutes only to look like slightly thicker milk. That blue coolant inside the walls must be completely solid for the rapid freeze needed to create tiny, undetectable ice crystals.
Tiny crystals equal the incredibly creamy texture we crave in KitchenAid Ice Cream .
The Problem of Icy Edges (and How to Avoid Them)
Sometimes the mixture freezes instantly to the sides, but the middle stays liquid and slushy. This usually happens if the base was slightly too warm or you forgot to start the mixer before adding the liquid.
Just keep the machine running; the dasher should eventually scrape those frozen sides back into the main mix for churning.
Don't Overfill: Maximizing the KitchenAid Attachment Capacity
The KitchenAid bowl is perfectly designed for about a quart (four cups) of base. Remember that the base increases in volume by 30 50% as air is whipped into it during the churning process. Overfilling your KitchenAid Ice Cream base leads to messy overflow as the volume expands! Stick strictly to the recipe amount.
Adjusting Base Consistency Post Chill
If your base seems overly thick after chilling (perhaps you used extra heavy cream), you can simply whisk in a tablespoon or two of cold whole milk right before churning to loosen it up.
If it's perfectly thin and pourable, you nailed the preparation for this particular KitchenAid Ice Cream recipe.
Preserving Perfection: Proper Storage Techniques
The Art of 'Ripening' Ice Cream (Hardening Phase)
After churning, your ice cream is at its peak airiness and texture, but it’s far too soft to scoop properly. We call the final freeze "ripening." Two to four hours lets it firm up beautifully.
It also gives the stabilizers (like the fat and sugar) time to settle into that beautiful, scoopable structure of true KitchenAid Ice Cream .
Preventing Freezer Burn: Choosing the Right Container
Freezer burn happens when moisture escapes and forms large, unwanted crystals on the surface. Use a heavy duty, airtight container preferably a shallow one to speed up the internal freezing process. And please, press that plastic wrap or parchment paper directly onto the surface before sealing the lid!
This barrier is vital.
Elevating the Scoop: Serving and Pairing Ideas
This perfect vanilla base is an ideal canvas for almost any dessert pairing. While the KitchenAid Ice Cream itself is flawless, it’s even better when paired with other homemade goodies.
- Hot Fudge Perfection: Serve a generous scoop over warm, dense brownies with a homemade fudge sauce. This creamy texture would be a beautiful contrast to a slice of cake topped with my Chocolate Frosting Recipe: Ultimate Double Fudge Buttercream .
- The Adult Float: Drop a scoop into chilled dark coffee, or maybe even a glass of fizzy hard cider for a fun, grown-up twist.
- Berry Delight: Top with fresh macerated summer strawberries and a sprinkle of crunchy shortbread crumbles.
Ultimately, whether you serve it simple or loaded up with sauces, making your own KitchenAid Ice Cream at home gives you control over flavor and texture that mass production simply cannot touch. Enjoy every single cold, creamy bite!

Recipe FAQs
Why is my homemade ice cream icy or crystallized?
Icy texture usually results from insufficient fat content or inadequate chilling of the base. Ensure your mixture is thoroughly refrigerator cold (ideally below 40°F) before churning, as warm mixtures encourage large ice crystal formation.
Additionally, incorporating 1-2 tablespoons of corn syrup or a stabilizing agent like guar gum can help inhibit crystallization.
How long must the KitchenAid attachment bowl be frozen before churning?
The KitchenAid attachment bowl must be completely frozen solid for at least 15 to 24 hours in a freezer set at 0°F (-18°C) or lower. If you can hear liquid sloshing inside when you shake the bowl, it is not cold enough and your ice cream will fail to set during churning.
Store the bowl in the freezer permanently if you make ice cream often.
My ice cream never set in the mixer; it remained a thick milkshake consistency. What went wrong?
This is the classic symptom of a freezer bowl that was not cold enough, or a base mixture that warmed up too quickly during the process. If the ambient temperature of your kitchen is high, the bowl will lose its chill rapidly, preventing proper freezing.
Immediately transfer the mixture to an airtight container and place it in the freezer for the final hardening stage (ripening).
How should I store homemade ice cream to prevent freezer burn?
Homemade ice cream is best stored in a shallow, airtight container, consumed within two weeks for optimal quality. Before sealing, press a layer of wax or parchment paper directly onto the surface of the ice cream to create a barrier against air exposure.
Store the container deep within the freezer, where the temperature is most stable.
Can I make this recipe vegan or dairy-free by swapping the cream and milk?
Yes, you can substitute full fat canned coconut milk or a high fat cashew/oat cream alternative, but the final texture will be slightly softer due to different fat structures. To mimic the density of dairy, ensure your substitutes are full fat and consider adding a small amount of stabilizer, such as cornstarch slurry or lecithin, to the cooked base.
I don't have a vanilla bean. Can I use vanilla extract instead?
Absolutely; you can substitute 1 tablespoon of high-quality vanilla extract or vanilla paste for the vanilla bean. To ensure the delicate flavor doesn't dissipate, wait until the base has finished cooking and is beginning to cool before stirring in the extract.
A good quality paste will provide small flecks, mimicking the appearance of the scraped bean.
How long should I chill the ice cream base before churning?
The base must be chilled for a minimum of 4 hours, but preferably overnight, to achieve the necessary temperature for successful churning. A colder base guarantees that the mixture freezes quickly upon contact with the KitchenAid bowl, resulting in the smallest possible ice crystals and the creamiest texture.
Always cover the base tightly while chilling to prevent it from absorbing refrigerator odors.
Splendid Kitchenaid Vanilla Ice Cream

Ingredients:
Instructions:
Nutrition Facts:
| Calories | 611 kcal |
|---|---|
| Protein | 5.4 g |
| Fat | 45.4 g |
| Carbs | 44.4 g |
