The Cornerstone Classic Baked Cheesecake Silky Smooth Perfection
- The Cornerstone Classic Baked Cheesecake: Silky Smooth Perfection Achieved
- Why This Baked Cheesecake Recipe Will Become Your Signature Dessert
- Gathering the Building Blocks for Supreme Cheesecake Flavor
- The Definitive Method for Baking Your Flawless Dessert
- Elevating Your Finished Cheesecake: Troubleshooting and Variations
- Frequently Asked Questions
- 📝 Recipe Card
The Cornerstone Classic Baked Cheesecake: Silky Smooth Perfection Achieved
Right then, pull up a stool! As a chef, I believe that the perfect cheesecake should be smooth as a politician's promise absolutely no cracks, beautifully balanced, and utterly divine.
Forget those crumbly nightmares you see sometimes; we’re aiming for that New York City classic perfection, but achievable right in your own kitchen, no matter if you’re a complete novice or have been baking since before you could tie your own shoelaces.
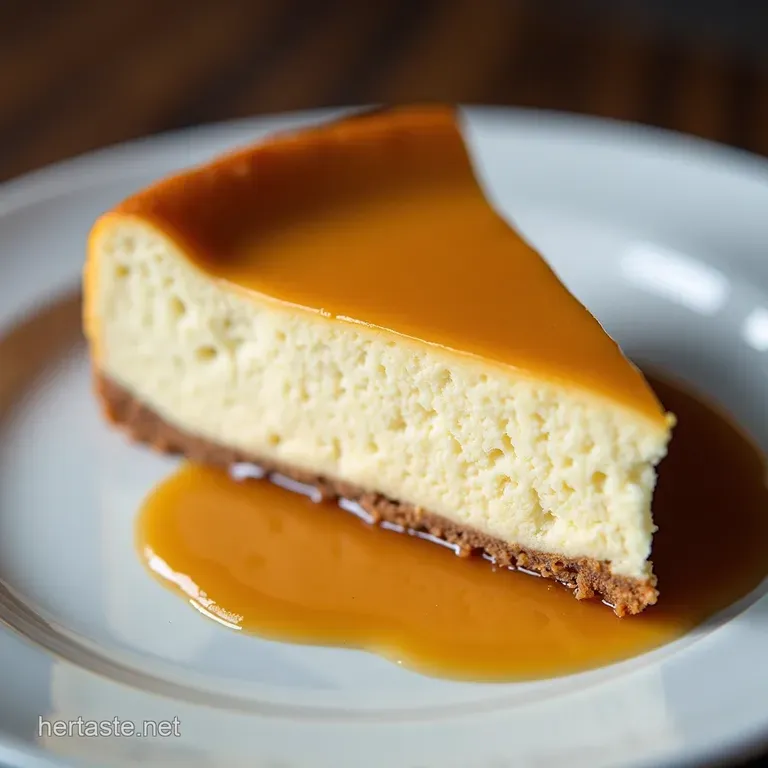
This recipe delivers the quintessential New York Cheesecake Recipe : a thick, dense, and velvety smooth filling perched atop a buttery, slightly salty graham cracker crust.
It relies on the gentle hug of a bain marie (water bath) to ensure it bakes evenly, delivering that creamy, melt-in-your mouth texture that’s so often sought after. It’s rich, elegant, and the perfect canvas for any topping.
This is truly the Best Cheesecake Recipe you will ever master.
This culinary masterpiece requires patience, which is why we classify it as a Medium difficulty bake. However, by adhering to the precise methodology outlined below, you will unlock the secrets to a truly Divine Cheesecake .
Time Estimates at a Glance: The prep time clocks in around 35 minutes of active work, plus a mandatory 30 minutes for the crust to chill before baking.
The actual cook time spans 60– 75 minutes, followed by a crucial hour of slow cooling within the turned off oven. With a minimum chilling time of 6 hours, this journey results in approximately 12 glorious servings of Homemade Cheesecake perfection.
Essential Ingredients for Flawless Results: For the base, you will require 1 ½ cups (150g) of finely crushed Graham Cracker Crumbs, ¼ cup (50g) of Granulated Sugar, and 6 tablespoons (85g) of melted Unsalted Butter.
The filling demands the richness of 32 oz (900g) of full fat Cream Cheese, which must be thoroughly softened to room temperature. Balance this richness with 1 ½ cups (300g) of Granulated Sugar, ¾ cup (180g) of full fat Sour Cream (also room temperature), ¼ cup (60ml) of cold Heavy Cream, 2 teaspoons of high-quality Vanilla Extract, and 1 teaspoon of Fresh Lemon Juice to brighten the flavour profile.
Finally, the structure relies on 4 large Eggs and 1 extra Egg Yolk, all brought to room temperature beforehand.
Why This Baked Cheesecake Recipe Will Become Your Signature Dessert
What elevates this recipe beyond the standard offering is the meticulous attention paid to texture and structural integrity. We are not aiming for light and airy; we are aiming for that dense, luxurious mouthfeel characteristic of the finest establishments.
A Commitment to Crack Free Creaminess
The single most important goal when crafting a Cheesecake Recipe of this stature is achieving a surface without a single fissure. This No Crack Cheesecake status is secured through three primary methods: ensuring ingredients are uniformly at room temperature to prevent lumps, avoiding the incorporation of excess air during mixing, and utilizing the gentle, insulating heat provided by the water bath during baking.
Decoding the New York Style Density
The density inherent in a true New York Cheesecake Recipe comes from the sheer volume of high fat dairy the large quantity of cream cheese paired with sour cream provides that signature structural heft.
Unlike lighter, often ricotta based desserts, this composition holds its shape beautifully, offering resistance under the knife before melting exquisitely on the palate.
Perfect for Novices and Seasoned Bakers Alike
While the technique demands precision, the steps are straightforward enough for those tackling their first Cheesecake . The difference between success and failure often lies not in complicated techniques, but in simple adherence to temperature guidelines.
Patience during the cooling stage is your best friend here, guaranteeing a Smooth Cheesecake exterior every time.
Related Recipes Worth Trying
- Ultimate Pecan Pie Cheesecake A Buttery Swirl Hybrid — Ditch the endless holiday baking decisions This ultimate Pecan Pie Cheesecake recipe gives you that creamy New York Style Cheesecake hybrid swirled with...
- Gooey Pecan Pie Cheesecake Recipe Southern Belle Swirl — Master the ultimate Pecan Pie Cheesecake with a buttery shortbread pecan crust and a luscious caramel swirl Get our water bath technique for the perfect New...
- Bourbon Pecan Pie Cheesecake Ultimate Layered Dessert — Discover this showstopping BourbonKissed Pecan Pie Cheesecake recipe Get foolproof tips for a buttery graham cracker crust cheesecake hybrid A true Southern...
Gathering the Building Blocks for Supreme Cheesecake Flavor

The quality of the finished product is directly tied to the preparation of the initial components. Let’s discuss how to handle the base and the filling ingredients with the respect they deserve.
Precision Measuring for the Buttery Graham Cracker Base
The crust serves as the necessary foil to the rich filling. Combine your 1 ½ cups of graham cracker crumbs, ¼ cup of sugar, and 6 tablespoons of melted butter. Mix until the crumbs are evenly moistened they should resemble wet sand.
Accuracy here is important; too much butter leads to a soggy or greasy base, while too little results in a crumbly foundation that crumbles upon slicing.
The Cream Cheese Temperature Imperative
I cannot stress this enough: your 32 oz of cream cheese must be completely, unequivocally, room temperature. If you attempt to mix cold cheese, you will either over mix the batter trying to break up the lumps, or you will end up with visible specks of unmixed cheese, ruining the Perfect Cheesecake Recipe .
Aim for softness that yields easily to a gentle press, but is not greasy or melted.
Necessary Equipment for Seamless Preparation
While a stand mixer with a paddle attachment is ideal for achieving that smooth batter, a sturdy hand mixer can suffice. Crucially, you will need a 9 inch springform pan. Because we are employing a water bath, ensure you have heavy duty aluminum foil multiple layers are essential to create a watertight seal around the bottom and sides of the pan, protecting your dessert from seepage during the long bake.
The Definitive Method for Baking Your Flawless Dessert
Once your ingredients are prepped and your pan is secured, the baking process itself transforms the disparate components into a unified, creamy whole. This phase is where careful heat management becomes paramount.
Creating the Foundation: Pressing the Crust Perfectly
Preheat your oven to 350° F ( 175° C). After mixing the crust components, press the mixture firmly and evenly into the bottom of the prepared springform pan use the base of a measuring cup to ensure a dense, compact surface.
Bake this foundation for 10 minutes to set the butter and slightly toast the crumbs. Allow it to cool fully before moving to the filling stage. While it cools, meticulously wrap your pan in 2 to 3 layers of heavy duty foil, ensuring the seal goes well up the sides.
The Gentle Art of Mixing the Filling Batter
In your mixer, begin by beating the room temperature cream cheese alone until it achieves a perfectly smooth cheesecake consistency aim for absolute silkiness with no discernible lumps. Slowly stream in the sugar, mixing just until incorporated.
Next, add the room temperature sour cream, the cold heavy cream, vanilla, and lemon juice. Finally, incorporate the eggs and the single yolk, one at a time, mixing on the lowest speed possible. Stop the instant the last streak of yellow disappears.
Over mixing at this stage folds in air, which expands during baking and inevitably leads to cracks.
Implementing the Essential Water Bath Technique (Bain Marie)
Place your foil wrapped springform pan inside a large roasting pan. Pour the filling carefully over the cooled crust, tapping the pan lightly on the counter to bring any large air bubbles to the surface. Now, place the roasting pan onto the centre rack of the preheated oven.
Carefully pour boiling water into the roasting pan until it reaches about halfway up the side of the springform pan. Bake at 350° F ( 175° C) for 15 minutes.
Then, reduce the oven temperature to 325° F ( 160° C) and continue baking for another 45 to 60 minutes. You know it's done when the outer two inches are set, but the very centre 2 inches still have a noticeable, gentle jiggle.
Cooling Protocol: Preventing Shrinkage and Cracking
This final, slow transition is key to preventing thermal shock. Turn the oven off completely, but leave the cheesecake inside with the oven door propped slightly open (a wooden spoon works perfectly) for a full hour.
After this initial hour, remove the cheesecake from the water bath and the foil, and let it cool completely on a wire rack at room temperature for another two hours. Only once it has reached room temperature should you cover it and transfer it to the refrigerator for the mandatory minimum of six hours, though overnight chilling yields the best results.
Elevating Your Finished Cheesecake: Troubleshooting and Variations
Even the most meticulously planned bake can sometimes present minor challenges. Understanding these potential pitfalls allows you to consistently produce a Homemade Cheesecake that impresses.
Troubleshooting Common Cheesecake Pitfalls
If you find your cake sinks slightly in the centre, it usually means it was either slightly underbaked or cooled too rapidly. If you end up with a weeping, curdled texture, it signals that the cream cheese was too cold or the oven temperature was too high, causing the proteins to separate.
A sunken centre is common, but if you are aiming for a Mini Cheesecake Recipe For Two scale, the baking time will be significantly reduced, so watch closely!
Storage Secrets for Maximum Freshness
Once chilled, this luxurious Cheesecake stores remarkably well. Keep it tightly covered in the refrigerator for up to five days. For longer storage, it freezes beautifully. Wrap the chilled, unsliced cake tightly in plastic wrap, then cover it again with foil.
It will keep quality in the freezer for up to two months; thaw it slowly in the refrigerator overnight before serving.
Inspired Twists: Flavor Infusions and Topping Ideas
While this Perfect Cheesecake Recipe shines on its own, experimentation is encouraged! For an added layer of complexity, consider adding finely grated orange zest alongside the lemon juice for a brighter profile.
If you desire a simple garnish, a dusting of confectioners' sugar or a thin layer of homemade caramel sauce offers elegance without distraction. This base is strong enough to support almost any topping you dream up, ensuring every slice remains a moment of pure, creamy indulgence.

Frequently Asked Questions
Why did my cheesecake crack on top? It looked perfect coming out of the oven!
Ah, the dreaded crack it’s usually down to thermal shock or over mixing. The most common culprit is cooling too quickly; you must let the cheesecake cool gradually inside the turned off oven with the door propped open for an hour.
Also, make absolutely sure you aren't incorporating too much air while mixing the eggs, as that trapped air expands and then collapses, causing fissures.
What is the trick to getting that perfectly smooth, creamy texture in my cheesecake filling?
The secret lies in the temperature of your ingredients; everything must be fully softened to room temperature think barely cool to the touch, not slightly chilly. Beat the cream cheese until it is silky smooth before adding anything else, and use a spatula to scrape down the bowl frequently.
If you rush this step, you'll end up with lumps that no amount of mixing can fully fix!
Is the water bath (bain marie) really necessary for this baked cheesecake, or can I skip it?
For a classic, New York style cheesecake like this, the water bath is non-negotiable if you want that velvety consistency. It creates a humid environment that cooks the filling gently and evenly, preventing the edges from setting much faster than the centre, which is the main cause of sinking or cracking.
How long should I chill my finished cheesecake, and how do I store leftovers properly?
Patience is a virtue when it comes to cheesecake! You need a minimum of 6 hours chilling time, but frankly, overnight is always best for the texture to fully firm up. Store leftovers tightly wrapped in plastic wrap (or use a cake dome) in the refrigerator for up to five days, though it rarely lasts that long in most households!
Can I use low-fat cream cheese or Greek yogurt instead of full fat ingredients to make a lighter version?
While you technically can substitute, I wouldn’t recommend it for this specific recipe if you’re after that dense, rich experience; the high fat content is crucial for texture. Lower fat versions tend to be more prone to weeping or becoming slightly grainy when baked.
Perfect New York Cheesecake

Ingredients:
Instructions:
Nutrition Facts:
| Calories | 296 kcal |
|---|---|
| Protein | 3.7 g |
| Fat | 15.2 g |
| Carbs | 24.9 g |
| Fiber | 0.0 g |
| Sodium | 87 mg |
