Oreo Ice Cream Biscuits: No-Bake Delight
- Time: Active 15 minutes, Passive 4 hours, Total 4 hours 15 mins
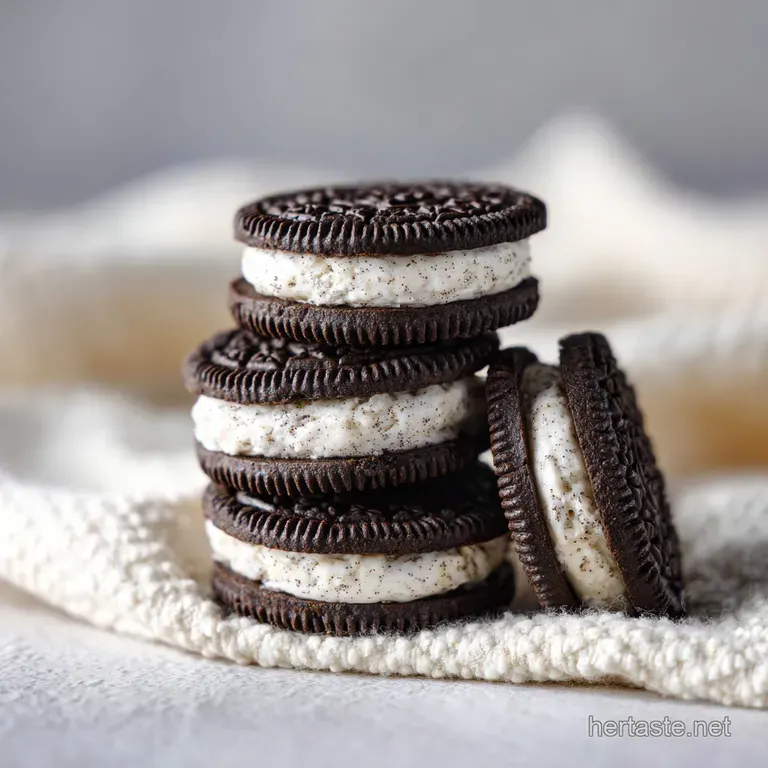
- Flavor/Texture Hook: A velvety, vanilla flecked center sandwiched between two dark cocoa biscuits that shatter upon impact.
- Perfect for: Low effort summer hosting or a quick prep dessert that kids can help assemble.
- Why You Need This Frosty Hand Held Oreo Shortcut
- The Engineering of a Shatter Proof Frozen Cookie
- Component Deep Dive
- Essential Logistics for Your Next Dessert Project
- Minimal Gear Required for Maximum Dessert Impact
- A Step-By-Step Narrative for Assembling the Perfect Treat
- Navigating Potential Pitfalls for a Flawless Result
- Innovative Twists to Personalize Your Cookie Experience
- Scaling These Treats for Any Occasion
- Preserving the Crunch in the Deep Freeze
- Presenting Your Creation for Maximum Social Impact
- Oreo Ice Cream Biscuits FAQ
- 📝 Recipe Card
Why You Need This Frosty Hand Held Oreo Shortcut
I remember the first time I tried to make "homemade" ice cream sandwiches during a heatwave in July. I was determined to do it the "proper" way, churning a custard for hours, only to have it melt into a puddle the second I tried to slap it between two cookies.
It was a sticky, chocolatey disaster that ended with me eating the remains out of a bowl with a spoon, feeling totally defeated. That was the day I realized that sometimes, the shortcut isn't just easier - it is actually better.
We're going to use a technique that skips the churning entirely but gives you a result that is ten times silkier than anything you'd find in a cardboard box at the grocery store. This recipe relies on the magic of aeration and sugar concentration to ensure that when you take a bite, you aren't met with a block of ice, but a cloud like filling that yields perfectly to your teeth.
It is the kind of project you can whip up in fifteen minutes, shove in the freezer, and forget about until the craving hits.
You'll find that these Oreo Ice Cream Biscuits satisfy that specific nostalgia for childhood treats while offering a much higher quality of flavor. By using real heavy cream and vanilla, we're building a base that actually tastes like dairy, not just "sweet." Plus, there is something incredibly satisfying about the way a cold Oreo snaps against a soft, semi frozen filling.
Let's get into how we make this happen without losing our cool.
The Engineering of a Shatter Proof Frozen Cookie
The secret to why these work so well lies in the balance of fat and air. When we whip the heavy cream, we are trapping tiny bubbles of air inside a network of fat globules, which creates a physical barrier that prevents large ice crystals from forming.
Without those air pockets, the mixture would freeze into a solid, unyielding brick of milk ice.
- Air Incorporation
- Whipping the cream to stiff peaks creates a structural foam that stays soft at low temperatures.
- Solute Depression
- The high sugar content in the sweetened condensed milk lowers the freezing point of the water in the cream.
- Moisture Migration
- The crushed biscuit crumbs inside the filling absorb excess moisture, preventing the center from feeling "icy" or watery.
| Method | Time | Texture | Best For |
|---|---|---|---|
| Fast Shortcut | 15 minutes active | Light, airy, mousse like | Busy weeknights and kids' parties |
| Classic Custard | 2 hours active | Dense, rich, buttery | Gourmet dinner party endings |
| store-bought | 0 minutes | Often gummy or icy | Emergencies only |
Choosing the shortcut method here doesn't just save you time; it actually creates a better "hand held" experience. Because the filling is essentially a frozen mousse, it has a lower density than traditional churned ice cream, which means it won't squeeze out the sides of the cookies as easily when you take a bite.
It stays put, which is exactly what we want.
Component Deep Dive
To get that specific, professional level mouthfeel, we need to understand exactly what each part of our shopping list is doing. This isn't just about mixing things together; it is about building a stable emulsion that can withstand the deep chill of your freezer without separating.
| Ingredient | Science Role | Pro Secret |
|---|---|---|
| Heavy Cream | Provides the fat structure for aeration. | Use cream with at least 36% fat content for the stablest peaks. |
| Condensed Milk | Acts as the sweetener and prevents crystallization. | Keep it at room temp so it folds into the cream without deflating it. |
| Vanilla Extract | Lowers the freezing point slightly while adding depth. | Use a high-quality extract or paste to avoid a "chemical" aftertaste. |
If you find yourself wanting to experiment with the base flavors, you might consider trying the technique used in my Keto Cookie Dough recipe which explores different ways to keep frozen treats soft without traditional sugars. But for the classic Oreo experience, the condensed milk is your best friend.
Essential Logistics for Your Next Dessert Project
Before we start mixing, let's look at what we are working with. The beauty of this recipe is that it uses standard pantry staples that you likely already have tucked away. We are looking for a balance between the crunchy exterior and the velvety interior.
- 2 cups (480ml) heavy whipping cream: Make sure this is cold, straight from the fridge.
- 1 can (14oz) sweetened condensed milk: This provides the "body" and sweetness.
- 1 tsp vanilla extract: A little goes a long way in rounding out the cocoa notes.
- 8 Oreo biscuits: These will be crushed into fine crumbs for the "cookies and cream" interior. Why this? The crumbs add texture and a boost of cocoa flavor to the cream.
- 28 Oreo biscuits: These remain whole to act as the top and bottom "bread" of our sandwich. Why this? They provide the structural integrity and the iconic snap.
| Original Ingredient | Substitute | Why It Works |
|---|---|---|
| Heavy Cream | Coconut Cream (Full fat) | Provides the necessary fat for whipping. Note: Adds a distinct tropical flavor. |
| Condensed Milk | Honey + Heavy Cream reduction | Mimics the sugar density. Note: Result will be significantly less "milky." |
| Oreos | Chocolate Digestives | Offers a similar crunch to cream ratio with a slightly saltier finish. |
While you could use any sandwich cookie, nothing quite mimics the specific chocolate profile of an Oreo. If you are feeling adventurous and want a different flavor profile altogether, you could apply these assembly steps to a fruitier base, similar to the vibe of a Peach Cobbler Ice recipe. Just remember that the moisture content of fruit can make the biscuits soggy faster if you aren't careful.
Minimal Gear Required for Maximum Dessert Impact
You don't need a professional kitchen for this, but a few specific tools will make your life much easier. First and foremost, you'll want a large glass or metal bowl for whipping the cream.
I find that chilling the bowl in the freezer for 10 minutes before starting helps the cream whip up faster and more stably.
You'll also need a hand mixer or a stand mixer with a whisk attachment. While you could do this with a manual whisk, your arm will likely give out before the cream reaches the necessary stiff peaks.
A silicone spatula is essential for folding the condensed milk into the cream gently; we want to keep all that air we just fought so hard to incorporate. Finally, grab a piping bag or even just a sturdy Ziploc bag with the corner snipped off this makes filling the sandwiches much cleaner than trying to use a spoon.
A step-by-step Narrative for Assembling the Perfect Treat

- Prep the biscuits. Separate 8 Oreo biscuits and crush them into fine crumbs using a food processor or a bag and a rolling pin.
- Chill your tools. Place your mixing bowl and whisk attachment in the freezer for about 10 minutes.
- Whip the cream. Pour 2 cups of cold heavy whipping cream into the chilled bowl. Beat on medium high speed until stiff peaks form and the whisk leaves deep trails.
- Incorporate the vanilla. Add 1 tsp vanilla extract during the last 30 seconds of whipping.
- Fold in the milk. Gently pour the 14oz can of sweetened condensed milk into the whipped cream. Note: Use a slow, "over and under" motion with a spatula to avoid deflating the air.
- Add the crunch. Fold in the 8 crushed Oreo biscuits until they are evenly distributed throughout the mousse.
- Set up the base. Lay 14 whole Oreo biscuits flat on a parchment lined baking sheet, bottom side up.
- Apply the filling. Pipe or spoon a generous mound of the cream mixture onto each of the 14 biscuits until it almost reaches the edges.
- Complete the sandwich. Place the remaining 14 whole biscuits on top, pressing down very gently until the filling just starts to peek out.
- The Deep Chill. Freeze for at least 4 hours until the center is firm and frosty.
Chef's Tip: Freeze your whole Oreos for 20 minutes before assembly. This prevents the heat from your hands from melting the filling as you press the sandwiches together!
Navigating Potential Pitfalls for a Flawless Result
The most common issue people run into is a runny filling. This usually happens because the heavy cream wasn't whipped enough, or the condensed milk was folded in too aggressively. If the cream looks like it is starting to turn into butter (becoming grainy), stop immediately you've gone too far.
You want it smooth but firm.
Another thing to watch out for is the "soggy cookie" syndrome. If you let the sandwiches sit at room temperature for too long during assembly, the moisture from the cream will start to penetrate the biscuit.
Work quickly, and if your kitchen is hot, assemble them in batches of five, putting each batch straight into the freezer as you finish.
Why Your Filling Is Too Runny
This usually happens when the cream is too warm or not whipped to a "stiff" enough stage. If it doesn't hold its shape on the spatula, it won't hold its shape in the sandwich.
| Problem | Root Cause | Solution |
|---|---|---|
| Filling oozes out | Cream was under whipped. | Return mixture to the bowl and whisk for another minute before piping. |
| Biscuits are soft | Moisture migration during freezing. | Ensure the freezer is at its coldest setting to "flash freeze" the exterior. |
| Ice crystals in center | Condensed milk wasn't fully mixed. | Ensure a homogenous mixture, but fold gently to keep the air. |
Common Mistakes Checklist
- ✓ Using "half and half" instead of heavy whipping cream (it won't whip).
- ✓ Forgetting to chill the bowl and whisk before starting.
- ✓ Pressing the top biscuit too hard and squishing the filling out the sides.
- ✓ Skipping the "crushed cookie" step those crumbs actually help stabilize the cream.
- ✓ Not allowing the full 4 hours for freezing; patience is the key to a clean bite.
Innovative Twists to Personalize Your Cookie Experience
Once you've mastered the basic Oreo ice cream biscuit recipe, you can start getting a bit wild with the variations. I'm a big fan of adding a pinch of espresso powder to the whipped cream it doesn't make it taste like coffee, but it makes the chocolate in the Oreos taste "darker" and more intense.
If you want a "Golden" version, simply swap the chocolate Oreos for the Golden variety and use a bit of lemon zest in the cream. It transforms the dessert into something that tastes like a frozen cheesecake. You can also roll the edges of the assembled sandwiches in mini chocolate chips or sprinkles before freezing for an extra bit of flair. For those who love a bit of a salty sweet combo, a tiny drizzle of caramel inside each sandwich works wonders, much like the flavors found in a Cinnamon Roll Apple recipe.
If you want a more intense flavor, try these:
- Minty Fresh: Add 1/4 tsp peppermint extract and a drop of green food coloring.
- Peanut Butter Swirl: Drop small dots of melted peanut butter into the cream before folding.
- Double Chocolate: Add 2 tablespoons of sifted cocoa powder to the heavy cream before whipping.
Scaling These Treats for Any Occasion
If you are just making these for a movie night at home, you can easily halve the recipe. Just use 1 cup of cream and half a can of condensed milk (save the rest for your coffee!). The freezing time remains the same, but you might find they set a little faster in a smaller batch.
Scaling up for a party is where this recipe really shines. You can make 28 or even 56 sandwiches at once. Just remember that when doubling the recipe, you might need to whip the cream in batches unless you have a very large stand mixer. Adding too much cream to a bowl prevents it from aerating properly.
- To Halve: Use 1 cup cream, 7oz condensed milk, 4 crushed biscuits, 14 whole biscuits. Use a smaller bowl for whipping.
- To Double: Use 4 cups cream, 28oz condensed milk, 16 crushed biscuits, 56 whole biscuits. Work in two separate batches to ensure the cream stays cold and airy.
- Baking adjustment: Since there is no baking, the main concern when scaling up is freezer space. Make sure you have flat surfaces cleared out!
Preserving the Crunch in the Deep Freeze
The biggest enemy of these treats is air. While they are great for about a week in a simple container, the biscuits will eventually start to absorb odors from the freezer or become "tacky" if not sealed correctly.
I recommend freezing them on the baking sheet until they are solid, then wrapping each individual sandwich in plastic wrap before putting them all into a heavy duty freezer bag.
Storage: These will stay fresh in the freezer for up to 1 month if wrapped individually. Zero Waste: If you have leftover cream mixture that didn't fit into sandwiches, don't throw it out! Pour it into a small container and freeze it as a "mousse" or use it as a topping for a Chewy Classic Snickerdoodles recipe. Any broken Oreo pieces can be saved in a jar for an ice cream topping later.
Presenting Your Creation for Maximum Social Impact
When you're ready to serve, don't just pull them out and hand them over. Give them about 2 minutes on the counter first. This very brief "tempering" allows the fat in the cream to soften just enough to become velvety without losing its structure.
It makes the "shatter" of the cookie and the "yield" of the cream much more dramatic.
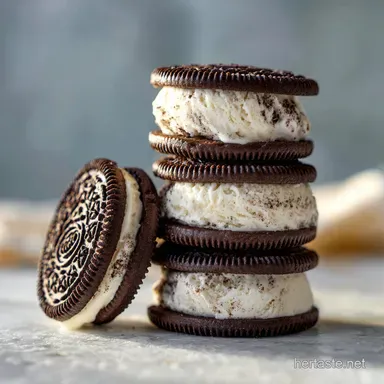
If you're serving these at a party, I like to stack them in a chilled bowl or on a marble slab. You can even stick a small wooden stick into the side before freezing to make "Oreo Ice Cream Pops." However you serve them, make sure you have napkins nearby.
They are meant to be eaten with your hands, and half the fun is the slightly messy, chocolate smudged fingers that come with the territory. Trust me, once you share these, you'll never go back to the store-bought ones again.

Oreo Ice Cream Biscuits FAQ
What do British people call Oreos?
They are typically called Oreos in the UK as well. While some British biscuits have unique names like "Digestives" or "Rich Tea," the Oreo brand is globally recognized and retains its name.
Can you buy just the Oreo filling?
No, you cannot typically buy just the Oreo filling separately. The cream filling is an integral part of the cookie and is not sold as a standalone product by the manufacturer.
Why is Oreo biscuit expensive?
Oreo pricing can be influenced by brand recognition and manufacturing costs. Factors like global marketing, the complexity of their production process, and ingredient sourcing can contribute to their price point compared to some generic biscuits.
Are Oreo heads or tails discontinued?
No, the specific "heads or tails" phrasing isn't an official product line and is likely a misunderstanding or fan terminology. The standard Oreo sandwich cookie with its creamy filling remains widely available.
How do I ensure the filling stays soft?
Whip heavy cream to stiff peaks and fold in sweetened condensed milk. The high fat content of the cream creates air pockets that prevent ice crystals, while the sugar in the condensed milk lowers the freezing point, keeping the filling surprisingly soft. This technique is similar to how we achieve a creamy texture in our Amish Peanut Butter Cream Pie: Classic Easy No-Bake Recipe.
Can I use other biscuits for ice cream sandwiches?
Yes, you can substitute other sandwich cookies or even plain biscuits. For a different flavor profile, consider chocolate wafers or even something like a digestive biscuit, though the classic Oreo offers a unique chocolate-to-cream ratio that works exceptionally well.
How long should I freeze the Oreo ice cream biscuits?
Freeze for at least 4 hours until the center is firm and frosty. This allows the filling to set properly and achieve the perfect texture, creating a delightful contrast with the crispy biscuit exterior.
Oreo Ice Cream Biscuits
Ingredients:
Instructions:
Nutrition Facts:
| Calories | 345 kcal |
|---|---|
| Protein | 3.9 g |
| Fat | 20.1 g |
| Carbs | 38.4 g |
| Fiber | 0.8 g |
| Sugar | 27.6 g |
| Sodium | 125 mg |
