Homemade Coffee Creamers: Flavorful and Safe Alternatives
- DIY Coffee Creamers: Safe and Delicious Alternatives to Recalled Brands
- Essential Ingredients Guide
- Crafting Your Perfect Cup: A Guide to Homemade Coffee Creamers
- Pro Tips & Secrets for Your DIY Coffee Creamer Adventure
- Perfect Presentation: Making it Instagram-Worthy
- Storage & Make-Ahead: Keep It Fresh
- Creative Variations: Get Adventurous
- Complete Nutrition Guide: Sip Smart
- Wrap It Up with Encouragement
- Frequently Asked Questions
- 📝 Recipe Card
DIY Coffee Creamers: Safe and Delicious Alternatives to Recalled Brands
A Personal Coffee Journey
Oh my gosh, i have to tell you about the time i was all set for a cozy coffee morning.
I brewed my favorite blend, then went for the creamer, and guess what? it was part of those coffee creamers recalled due to safety concerns! talk about ruining the vibe.
Ever been there? it's like expecting to watch your favorite movie, only to find out the dvd is scratched! so, i decided to take matters into my own hands and whip up my own version.
Trust me, making diy coffee creamers is like hitting the jackpot in coffee world. you’ll be customizing flavors and feeling like a barista in your own kitchen.
The Scoop on Coffee Creamers
Coffee creamers have been around since the ‘60s, and boy, have they come a long way since then! from powdered fluff to rich and luscious creamers, the market is pretty sprawling.
Nowadays, with the rise of alternate coffee creamers like almond, coconut, or even oat it’s getting really creative out there. plus, with so many recalls popping up lately, making your own just feels safer and, to be honest, more fun!
Worried about time? as in, it might feel like you're diving into the deep end? no sweat! this recipe takes about 10 minutes , and it’s as easy as mixing up some ingredients in a bowl.
Seriously, if you can stir and measure, you got this! cost? it can be lighter on the wallet than those fancy creamers.
Plus, you get about 16 servings from it, and that my friends, is a win!
Why Make Your Own? The Benefits Are Real
Let me spill the beans on why homemade coffee flavors are the way to go. first, you know exactly what’s going in there! no hidden surprises.
Just wholesome ingredients that you can feel good about. plus, there are plenty of health perks to boot! you can make it dairy-free with vegan coffee creamers , or sweetened or unsweetened, depending on your vibe.
The world is your creamy canvas!
These creamers are perfect for special occasions too. hosting brunch? creamy coffee recipes for everyone! or if you want a cozy night in, pair them with some chocolate chip cookies for that coffee and pastry pairing magic.
Seriously, who could resist that combo?
You even have room for creativity! spice things up with seasonal flavors, like pumpkin spice in the fall or rich chocolate during the holidays.
It's all about what suits your taste buds and your mood!
A Smooth Transition to Ingredients
Enough chit chat, let’s roll into what you’ll need! get ready to mix, match, and make your own safe coffee creamer recipes that bypass those recalled brands but bring delightful creamy goodness right to your morning cup.
Ingredients:
- For Vanilla Creamer, you’ll need whole milk or a non-dairy coffee creamer , heavy cream, vanilla extract, and maple syrup.
- Want a nutty kick? Check out the Hazelnut Creamer! Just grab some hazelnut milk (if you fancy it), heavy cream, hazelnut extract, and sugar.
- For that autumn flavor, the Seasonal Spice Creamer is calling your name! It’s got spices like cinnamon and nutmeg to cozy up your coffee.
So grab your mixing bowl and whisk! With these delicious options, you're just minutes away from elevating those sleepy mornings into a flavored coffee creamer dream.
Stay tuned for the recipe instructions coming up next. i promise it’ll be as easy as pie laughing at the idea of mixing up complex flavors while simply enjoying the moments.
Happy brewing, my friend!
Essential Ingredients Guide
Let’s talk about the stuff that makes your food, well, food ! whether you’re making a simple sandwich or magnificent pasta, getting the right ingredients is key.
I mean, you wouldn’t want to grab a jar of expired spices, right? that's just asking for a taste disaster.
I’ve had my fair share of cooking oopsies, so trust me, i’ve got some good tips for you!
Premium Core Components
When it comes to premium core components for your kitchen staples, it’s all about quality and freshness.
For measuring your ingredients, here’s a quick rundown for common stuff:
- 1 cup = 240 ml
- 1 tablespoon = 15 ml
Now, seriously watch for quality indicators . fresh herbs should look bright and alive, not wilted like me after a long week! when it comes to storage guidelines , always remember: if you buy spices, keep them in a cool, dry place .
Most spices can last up to 2-3 years , while fresh produce? well, that can be a little tricky; aim to use it within a week for best flavor.
And here’s a fresh tip: when buying produce, give it a good squeeze. The softer it is, the sooner you need to use it or toss it if it's gone bad!
Signature Seasoning Blend
Ah, now we dive into the world of signature seasoning blends ! this is where the magic happens. besides salt and pepper, try incorporating essential spice combinations like smoked paprika, garlic powder, and cumin .
They can elevate an ordinary dish to something truly scrumptious.
For herbs, basil and oregano are classic partners in crime when making italian dishes, while cilantro shines in mexican recipes.
And if you are adventurous, why not sprinkle some trendy za’atar on it too?
Let’s talk about flavor enhancers. a splash of vinegar or a squeeze of lemon can really brighten up your dish.
Think about it: a sprinkle of fresh herbs or zest before serving can make your meal look like a five star restaurant made it! dine in style, friends!
Smart Substitutions
Now, life is all about making adjustments, right? so, let’s nail those smart substitutions . if you’re out of eggs, try unsweetened applesauce or mashed bananas in baking! it works like a charm without sacrificing taste.
If someone’s vegan, guess what? There’s a world of fabulous non-dairy coffee creamers out there! Opt for almond, oat, or macadamia nut milk when crafting your own creamer.
And for emergency replacements ever run out of sugar? Brown rice syrup or even leftover maple syrup can save the day! It’s like having a secret weapon in your pantry.
Kitchen Equipment Essentials
Getting into the kitchen equipment essentials , i can’t stress enough how having the right tools speeds up the cooking process.
A good chef’s knife, a sturdy cutting board, and a reliable mixing bowl are must haves.
Now, if you’re short on space, you can use a mason jar instead of fancy storage containers or a simple fork instead of a whisk.
I’ll tell ya, the less clutter, the more zen during cooking!
Oh, and let’s not forget about those time saving devices! An immersion blender can whip up soups and smoothies in no time.
Safe Coffee Creamer Recipes
So, you all know about the recent coffee creamers recalled , right? yikes! that made me rethink my morning routine.
Enter diy coffee creamers , a much safer and creative alternative to those recalls. you can make your own with simple ingredients like milk dairy or non-dairy and a sweetener.
Who knew it could be that easy?
After all, why not whip up something that suits your taste? You can dive into flavoring your coffee with vanilla, hazelnut , or even seasonal spices like pumpkin spice ! I mean, hello, homemade flavored syrups !
And guess what? You can totally avoid chemical additives by making your own. Say goodbye to those processed creamers and hello to a fresher cup of joe!
Get Ready to Mix It Up!
Now that you’ve armed yourself with these essential ingredients and kitchen tricks, it’s time to put these insights into practice.
You’re just a few steps away from some delicious homemade dishes and that perfect cup of coffee. ready to dive into the easy coffee recipes ahead? let’s get cooking!
Crafting Your Perfect Cup: A Guide to Homemade Coffee Creamers
Hey friend! If you're like me, you love coffee. But let’s face it sometimes the store-bought creamers can be iffy. I mean, have you heard about those coffee creamers recalled recently? No thanks! So, why not take control of your morning joe and whip up your own DIY coffee creamer?
It’s super easy and SO satisfying!
Essential Preparation Steps
Before diving into the how-to , let’s get prepped. first up, we have mise en place , or in plain speak everything in its place.
Gather all your ingredients and tools. it makes life so much easier. i swear, the first time i tried to juggle all the ingredients for a recipe, it was a mess.
Seriously!
Next, time management is key. prep time for our homemade creamers is about 10 minutes . so, set aside a few minutes in your morning routine.
Think of it as a little self care session!
And let’s chat organization. create a timeline, like preparing your coffee while the creamer is chilling out in the fridge.
Plus, get your measuring cups and spoons ready. it's a game changer! lastly, safety first . keep your kitchen clean to avoid accidents and spoilage.
We don’t need any surprise centers in our creamers, do we?
Step-by-step Process
Ready to get your hands dirty? Let’s break it down step-by-step.
- Combine : Start with 1 cup of whole milk (or non-dairy milk) mixed with 1 cup of heavy cream in a bowl. Easy peasy!
- Sweeten : Stir in your choice of sweetener maple syrup, honey, or sugar. Aim for about 2 tablespoons .
- Flavor it Up : Now for the fun part. Add your flavoring: 1 teaspoon of vanilla extract for a classic touch. For something nutty, go with hazelnut.
- Taste Test : Seriously, don't skip this! Adjust sweetness or flavor as needed.
- Bottle it Up : Pour it into a clean jar and seal it tight. I always label mine, so I don’t mix them up!
- Fridge Time : Pop it in the fridge and let it chill. Remember to shake before using, since ingredients can separate.
Expert Techniques
Here’s where I share my little secrets. When you’re making creamers, always check quality. Invest in fresh ingredients for the best flavors. If your cream looks questionable, toss it!
Timing is essential. for creamy goodness, keep your milk and cream at room temperature before mixing; it helps them blend better.
Also, if you want richer flavors, let your creamer sit in the fridge overnight. the longer it sits, the more the flavors meld together.
If something goes wrong or it tastes off don’t panic! Just add more sweetness or flavor until it’s right. Trust me, I learned that culinary trick through many coffee adventures!
Success Strategies
Let's avoid common bloopers. One big no-no is over sweetening. You can always add more, but once it's in, it's in! Use less at first, then tweak.
And don’t forget about quality assurance. always taste as you go! another great hack is to make your creamer ahead of time, like at the beginning of the week.
This saves you stress on busy mornings.
Now, how about some fun with variations? try mixing seasonal spices like a pinch of cinnamon or nutmeg for that extra je ne sais quoi! or if you're feeling adventurous, toss in cocoa powder for a chocolate delight.
Coffee Lovers Unite!
You see, creating your own creamers is not just about savings and health; it’s also about making your coffee ritual special.
Homemade coffee flavors bring creativity into your life, and that’s what it’s all about! plus, who doesn't love a little luxury in their morning cup, right?
And let me tell you, they pair beautifully with pastries. Try it with a buttery croissant or an apple muffin. Wowza!
So, whether you’re experimenting with non-dairy coffee creamers , or sweetened vs unsweetened options, you’re in control. Now, let’s explore some additional information to elevate your coffee game even more.
Pro Tips & Secrets for Your DIY Coffee Creamer Adventure
Oh my gosh, let’s chat about how to make this whole homemade coffee creamer experience even cooler. Here are some pro tips to keep in your back pocket.
First off, don’t skimp on the freshness . using high-quality ingredients makes a world of difference. think of it like this: fresh cream and natural sweeteners bring out the best flavors.
You’ll thank yourself later!
If you're in a rush (who isn’t?), here’s a time saving trick : whip up a big batch on the weekend and store it.
Super easy! just shake it well before pouring because flavors may separate. also, if you wanna take it to the next level, try mixing in spices like cinnamon or nutmeg for that touch of warmth.
Spice it up, literally!
When it comes to flavor enhancement, never hesitate to taste your creation . seriously, get in there and see if it needs more sweetness or a splash more vanilla.
Your taste buds will guide you!
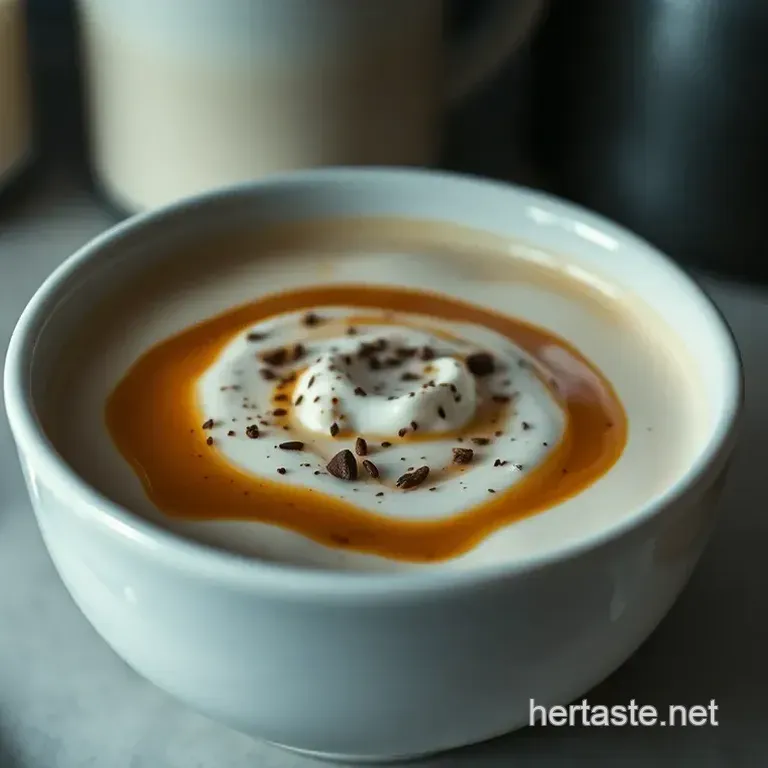
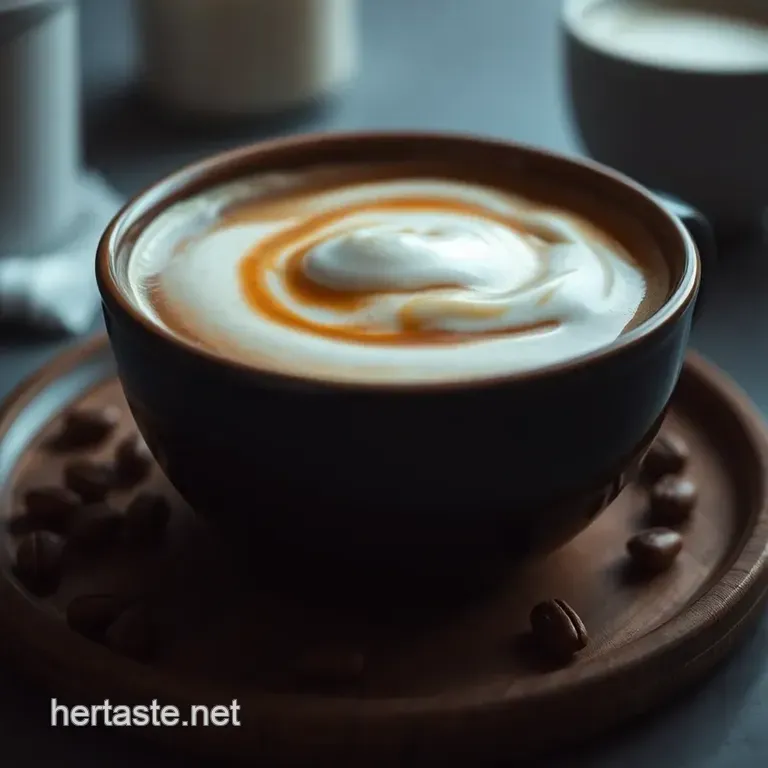
Presentation advice? A simple drizzle over your coffee can turn it into a masterpiece. Serve it in a cute glass bottle or jar. It’s all about that visual appeal , my friends.
Perfect Presentation: Making it Instagram Worthy
Now, let’s talk plating techniques and how you can make your homemade coffee creamers look as good as they taste.
First tip? use a clear glass! everyone loves seeing those beautiful layers of creamy goodness.
When it comes to garnishing, think about adding a sprinkle of cocoa or nutmeg on top. it adds flair and also gives that wow factor when people see your drink on the breakfast table.
And don’t forget about color combinations! A dark cup of coffee swirled with your creamy goodness is visually stunning. A little contrast goes a long way, and it makes the bowl of donuts or pastries next to it look tempting too!
Storage & make-ahead: Keep It Fresh
So, here’s the lowdown on storage you want to keep that creamer without recalls safe and fresh, right? store your homemade mix in a clean glass bottle and put it in the fridge.
It should last about one week . if you're like me, you might want to make a note on the bottle so you don’t forget when to toss it out.
Got any leftovers? no problem! you can definitely reheat your creamers if you like them warm in your coffee. just be careful no boiling! just a gentle warm-up in the microwave will do.
Creative Variations: Get Adventurous
Feeling adventurous? Let’s talk about some killer coffee creamer variations . Wanna turn those flavored coffee creamers up a notch? Try mixing in some homemade flavored syrups . It’s super fun!
If you’re on a health kick, don’t sweat it. there are tons of dairy-free coffee options out there. almond or oat milk works great, plus they bring their own unique flavor.
You can even whip up some vegan coffee creamers ! everyone can enjoy coffee bliss, one way or another.
And since we’re approaching the holidays, seasonal twists can be a game changer. How about some pumpkin spice creamers in the fall? Or a peppermint flair for winter? Seriously, get creative!
Complete Nutrition Guide: Sip Smart
Let’s keep it real! the best part about making your own coffee creamer is you know exactly what’s in it.
You can tweak the coffee creamer ingredients to fit your lifestyle. for a little inspiration, here’s what’s typically packed in a serving:
- Calories: around 50 (depending on your mix)
- Sugar: about 2g (you control the sweet stuff, woohoo!)
- And with options to use alternative sweeteners or natural coffee additives , you can make some seriously healthy coffee supplements .
You see? It’s less about rigid numbers and more about creating something that makes your morning shine.
Wrap It Up with Encouragement
To wrap this all up, making homemade coffee creamers is not just about flavor; it’s about the experience. you get to play around with different flavors and create your own little coffee sanctuary at home.
Face it, nobody wants those coffee creamers recalled recently you have the power to create your own!
So grab those ingredients and get mixing. you’ve got the tips, you’ve got the ideas. now go out there and make your coffee dreams come true! honestly, you’ll never look at another store-bought creamer the same way again.
You got this, friend!
Frequently Asked Questions
What are coffee creamers recalled and why should I be concerned?
Coffee creamers recalled refer to specific brands or products that have been taken off the market due to safety concerns, such as contamination or undeclared allergens. Being aware of these recalls is important for ensuring your safety when enjoying your favorite coffee beverages.
Always check recall lists and consider making your own creamers using this DIY recipe for peace of mind.
Can I customize my homemade coffee creamers?
Absolutely! One of the benefits of making your own coffee creamers is the ability to customize flavors and sweetness levels to your liking. You can experiment with different flavor extracts, spices, or sweeteners, including seasonal variations like pumpkin spice for fall or mint for winter.
How should I store my homemade coffee creamer?
Your homemade coffee creamer should be stored in a clean glass bottle or jar in the refrigerator. It’s best enjoyed within about one week, so make smaller batches if you use creamer infrequently. Remember to shake the bottle before each use, as some separation may occur.
What are some practical tips for making successful DIY coffee creamers?
Use fresh ingredients for the best flavor, and be sure to whisk the ingredients well to combine them thoroughly. Taste your mixture before storing and adjust the sweetness or flavor as desired. If you prefer a thicker consistency, consider substituting half and-half for the heavy cream.
Are there lower calorie options for homemade coffee creamers?
Yes! You can make lower calorie options by substituting heavy cream with Greek yogurt or using non-dairy milk alternatives like almond or oat milk. Additionally, reducing the amount of sweetener used or opting for natural, calorie free sweeteners like stevia can help lower the calorie count.
Can I make dairy-free versions of homemade coffee creamers?
Definitely! This recipe can easily be adapted to be dairy-free by substituting whole milk and cream with non-dairy alternatives such as almond milk, oat milk, or full fat coconut milk. Just ensure that the flavorings you choose are also dairy-free for a completely vegan friendly option.
Homemade Coffee Creamers Flavorful And Safe Alte