White Chocolate Fudge: the Easy, Silky Smooth British Bakery Classic
- Silky Smooth White Chocolate Fudge: A British Bakery Classic (The Cheat’s Method)
- Understanding the Perfect Fudge Texture (Why This Recipe Works)
- Essential Ingredients and Quality Notes
- Mastering the Cheat’s Method: Step-by-Step Instructions
- Troubleshooting and Expert Tips for Perfect Fudge
- Storage, Shelf Life, and Freezing Guide
- Presentation and Serving Ideas
- Recipe FAQs
- 📝 Recipe Card
Silky Smooth White Chocolate Fudge: A British Bakery Classic (The Cheat’s Method)
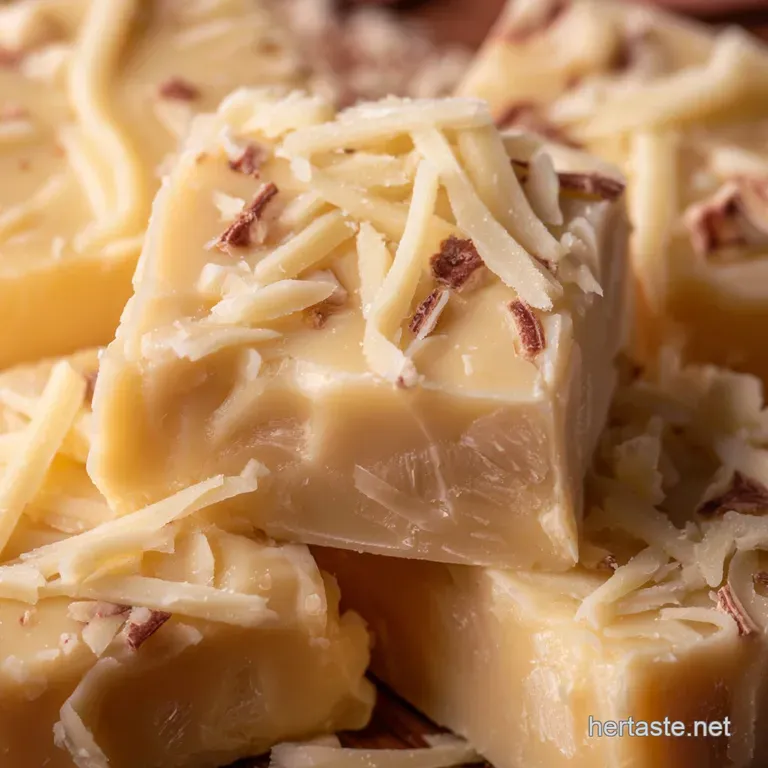
Have you ever tried proper, old-school white chocolate fudge? The aroma alone that creamy, warm vanilla scent just screams comfort. This isn't the dry, crumbly stuff; this is the kind that melts on your tongue and coats your mouth in pure, velvety smoothness. It’s absolutely addictive, trust me.
I used to think making fudge required a sugar thermometer, intense focus, and maybe a degree in chemistry. I was wrong. This super easy, three ingredient cheat’s method is the ultimate kitchen hack for when you need a stunning dessert fast, cheap, and without any fuss.
It’s perfect for last minute gifts or those moments when you just need a perfect, dense square of sweetness after dinner.
So ditch the boiling sugar and that terrifying soft ball stage forever. We are using sweetened condensed milk to guarantee that creamy texture every single time. Let's crack on and make the easiest, silkiest homemade fudge you’ll ever encounter.
Understanding the Perfect Fudge Texture (Why This Recipe Works)
Why We Ditch the Sugar Thermometer
Listen, traditional fudge is a nightmare. Seriously, I’ve wasted so many pounds of sugar trying to hit that perfect 234°F soft ball stage only to end up with gritty nonsense. You don't need a thermometer here.
We bypass all that potential crystallization drama because we aren't boiling plain sugar. This method relies on pre-emulsified ingredients.
What Makes This Fudge a British Bakery Favorite?
The fudge you find in those adorable little coastal candy shops in the UK is often made this way rich, dense, and slightly chewy without being tough. This recipe achieves that classic "bakery" density by using a very high concentration of cocoa butter (from the quality white chocolate) mixed with the super thick sweetened milk.
It sets perfectly firm, yet still yields when you bite into it.
Overview of the 3 Ingredient Cheat’s Method
The core idea is simple: White chocolate, sweetened condensed milk, and a tiny bit of butter. That’s all the foundational chemistry you need. We are essentially creating a stable, set ganache rather than a crystallized sugar matrix.
The Role of Sweetened Condensed Milk in Creaminess
This is the magic ingredient, hands down. It provides both the sweetness and the liquid base necessary to melt and bind the chocolate. Because condensed milk is already thick and stable, it prevents the gritty texture that happens when sugar and water separate. It guarantees that lush, incredibly smooth finish.
Achieving the Ideal Set Without Boiling
We achieve the set by controlling the heat carefully. Melting the mixture gently allows the cocoa butter in the white chocolate to combine smoothly with the milk solids. Once cooled, the high cocoa butter content solidifies completely, holding the mixture together in a delightfully fudgy block.
Flavor Profile: Balancing Sweetness in White Chocolate Fudge
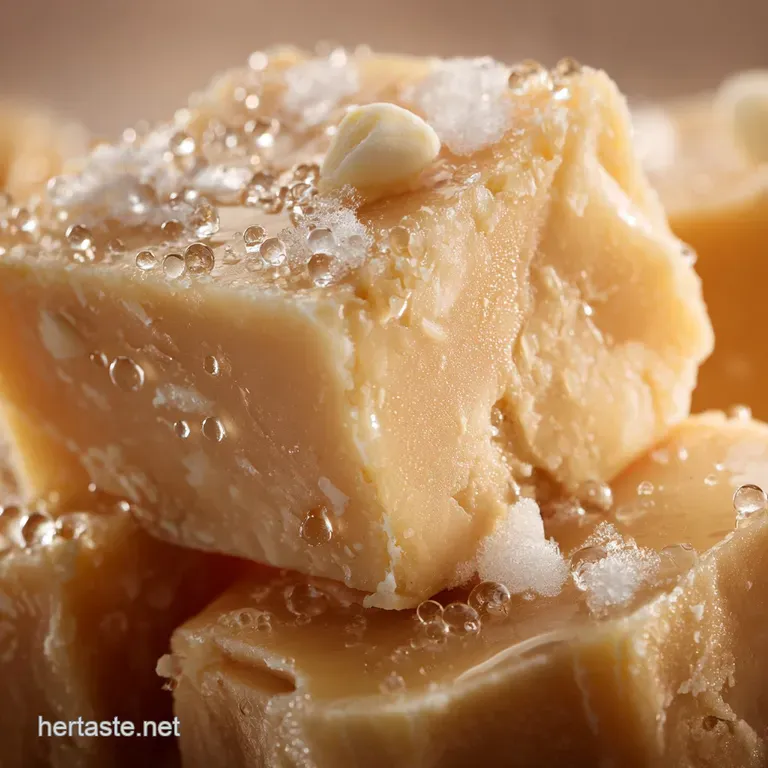
White chocolate can be overwhelmingly sweet, right? This is why the pinch of sea salt is non-negotiable. That tiny amount of salt acts as a counterpoint, cutting through the intense sugar and fat, ultimately making the fudge taste richer, not just sweeter. Don't skip it!
Essential Ingredients and Quality Notes
If you want amazing fudge, you need amazing ingredients. It's truly that simple, especially when the ingredient list is so short.
Choosing the Best Quality White Chocolate Chips or Bars
Don't buy the cheapest chips you can find, please. Look for white chocolate that actually lists cocoa butter high up in the ingredient list (at least 20% cocoa solids). Cheaper compound bars often contain vegetable oil, which results in a slightly oily, less satisfying texture.
Chopped white chocolate baking bars or high-quality callets (pellets) melt the smoothest.
| Ingredient | Why it Matters | Viable Substitution |
|---|---|---|
| White Chocolate | High cocoa butter content ensures a clean, firm set. | Use quality dark or milk chocolate if swapping the entire recipe base (for a different flavour profile). |
| Sweetened Condensed Milk | Provides thick binding liquid and sugar structure. | NO substitute for condensed milk. Evaporated milk will not work; it's too thin. |
| Unsalted Butter | Adds richness and aids in the smooth melt. | 2 Tbsp coconut oil or plant based butter substitute. |
Why Sweetened Condensed Milk is Non-Negotiable
Seriously, don't even try to swap this one out for regular milk or cream. The texture of the fudge depends entirely on the high sugar and milk solid content of the condensed milk. It’s what gives the fudge its signature, toothsome density.
Flavor Boosters and Optional Swirls (e.g., vanilla extract, sea salt)
A good quality vanilla extract adds depth; artificial vanilla works too, but pure is better here. If you want to get wild, try stirring in a teaspoon of lemon extract instead for a bright, citrusy twist. For a truly decadent twist, try swirling in some melted Chocolate Pie: Ultimate No-Bake Silken Crème Pie Recipe filling just before setting!
Vegan and dairy-free Substitutions for Fudge Base
Yes, you can absolutely make this dairy-free! You must use both a dairy-free white chocolate equivalent (like brands using rice powder) AND a full fat sweetened condensed coconut milk. The texture will be slightly softer and perhaps carry a hint of coconut, but it sets beautifully.
Mastering the Cheat’s Method: step-by-step Instructions
Prep Work: Lining and Preparing Your Fudge Pan
Line your 8x8 inch square tin with parchment paper, allowing the paper to overhang on two sides. Those overhangs are your handles, making it ridiculously easy to lift the entire block out later. A quick spray of cooking oil or a smear of butter on the tin helps the paper stay put.
Melting the Base: The Double Boiler vs. Microwave Technique
I prefer the double boiler (or simply a heavy bottomed pan over very low heat) because it gives you ultimate control. Place the chopped white chocolate, the full can of condensed milk, and the butter into the pan. Stir constantly over the lowest heat possible.
The goal is melting, not cooking! Remove the pan when there are still a few visible unmelted chunks of chocolate left.
Combining and Stirring to Prevent Separation
Once off the heat, continue stirring vigorously. The residual warmth will melt those last few chunks, resulting in a perfect, homogeneous mixture. Stop stirring immediately once it’s smooth and glossy.
Overworking the fudge at this stage can incorporate air, which sometimes leads to a slightly less dense or grainy texture.
Chef's Note: The perfect texture right before setting should look exactly like extra thick, glossy cake batter. If it looks oily or separated, you overheated it try vigorous stirring to bring it back together before pouring.
Setting the Fudge: Achieving Maximum Firmness
Pour the mixture immediately into your prepared tin, spreading quickly to level the top. Pop it straight into the fridge. I know the recipe says 2 hours minimum, but honestly, leaving it for four hours or even overnight gives the absolute best texture. Patience is key here, my friend. If you want a fun, slightly lighter version for the kids, check out my tips on making No Bake Unicorn Fudge Easy Whimsical Kids Dessert .
Troubleshooting and Expert Tips for Perfect Fudge
My Fudge Didn’t Set: Fixing Runny White Chocolate Fudge
If, after two hours, your fudge is still soft and gooey, you likely didn't use enough white chocolate relative to the condensed milk, or you added an extra liquid ingredient. The only way to fix runny fudge is to try reheating it.
Return the mixture to the pan, add about 4 oz (115g) more white chocolate, and gently melt it all together again until fully integrated. Pour and re-chill immediately.
How to Avoid a Grainy Texture
Graininess happens when the sugar molecules seize and crystallize, usually due to overheating. The fix? Slow and low heat always. If your batch turns grainy mid-melt, try adding a tablespoon of boiling water or milk to the pan and stirring relentlessly off the heat. Sometimes this shocking temperature difference can smooth out those sugar crystals a trick I learned the hard way after ruining a batch destined for my Chocolate Covered No Bake Oatmeal Cookie Balls The Decadent NoFuss Recipe .
The Best Way to Slice Fudge Evenly
Once fully chilled, lift the fudge out using the paper sling. The trick to flawless squares is heating your knife. Run a large, heavy knife under very hot water, dry it completely , and make a clean cut. Wipe and reheat the knife after every single slice.
This warms the surface of the blade just enough to glide through the dense fudge without tearing or crumbling the edges.
Storage, Shelf Life, and Freezing Guide
Optimal Countertop vs. Refrigerated Storage
You have options here depending on your texture preference! For the softest, chewiest fudge, store it in an airtight container at cool room temperature (below 70°F). It will last beautifully for about 5 7 days.
For a much firmer, cleaner square, store it in an airtight container in the refrigerator . Fridge storage extends shelf life up to 2 weeks.
Long Term Freezing Instructions
Does it freeze well? You bet your sweet life it does. Cut the fudge into squares first. Wrap individual pieces tightly in plastic wrap, then place those wrapped pieces inside a freezer safe container or zip-top bag. Squeeze out all the excess air. It will keep perfectly frozen for up to 3 months.
How to Thaw and Restore Fudge Texture
To thaw, simply move the fudge from the freezer to the refrigerator overnight. For the absolute best texture, allow the thawed pieces to sit on the counter for about 30 minutes before serving. This lets them warm slightly, restoring that signature melt-in-your mouth quality.
Presentation and Serving Ideas
This fudge is gorgeous on its own, but it’s even better when paired with contrasting textures or flavours.
Serve these cubes with a strong, unsweetened espresso; the bitterness is the perfect foil for the sweetness. You can also mix things up by using the white chocolate fudge as the base for a layered dessert, maybe alongside a sharp raspberry sauce or crushed Chocolate Coconut Brownies The Ultimate Fudgy Dream Bars Recipe for added complexity.
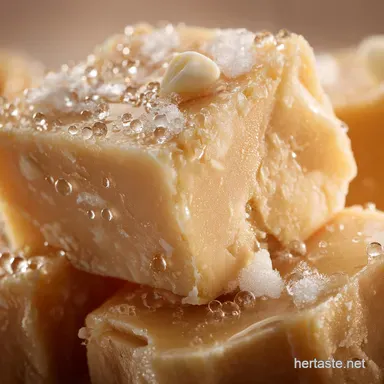
Try dipping the cooled, cut squares halfway into melted dark chocolate, and then sprinkling them with flaky sea salt before the dark chocolate sets. It makes them look incredibly professional and tastes utterly divine.

Recipe FAQs
Why is my fudge grainy or too soft?
Graininess usually occurs if the white chocolate was scorched or overheated during the melting process, causing the sugars to crystallize. If the fudge is too soft, the mixture may need more time to chill completely, or the ratio of chocolate to condensed milk might be slightly off due to inaccurate measuring.
My fudge won't set fully. What went wrong?
This is often a quality control issue concerning the white chocolate itself. Ensure you are using true white chocolate containing cocoa butter, rather than compound chocolate or "white melting wafers." Low-quality ingredients often contain oils that prevent the mixture from hardening correctly into a dense fudge consistency.
Can I use evaporated milk instead of sweetened condensed milk?
No, this recipe relies heavily on the high sugar concentration and thick viscosity of sweetened condensed milk to achieve the correct fudge texture without boiling. Evaporated milk is much thinner and unsweetened, resulting in a runny, unstable mixture that will not set properly.
How should I store this White Chocolate Fudge, and can I freeze it?
Store the fudge in an airtight container at room temperature for up to two weeks, layered between sheets of parchment paper. Yes, you can freeze it; wrap individual pieces tightly in plastic wrap and then foil, where they will keep for up to three months, thawing overnight in the refrigerator before serving.
What are some simple flavor variations I can add?
For a sophisticated twist, stir in 1 teaspoon of pure vanilla extract and a pinch of fine sea salt before pouring the mixture into the pan. Alternatively, swirl in lemon zest or crushed freeze dried raspberries right after combining the chocolate and milk for a beautiful color and tart contrast.
What is the best way to cut the fudge cleanly?
The key to clean cuts is patience; ensure the fudge has chilled in the refrigerator for at least 4 hours, preferably overnight, until it is very firm. Use a large, sharp chef's knife and dip the blade in hot water, wiping it dry before making each slice, ensuring smooth, precise edges.
Easy Silky White Chocolate Fudge
Ingredients:
Instructions:
Nutrition Facts:
| Calories | 217 kcal |
|---|---|
| Protein | 2.0 g |
| Fat | 11.0 g |
| Carbs | 29.0 g |
