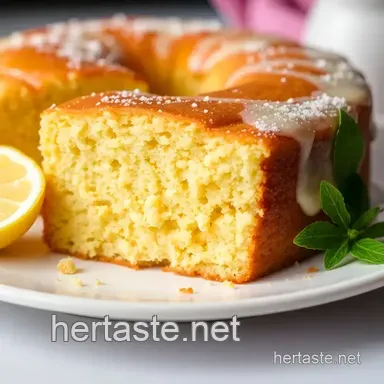
Sri Lankan Butter Cake: a Lush Delight in 75 Minutes
- Discovering the Charm of Butter: An Introduction to Delicious Butter Cake Sri Lankan Recipe in 75 Min
- Your Go-To Essential Ingredients Guide for Delicious Baking
- The Art of Professional Cooking: Butter Cake Edition
- Additional Recipe Information for Your Delicious Butter Cake Adventure
- Frequently Asked Questions
- 📝 Recipe Card
Discovering the Charm of Butter: An Introduction to Delicious Butter Cake Sri Lankan Recipe in 75 Min
Oh my gosh, you guys! remember that feeling of sinking your teeth into a slice of something that just hugs your taste buds? well, let me take you on a little trip down memory lane.
Picture this: a cozy afternoon at my grandma's house, the aroma of freshly baked cake filling the air. that’s when i first fell in love with sri lankan desserts, particularly the delicious butter cake .
Whether it’s a birthday, an afternoon tea, or just those lazy sundays, a good butter cake has a way of making everything feel a bit more special, right?
So, let’s talk about how this classic cake became a staple in so many homes. the sri lankan butter cake is not just a dessert; it’s a heartfelt tradition that dates back generations.
It has roots in colonial ceylon, where local bakers infused european techniques with tropical flavors. this version is uniquely sri lankan, thanks to that rich heritage and the use of local ingredients like coconut milk .
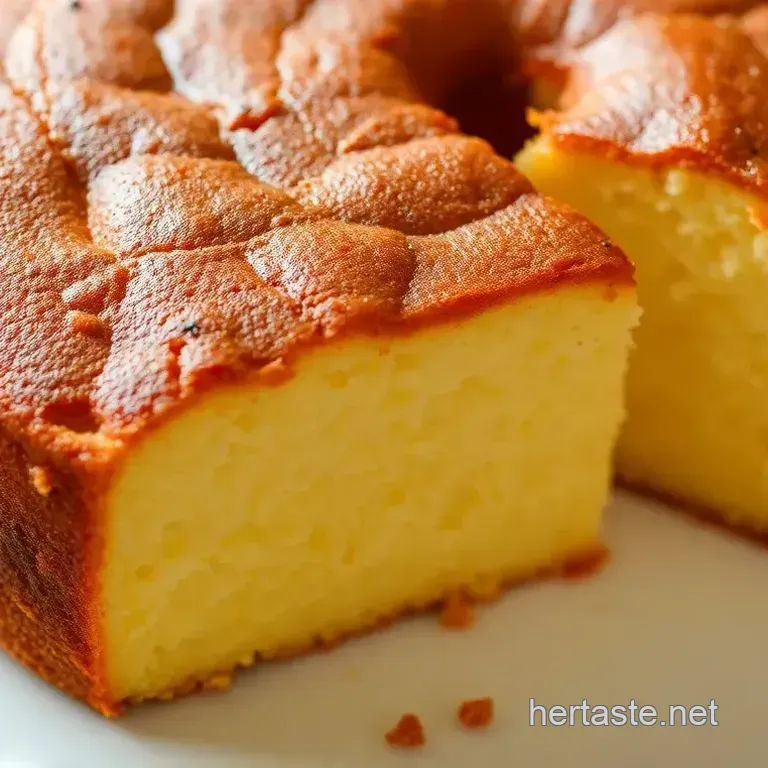
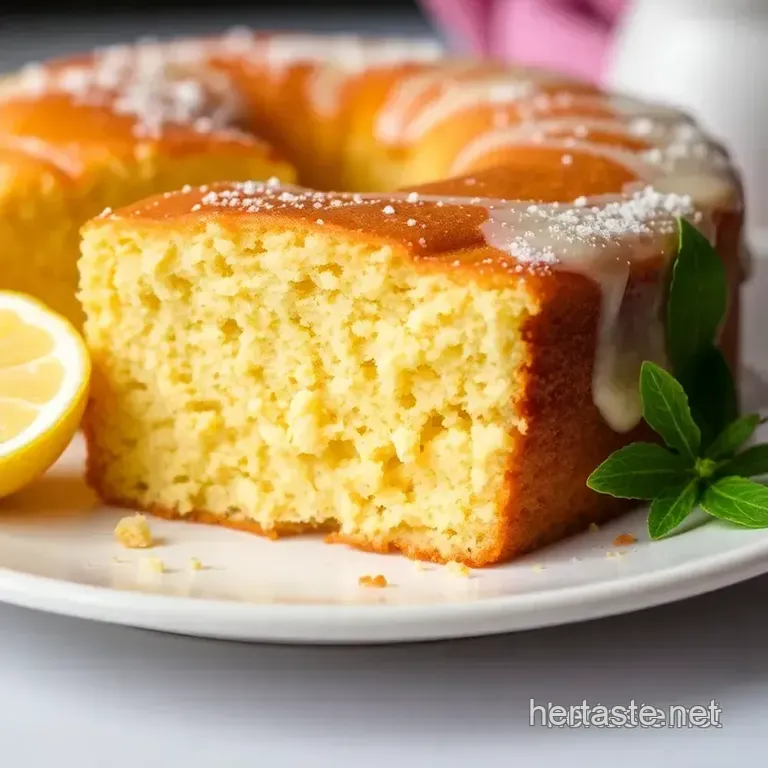
These days, it remains a crowd favorite, gracefully balancing a fluffy texture with a moist crumb that melts in your mouth.
You know what i love? it only takes about 75 minutes from start to finish perfect for those unexpected tea-time guests.
Now if you’re worried about your baking skills, don’t sweat it! this recipe is an easy butter cake recipe that's friendly to beginner bakers and old pros alike.
Seriously, with just a handful of staple ingredients think butter, sugar, eggs, and flour you’ll be on your way to pulling off a moist cake recipe in no time.
Don’t believe me? well, here’s the kicker: you can whip this up in about 55 minutes! and it generously serves about 8-10 people , making it a perfect dessert for small gatherings or a comforting treat at home.
Why You'll Fall in Love with This Cake
Now, let’s dive into the really good stuff: the health benefits! well, let’s be honest, we’re not exactly talking about health food here, but this butter cake packs a punch in comfort and happiness! it’s not just a cake; it’s joy served on a plate.
Plus, baking at home means you know what goes into it, and you can swap in some local sri lankan ingredients that might lower those guilty feelings a tad.
Maybe you’d like to add a hint of cardamom or coconut for an unexpected twist?
Looking for a versatile cake to serve at a special occasion? this classic butter cake is a winner! pair it with some homemade whipped cream or fresh berries, and you’ve got yourself a showstopper.
Plus, it shines when it comes to celebrating life's little moments, like that cozy afternoon tea with a friend or a light summer gathering.
And hey, it’s way more exciting than store-bought options, don't you think?
Oh! and let’s not forget the appeal of this cake beyond just its taste. with a recipe that’s so approachable, you can easily adapt it to be gluten-free or even dairy-free using some dietary substitutions .
That means everyone can enjoy a slice, whether they’re gluten sensitive or just looking for something lighter. winning!
I absolutely love how this cake carries the essence of homemade goodness. when you’ve mastered the step-by-step baking guide , i promise you’ll want to keep coming back to it, night after night, trying out new flavor variations or perfecting your skills.
Plus, it makes for a fabulous homemade gift wrapped up with love!
So, if you're ready to dive into this delightful experience and learn how to make butter cake that’s guaranteed to bring smiles, let’s get into the ingredients ! We’re about to unleash the magic of homemade butter cake that captures the heart of Sri Lankan baking right in your kitchen!
Your Go-To Essential Ingredients Guide for Delicious Baking
So, you’re ready to dive into the world of baking, and trust me, it’s an adventure worth taking. whether you're craving a classic sri lankan butter cake or just looking to whip up something simple, knowing your ingredients is key! let's break it down.
Premium Core Components
First things first, let’s chat about the essential ingredients . You don’t want to go throwing random stuff in without knowing what each component brings to the table.
Detailed measurements : when it comes to baking, accuracy is crucial. you want to grab your measuring cups, because precision matters here.
For instance, if you’re starting off with our easy butter cake recipe, you’ll need 1 cup (226 g) of unsalted butter .
If you’re looking in the metric world, it’s a solid 226 grams of butter, plain and simple.
Quality indicators : not all ingredients are created equal, my friend. a good quality vanilla extract can elevate your cake from “meh” to “oh wow!” look for pure vanilla extract, not imitation.
Those small choices matter, especially in classic sri lankan butter cake .
Freshness tips : next up storage guidelines. always check your eggs before using them! make sure they’re fresh. a quick trick? place them in a bowl of water.
If they sink, they’re good. if they float, toss 'em.
Signature Seasoning Blend
Now let’s spice things up! Along with your basic ingredients, a simple yet effective signature seasoning blend can work wonders.
Essential spice combinations : seriously, a pinch of salt goes a long way in enhancing flavors. for our butter cake, a hint of nutmeg isn’t a bad idea if you want a warm, cozy vibe.
Herb selections : the most common herbs may not sound like they belong in a cake, but sometimes a little citrus zest can add that zing! lemon or orange can create that fresh balance.
Smart Substitutions
Now let’s say you’re out of something essential and in a jam! What do you do? Here come the smart substitutions .
Common alternatives : if you’re fresh out of whole milk, try swapping it with almond milk or even a splash of yogurt.
It’ll still give you that moist cake recipe we all crave.
Dietary Modifications : Want a vegan twist on your Sri Lankan desserts? Use flaxseed meal or applesauce in place of eggs.
Kitchen Equipment Essentials
Got your ingredients? Great. Now let's chat tools! You won’t need a fancy kitchen to make a delicious homemade butter cake.
Must Have Tools : First up, an electric mixer is a lifesaver! If you don’t have one, don’t sweat it. A whisk works too, just be ready for a little arm workout.
Preparation Tips : And don’t forget to preheat your oven to 350° F ( 175° C) before you dive in. It’s like warming up your car before a cold ride!
Wrapping it Up
Feeling a bit more confident to create that delicious butter cake sri lankan recipe in 75 min ? i hope so! with these essentials in your back pocket, you’re all set to whip up some sweet treats from sri lanka that’ll impress everyone.
Next up, we're going to dive into the step-by-step baking guide, where you’ll learn precisely how to make butter cake.
It’s going to be super easy, so grab those local ingredients and get ready to bake! this is going to be a fun ride!
The Art of Professional Cooking: Butter Cake Edition
When it comes to baking, nothing beats a delicious butter cake sri lankan recipe in 75 min ! it’s not just a cake; it’s bursting with love and tradition from the beautiful shores of sri lanka.
If you’re dreaming of fluffy bites to enjoy with your afternoon tea, then buckle up! we’re diving into the essential steps that’ll make you a superstar in the kitchen!
Essential Preparation Steps
Let’s kick things off with mise en place the fancy french term for “everything in its place.” gather your ingredients before you start.
Trust me, you don’t want to be that person scrambling for flour while your butter melts into oblivion.
Time management is key, folks! set a timer for each step. you want your butter to cream smoothly, not a rock hard block! i usually do a quick mental checklist: a quick warm-up of the oven is always step one, with a preheat to 350° f ( 175° c) .
Organization helps keep your sanity. have bowls, spatulas, and measuring cups ready. it’s like a well run bakery in there! and hey, don’t forget safety considerations : use oven mitts, watch for hot pans, and keep the kiddies away from the stove.
step-by-step Process
Alright, let’s break this down into bite sized steps:
- Preheat your oven to 350° F ( 175° C) and grease your 9 inch round cake pan .
- Cream your butter and sugar —this should take you about 3- 5 minutes until it’s fluffy and light.
- Add your eggs one at a time , making sure they mix well before tossing in that sweet vanilla extract.
- In another bowl, combine the dry ingredients : flour, baking powder, and salt. Don’t skip this! It’s crucial for that fluffy texture.
- Alternate adding your dry mix and the milk to the butter egg mixture. Start with dry, then wet, and end with dry.
- Smooth the batter into the prepared pan and into the oven it goes! Bake for 30- 40 minutes , checking with a toothpick better to bake it a bit too little than too much, you know?
- Remember to cool the cake for 10 minutes in the pan before transferring it to a wire rack. Waiting is the hardest part!
Expert Techniques
Now, let’s sprinkle in some expert techniques. a little trick from my own experience: make sure your butter is softened but not melted for that perfect texture.
The right ingredients for butter cake can elevate your baking game; i swear by using local sri lankan ingredients when possible, especially if you can snag some fresh coconut!
Don’t overmix the batter, fam! You want it to be just combined too much mixing will give you a dense, sad cake. I’ve been there, and let me tell you, it’s a heartbreaker.
Ah, and if you find your cake sinking in the middle, there might have been too much liquid or not enough baking powder.
But hey, don’t sweat it; troubleshooting tips will get you through!
Success Strategies
Lastly, let’s chat about common pitfalls. One biggie? Not checking your oven’s temperature. Ovens can be quirky! Invest in an oven thermometer if you’re serious about baking.
Quality assurance is crucial. take a quick peek at your cake before the timer goes off, because sometimes it might be ready earlier! and if you want to prep ahead, consider making the batter the day before and storing it in the fridge overnight.
Just take it out to come to room temp before baking.
Oh! and don’t forget about storage it’s best kept in an airtight container. it’ll stay moist and fresh for about 3 days .
Not that it’ll last that long with all the deliciousness going on!
So, there you go! you’re all set to whip up an authentic sri lankan recipe that’ll give you that classic butter cake everyone loves.
Imagine serving this gem alongside your favorite ceylon tea, creating the perfect afternoon tea vibe. it’s comfort food at its finest!
Next up, we’ll dive into Additional Information to further sweeten your baking journey. Get ready to whip out those cake plates!
Additional Recipe Information for Your Delicious Butter Cake Adventure
Oh, boy! if you’re diving into the delicious butter cake sri lankan recipe in 75 min , you are in for a treat.
But let’s be real, baking can sometimes be like running a mini marathon exciting but exhausting! to help lighten the load and make this experience a blast, i’ve got some pro tips and ideas to elevate your butter cake game.
Pro Tips & Secrets
First things first, the insider scoop. if you want that fluffy butter cake to reach new heights, start with room temperature ingredients .
Trust me, letting your butter and eggs chill out for a bit makes a world of difference. it creates that incredible creaminess when you mix, leading to a light and airy texture.
Oh, and don’t be shy about adding a sprinkle of cardamom or nutmeg these spices are like little party crashers in your cake, giving it that signature taste of sri lankan desserts .
Now, if you’re a busy bee, try this time saving trick: mix your dry ingredients the night before. Just store them in a bowl, and when you’re ready to roll, pop them into your buttery mix it’s such a lifesaver!
For flavor enhancements, a splash of vanilla extract is a must, but if you really wanna jazz it up, try infusing some coconut milk into your batter.
It’s like taking a fistful of tropical flavor and throwing it right into your classic sri lankan butter cake .
Perfect Presentation
Alright, so your cake is baked and absolutely smelling divine. now, let’s talk presentation . the way you present your cake can totally elevate its vibe.
I’m all about that rustic look , which means a simple dusting of powdered sugar does wonders. but if you wanna go all out for that special occasion cake , try adding some colorful fruits like strawberries or even a raspberry drizzle on top.
When plating, think height and color. layer your cake on a beautiful cake stand and add fresh mint leaves around the perimeter.
It's all about those color combinations after all, we eat with our eyes first, right?
Storage & make-ahead
Now, let's chat about storage. this moist cake recipe can last up to three days if stored properly. just pop it in an airtight container to lock in that moisture.
Heaven forbid it goes stale! if you want to make it ahead of time, you can bake it one day and frost it the next.
Wrap it tightly in plastic wrap, and you’ll have it fresh and ready to impress your guests the next day.
If you ever find yourself with leftovers (which is highly unlikely, let’s be honest), you can freeze slices for up to a month.
Just make sure to wrap them well. when you’re ready to devour those squares of delight, let them thaw on the counter for a while like they deserve a little red carpet moment before being devoured!
Creative Variations
Feeling adventurous? let’s talk variations of butter cake . you can play with different flavors like orange or lemon zest. trust me; this simple cake recipe can transform into a citrusy delight with just a little tweak.
For a fun seasonal twist , try incorporating pumpkin puree in the fall or maybe some chocolate chips for a cheeky treat.
And if you’re hosting a gathering for your gluten sensitive pals, swap the all-purpose flour for a gluten-free blend. it’s about making this cake work for everyone!
Complete Nutrition Guide
Now, i’m not one to obsess over calories while enjoying my sweet treats from sri lanka , but here you go! each slice has around 320 calories.
It’ll fill your heart with joy while giving you just enough guilt free satisfaction to enjoy another slice. plus, i’d say the happiness it brings outweighs the numbers on a scale! remember, life’s too short for dry cake; go for the moist goodness!
Final Thoughts
Baking this easy butter cake recipe should be a journey of fun and flavors, not a race against the clock.
So grab your favorite mixing bowl, have some laughs, and whip up this sweet little number. remember, the heart of any dessert is the love and joy you put into it.
So go ahead and celebrate with cake you deserve it! now, go bake and let the buttery aroma fill your home with warmth and a touch of sri lankan magic! enjoy!
Frequently Asked Questions
What makes the Delicious Butter Cake Sri Lankan Recipe in 75 Min special?
This cake is a traditional Sri Lankan recipe that boasts a rich buttery flavor and a moist, fluffy texture. It’s simple to make, appeals to a wide audience, and is perfect for both everyday snacks and special occasions, making it a beloved treat in many Sri Lankan homes.
Can I make any substitutions in the Delicious Butter Cake Sri Lankan Recipe in 75 Min?
Absolutely! You can add spices such as cardamom or nutmeg for a unique flavor twist. Additionally, substituting half the milk with coconut milk can create a tropical variation, while using gluten-free flour can accommodate dietary needs without compromising taste.
How should I store the butter cake after making it?
After cooling, store the butter cake in an airtight container at room temperature for up to 3 days. This keeps the cake moist and fresh. If you want to keep it longer, consider freezing it; wrap it well in plastic wrap and foil before placing it in the freezer.
What are some serving suggestions for this cake?
The Sri Lankan Butter Cake can be served with whipped cream or vanilla ice cream for added indulgence. It pairs wonderfully with Ceylon tea, and fresh fruits or a berry compote can enhance its flavor and provide a nice contrast.
Do I need any special equipment to make the butter cake?
You will need a 9 inch round cake pan, an electric mixer or whisk, mixing bowls, measuring cups and spoons, and a rubber spatula. These tools are commonly found in most kitchens and will help you achieve the best results.
Is this butter cake suitable for beginners?
Yes! The Delicious Butter Cake Sri Lankan Recipe in 75 Min is designed to be user friendly and straightforward, making it perfect for beginner bakers. With only a few key ingredients and simple steps, you’ll feel confident in creating this delightful cake!
Delicious Butter Cake Sri Lankan Recipe In 75 Mi