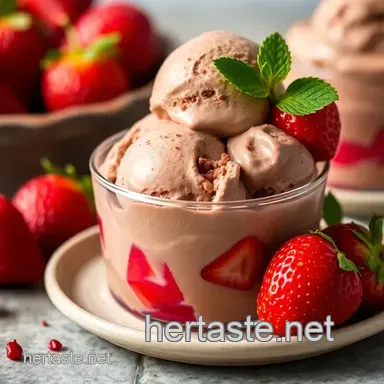
Churned Chocolate Strawberry Delight
- Sweet Beginnings: The Allure of Churned Chocolate Strawberry Delight
- A Flavorful Journey: Recipe Overview
- Benefits Worth Savoring
- Time to Gather Your Supplies
- Essential Ingredients Guide for Churned Chocolate Strawberry Delight
- Mastering the Art of Professional Cooking: Your Guide to Churned Chocolate Strawberry Delight
- Pro Tips & Secrets for Your Churned Chocolate Strawberry Delight
- Perfect Presentation: Plating and Garnishing
- Storage & Make-Ahead for Churned Chocolate Strawberry Delight
- Creative Variations to Explore
- Complete Nutrition Guide
- Expert FAQ Solutions
- Conclusion: look into into Deliciousness!
- 📝 Recipe Card
Sweet Beginnings: The Allure of Churned Chocolate Strawberry Delight
Imagine it’s a sun-soaked afternoon, and you're sitting on your porch with a scoop of ice cream in hand, you know? it’s that moment when the world fades away, and all you taste is pure bliss.
For me, this feeling is encapsulated in churned chocolate strawberry delight . it combines the richness of chocolate ice cream with the light, fruity flavor of fresh strawberries.
Honestly, it doesn’t get better than this.
Growing up, summer meant our backyard was home to a makeshift strawberry stand filled with jam, pies, and of course, ice cream.
My mom would whip up easy ice cream recipes for us, and one of our favorites was her chocolate strawberry combo.
She would always say that the best things in life are a mix of all the right flavors just like this dessert!
A Flavorful Journey: Recipe Overview
Churned chocolate strawberry delight isn’t just a treat; it's steeped in classic flavors and good times. infinitely inspired by those beloved chocolate covered strawberries , this ice cream takes those familiar notes and spins them into something divine.
With just a bit of prep, and a couple of hours mostly spent chilling, you can have a batch ready for your next gathering.
And don’t sweat it; it’s rated as medium on the difficulty scale, so even if you’re not a full-on kitchen wizard, you can absolutely pull this off.
Plus, it yields about six servings, so it’s perfect for sharing or, ahem, for devouring solo, no judgment here!
Now, let’s talk money. you won’t need to break the bank. the ingredients are super accessible: heavy cream, whole milk, strawberries, cocoa powder.
You know, staple items that you probably already have lying around.
Benefits Worth Savoring
Diving into a bowl of churned chocolate strawberry delight is not just about indulgence; it comes with some sweet benefits too! first and foremost, let’s not overlook the fact that chocolate and strawberries are a match made in heaven.
Nutritionally, strawberries pack a punch of vitamins and antioxidants while chocolate brings decadent joy. yes, please!
This treat is perfect for those summer parties or even cozy family dinners. seriously, serve this at your next bbq, and you’ll be the ice cream hero .
Speaking of which, if you're looking for a notable dessert for gatherings, this is it!
These flavors don't just play nice together; they outshine other similar recipes. forget about the pre-packaged stuff; this is homemade goodness at its best.
Plus, you get to control the ingredients you can play around with cocoa powder uses or try different types of homemade dessert ideas .
Time to Gather Your Supplies
Before diving into the process of making your churned chocolate strawberry delight , let’s snag the ingredients. you’ll want around 2 cups of heavy cream, 1 cup of whole milk, and 3/4 cup of sugar, along with the cocoa powder, fresh strawberries, and optional toppings like whipped cream and chocolate shavings .
Each of these elements plays a crucial role in creating those creamy strawberry swirls and rich chocolate undertones we can't resist.
So, what are you waiting for? Dust off that ice cream maker and get ready to create a dessert that’ll have your friends begging for the recipe! Let’s jump into the ingredient specifics and start our ice cream journey, shall we?
Essential Ingredients Guide for Churned Chocolate Strawberry Delight
Creating a luscious dessert like churned chocolate strawberry delight isn’t just about tossing a few ingredients together. it’s all about understanding the premium core components that will make your homemade ice cream sing! so, let’s dive into what you'll need.
Premium Core Components
First off, let’s talk measurements. For your Churned Chocolate Strawberry Delight, you’ll want to pay attention to detailed measurements . Here’s a quick breakdown:
- 2 cups (480 ml) of heavy cream
- 1 cup (240 ml) of whole milk
- 3/4 cup (150 g) of granulated sugar
Next up, quality indicators for each ingredient can totally change your ice cream game. look for fresh heavy cream that’s free of additives.
Your cocoa powder should be rich and dark trust me on this; it’s a game changer! and when you're picking strawberries, go for ones that are vibrant red and smell sweet.
Fresh is best, folks!
Now, onto storage guidelines and shelf life. heavy cream usually lasts about 1-2 weeks in the fridge, while cocoa powder can stick around for months (just keep it airtight).
Strawberries? use ’em fresh, or they’ll turn into mush faster than you can say "chocolate covered strawberries."
What about freshness tips ? keep your strawberries dry until you’re ready to use them, and for that milk check the date, y’all! you don’t want any funky flavors sneaking into your ice cream.
Signature Seasoning Blend
Think of your ice cream as a canvas. the right spices and herbs will elevate the entire dish. for our delightful combination, you’ll stick to essential spice combinations like vanilla for sweetness and that rich cocoa powder for deep, indulgent chocolate flavor.
Also, don’t skip out on those herb selections . you might not think of herbs and desserts together, but a hint of fresh mint can be a refreshing surprise! or, drizzle in some lemon juice with your strawberries to add a zesty kick that pairs beautifully with the chocolate ice cream base.
Now, if you’re feeling adventurous, check out the regional variations of ice cream. ever heard of mexican chocolate? it involves a bit of cinnamon and a pinch of cayenne.
Trust me, it’s wild but oddly good!
Smart Substitutions
Oops, ran out of cocoa powder? no worries, just use dark chocolate melted down into the mix for a common alternative .
Or maybe you’re looking for something dairy-free? swap heavy cream and milk for coconut cream and almond milk for a creamy vegan chocolate ice cream!
If you’re modifying for dietary reasons, think about emergency replacements : frozen strawberries work just fine if you’re not in season.
Just give those babies a quick thaw before you blend for your creamy strawberry swirl.
Feeling seasonal? This is where your seasonal options shine! In summer, go for the ripest strawberries, and in winter, try some other berries like raspberries or even cherries!
Kitchen Equipment Essentials
Okay, let’s get down to must have tools . an ice cream maker is your best friend here. if you don’t have one, don’t panic! you can still whip something creamy by putting your blended mix in a container and stirring it every 30 minutes while it freezes.
It’s a little more hands-on, but hey, ice cream is worth it, right?
When it comes to preparation, have some mixing bowls and a spatula handy. For freezing, an airtight container is essential to keep your treat from turning icy.
Lastly, let’s chat about storage solutions. Keep your creations in the freezer, but label that bad boy! No one wants to mistake chocolate strawberry delight for last month’s mystery casserole!
So there you have it! with all these essential ingredients laid out, you’re ready to whip up your dream churned chocolate strawberry delight .
Stay tuned, because next we're diving into the step-by-step instructions, and trust me, it’s going to be delicious!
Mastering the Art of Professional Cooking: Your Guide to Churned Chocolate Strawberry Delight
Oh, my gosh! if you think professional cooking is just for chefs in fancy restaurants, think again. with a little prep and some good old-fashioned technique, you can whip up a churned chocolate strawberry delight that’ll have your friends gasping in delight.
So grab your apron, and let’s dive into this glorious world of dessert making.
Essential Preparation Steps
First off, let’s talk about mise en place . it’s a fancy french term, but basically, it means having everything ready before you start cooking.
Trust me, this makes a world of difference. measure out your 2 cups of heavy cream , your 1 cup of whole milk , and your 3/4 cup of sugar ahead of time.
You don’t want to be scrambling around for that 1/2 cup of cocoa powder while the milk is bubbling away!
Here’s a time management tip: when you’re making your ice cream base, think ahead! while your base is chilling (about 30 minutes ), you can prepare your strawberry swirl .
Win-win! speaking of chilling, organization is key here. set aside a bowl for your strawberry puree and another for your ice cream base.
Keep your workspace tidy it really helps once the churning begins!
Safety is crucial, you know? keep your knives sharp but handle them carefully. and when you’re working with heat, like when whisking your milk and cream mixture, avoid distractions.
It only takes a moment for something to go wrong.
Step-by-step Process
Let’s break down the steps for this chocolatey goodness:
Prepare your strawberry swirl: in a bowl, mix 1 cup of sliced strawberries , 1/4 cup of sugar , and 1 tablespoon of lemon juice .
Let that macerate for 15 minutes to draw out the sweet juices. blend it until smooth for a creamy strawberry swirl!
Make the ice cream base: in a saucepan over medium heat, combine the heavy cream , whole milk , sugar , cocoa powder , vanilla extract , and salt .
Warm it up just until the sugar dissolves. no boiling! that’s around 5 minutes you just want everything nice and cozy.
Chill It Down: Once warm, take it off the heat and stir in 1/2 cup of chocolate syrup . Cover and chill in the fridge for at least 30 minutes .
Churn It Up: Pour that chilled base into your ice cream maker and churn according to the manufacturer’s instructions. Look for a soft serve consistency —this usually takes 15 to 20 minutes .
Layer & Freeze: In a container, layer the churned chocolate ice cream and your strawberry swirl. Go for a gentle mix! Seal it up and freeze for at least 2 hours .
Time to Serve: Scoop into your favorite bowls and embellish with whipped cream , chocolate shavings , or even whole strawberries.
Expert Techniques
Once you’ve grasped these basics, you can experiment! if you’re looking for that rich chocolate flavor, consider using high-quality dark cocoa powder .
Pro-tip: always chill your base completely before churning to ensure a silky smooth texture.
Checking your quality while cooking is key! have a taste test your friends won’t mind being your guinea pigs. if the mixture is too sweet, tweak it by balancing with a pinch of salt.
Success Strategies
Let’s keep it real: even the best chefs make mistakes. don’t be shy about troubleshooting. if your ice cream isn’t firm, it might not have churned long enough or needs more freeze time.
Also, quality assurance is everything! Use fresh, ripe strawberries for true flavor in your strawberry dessert recipes . When you notice that perfect color and aroma, you know you’ve nailed it!
And if you’re prepping ahead for dessert gatherings, go the no-churn route with some no-bake desserts options that still wow the crowd.
Wrapping It Up: Additional Information
So there you have it! you’re totally ready to create your churned chocolate strawberry delight . this delightful treat will surely be the highlight of any summer gathering.
Plus, who doesn’t love chocolate covered strawberries?
Before you go, remember: cooking is about exploration and joy. don’t stress the little details. let the flavors guide you, and have fun making those easy ice cream recipes your friends will rave about.
Can't wait for you to dive into the delicious world of fruit infused ice cream !
Pro Tips & Secrets for Your Churned Chocolate Strawberry Delight
Oh my gosh, let’s spill the tea on some pro tips for making your churned chocolate strawberry delight even more spectacular.
Honestly, everyone loves a good secret, right? when you're diving into this delightful combo of chocolate and strawberries, a few insider tips will take your game to the next level.
Chef's Personal Insights
First off, a little patience goes a long way. when you’re whisking together that luscious ice cream base, avoid the temptation to crank the heat.
Just warm it up enough for the sugar to dissolve no boiling! trust me, rushing it will ruin that creamy texture you need.
Time Saving Techniques
Got a busy life? i feel you. to save time, prepare your strawberry puree the day before. just toss those hulled strawberries with some sugar and let them hang out in the fridge overnight.
When you're ready to churn, it’s all set to go!
Flavor Enhancement Tips
For that extra oomph , don’t skip on adding a splash of vanilla and a salt pinch it makes sweet flavors pop! if you’ve got some high-quality dark cocoa powder lying around, use that! your taste buds will be thanking you later.
Presentation Advice
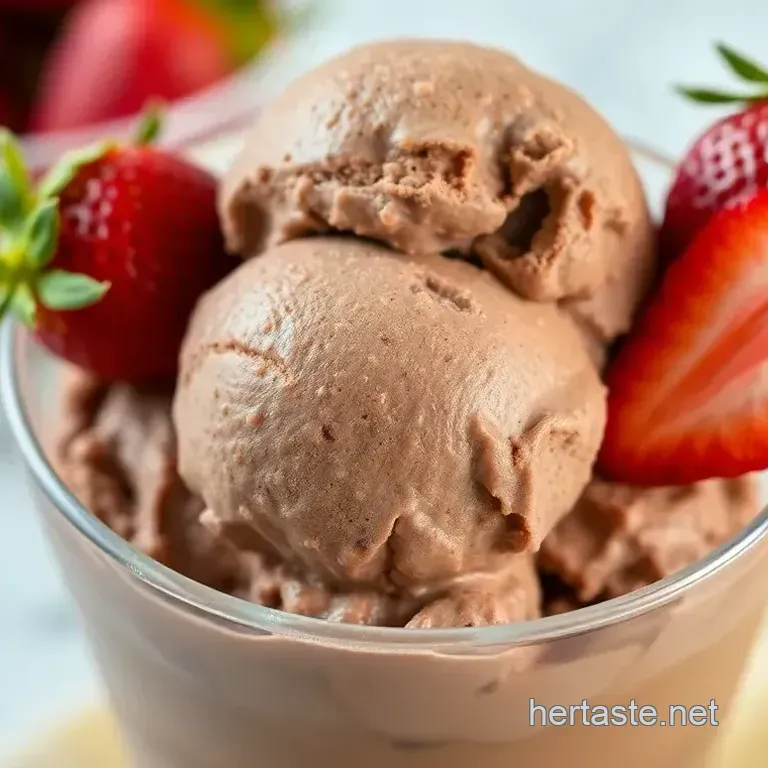
Now, let’s dish on presentation. when you serve up your ice cream, try layering it in a tall glass. not only does it look fab, but it also lets those swirls shine.
Top it off with a dollop of whipped cream and maybe a few chocolate shavings for that gourmet touch!
Perfect Presentation: Plating and Garnishing
You know what they say— we eat with our eyes first. So let’s make that Churned Chocolate Strawberry Delight not just delicious but also a feast for the eyes.
Plating Techniques
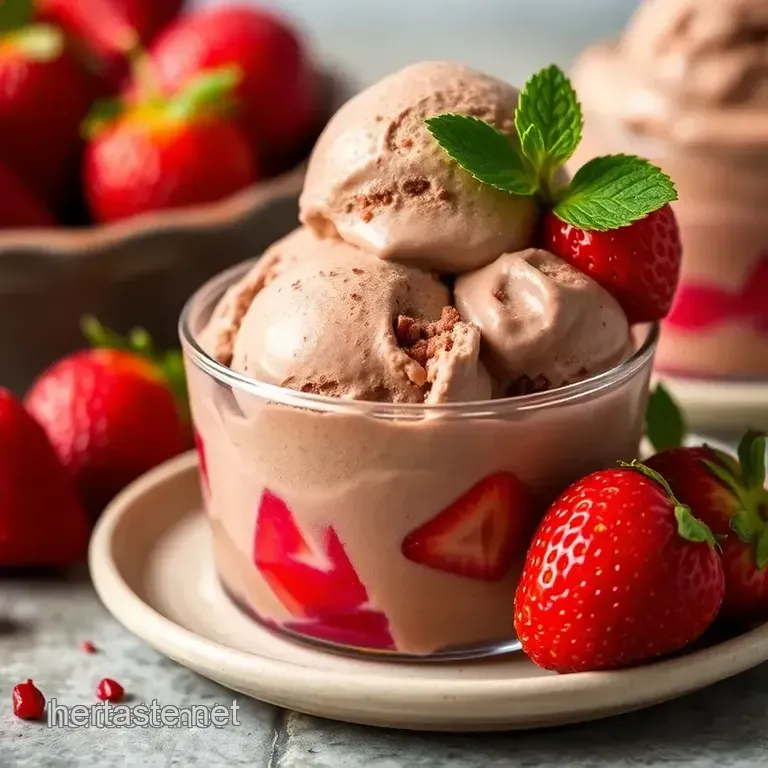
Layering your dessert gives it that “wow” factor! start with a spoonful of the chocolate ice cream, then add a layer of that dreamy creamy strawberry swirl .
Repeat it until you run out. you’ll have a gorgeous rainbow of color and flavor.
Garnish Ideas
Garnishing can make or break your dish. fresh mint leaves or a whole berry will contrast beautifully against the deep chocolate.
Fun fact: did you know that chocolate covered strawberries were basically made for garnishing this dessert?
Color Combinations
Mixing those deep chocolate tones with vibrant strawberry pinks is like painting a sunset on your plate! You might even consider drizzling some chocolate syrup on top for an added visual pop.
Visual Appeal Tips
Light matters! Make sure to serve it in a bright spot with good lighting. You want those colors to shine, especially for that summer dessert vibe.
Storage & make-ahead for Churned Chocolate Strawberry Delight
Let’s keep your dessert fresh so you can enjoy it later! Here’s how to store your no-churn chocolate strawberry ice cream like a pro.
Storage Guidelines
Keep it simple; store your ice cream in an airtight container . This helps prevent any nasty freezer burn.
Preservation Methods
For the best results, place a parchment paper layer directly on the surface of the ice cream before sealing the lid. This extra barrier keeps out unwanted ice crystals.
Reheating Instructions
If you want to soften it up after freezing, just let it sit on the counter for about 10 minutes before digging in.
Don’t zap it in the microwave; that usually leads to a gooey mess.
Freshness Duration
You can keep it in the freezer for about 2-3 weeks if it lasts that long! but let’s be real, this indulgent dessert won’t last for more than a few days in most homes.
Creative Variations to Explore
Ready to think outside the box? If you’re feeling adventurous, here are some creative variations for your Churned Chocolate Strawberry Delight.
Flavor Adaptations
Ever thought about adding a minty twist? just a few drops of peppermint extract in the base will supercharge your ice cream game.
Or throw in some crushed oreos for that extra crunch!
Dietary Modifications
You want vegan chocolate ice cream ? Swap the heavy cream for coconut cream, and use almond milk. It’s just as tasty but caters to various dietary needs.
Seasonal Twists
In the winter, use bananas instead of strawberries for a unique chocolate banana ice cream. Or in fall, throw in some pumpkin spice for a festive take!
Regional Variations
How about giving it a Southern flair? Layer in some pecans for a chocolate pecan delight. Seriously, coconut, chocolate, and pecans are like the holy trinity of desserts!
Complete Nutrition Guide
Eating dessert doesn’t have to be a guilty pleasure! Here’s a quick look at the nutrition side of your Churned Chocolate Strawberry Delight.
Detailed Breakdown
With approximately 320 calories per serving, it’s a decent treat that balances the rich chocolate and fresh fruit!
Health Benefits
Strawberries are rich in antioxidants, while dark chocolate provides a boost of minerals. So, you’re indulging, but you’re also getting some health perks!
Dietary Considerations
Be mindful if you have allergies or dietary restrictions. The recipe can easily adapt for those who need it.
Portion Guidance
Control portions by serving in small dishes. Less really is more sometimes.
Expert FAQ Solutions
Let’s wrap things up with some common questions and their answers. You know, just in case you hit a snag.
What if my ice cream isn’t churning? This can often be due to the mix being too warm. Chill it more, and try again!
How can I make my strawberry swirl more pronounced? Try adding a bit more strawberry puree than you think. It looks gorgeous and tastes delicious.
How do I store leftovers? Treat it like gold. Store it properly as mentioned above, and it’ll keep well!
Conclusion: look into into Deliciousness!
So there you have it, my friends! a whole guide wrapped around the temptation that is churned chocolate strawberry delight .
Whether you’re whipping it up for a summer cookout or a cozy night in, this recipe is bound to be a crowd pleaser.
Check out all those tips, get creative, and enjoy every single bite. happy cooking!
Churned Chocolate Strawberry Delight