Mackinac Island Fudge: Creamy and Authentic
- Time: Active 10 minutes, Passive 140 minutes, Total 150 minutes
- Flavor/Texture Hook: Deeply chocolaty with a rustic, melt away velvety crumb
- Perfect for: Holiday gifting, summer nostalgia, or a weekend project for sweet tooths
- Recreating Authentic Mackinac Island Fudge at Home
- Why This Specific Recipe Works
- Identifying Key Ingredient Functions
- Essential Tools for Fudge Making
- Step by Step Folding Process
- Resolving Potential Texture Mistakes
- Creative Flavor and Texture Variations
- Maintaining Freshness and Storing Safely
- Serving Suggestions for Maximum Joy
- Flavor Myths
- Recipe FAQs
- 📝 Recipe Card
Recreating Authentic Mackinac Island Fudge at Home
The air on the island has a very specific weight to it. It is a thick, humid breeze that carries the scent of horse drawn carriages, cedar trees, and, most importantly, bubbling copper kettles of sugar. If you have ever stood outside one of those shops on Main Street, you know the sound of the bench scraper.
It is a rhythmic shick shick shick against a cold marble slab. That sound is the heartbeat of the island, and it is the exact moment when liquid gold turns into the rustic, creamy treasure we call Mackinac Island Fudge.
I remember my first attempt at this at home. I thought I could just pour it into a pan and let it set like a brownie. I was so wrong. It turned out like a rock. Then I tried again and it was basically chocolate soup. The joy of making Island Fudge is in the patience of the wait and the physical movement of the fold.
It is about watching the glossy, mirror like surface slowly transform into a matte, opaque masterpiece right under your hands. It feels like magic, but it is actually just a bit of beautiful, rustic kitchen craft.
We are going to walk through the layering of flavors, starting with the deep, dark notes of Dutch processed cocoa and ending with the punch of pure vanilla. This is not just a quick snack, it is an experience.
We are building a texture that is sturdy enough to hold its shape but soft enough to yield to the slightest pressure of a fork. Grab your heavy bottomed pot and let's get into the wonderful world of sugar work.
Why This Specific Recipe Works
Crystal Inhibition: The corn syrup and brown sugar act as "interference" agents, preventing the granulated sugar from bonding into large, gritty crystals.
Controlled Agitation: Folding the mixture only after it cools to 110°F ensures we create millions of microscopic crystals rather than a few large ones, resulting in a velvety feel.
Butter Fat Stabilization: Adding the butter at the start allows the fats to coat the sugar molecules, which helps the fudge stay smooth even after it sets.
Residual Heat Management: Using a heavy bottomed pan prevents hot spots that can scorch the cocoa and turn the flavor bitter instead of rich.
| Target Stage | Internal Temp | Cool Down Temp | Visual Cue |
|---|---|---|---|
| Soft Ball Stage | 234°F - 240°F | N/A | Mixture forms a soft, squishy ball in cold water |
| Folding Start | N/A | 110°F | Surface is no longer steaming and feels warm, not hot |
| Setting Point | N/A | Room Temp | Gloss disappears and the fudge becomes matte and stiff |
The cooling process is arguably more important than the boiling process. If you start working the fudge while it is too hot, you will end up with a grainy mess that feels like sand on the roof of your mouth.
By letting it rest undisturbed on the baking sheet until it reaches 110°F, we allow the sugar molecules to settle into a state where they are ready to be manipulated into that iconic, rustic texture. It requires a bit of restraint, but the reward is a chocolate experience that is remarkably smooth.
Identifying Key Ingredient Functions
| Ingredient | Science Role | Pro Secret |
|---|---|---|
| Heavy Cream (36% fat) | Provides the liquid base and fat for a silky mouthfeel | Use room temperature cream to prevent the pot from bubbling over too violently |
| Dutch Processed Cocoa | Adds deep color and flavor without the acidity of natural cocoa | Sift the cocoa before adding to ensure no lumps remain in the final fudge |
| Light Corn Syrup | Prevents crystallization by blocking sugar molecules from bonding | Do not skip this, even a small amount keeps the fudge from turning into a brick |
| Unsalted Butter | Adds richness and helps the fudge "break" cleanly when sliced | high-quality European style butter adds a noticeable depth of flavor here |
Each of these components plays a part in the complex architecture of the fudge. The granulated sugar provides the structure, while the light brown sugar adds a hint of molasses that deepens the chocolate profile. If you find yourself enjoying the process of making sugar based treats, you might also love making a velvety hot fudge sauce for your next sundae night. The principles of temperature control are very similar, though the sauce stays in a pourable state.
Essential Tools for Fudge Making
To get that authentic Mackinac Island Fudge texture, you really need a heavy bottomed 3 quart saucepan. Thin pots are the enemy of candy making because they create "hot spots" where the sugar can burn before the rest of the mixture even reaches a boil. A stainless steel or copper clad pot is your best friend here.
You also need a reliable candy thermometer. Guessing the temperature by looking at the bubbles is a risky game that usually ends in disappointment.
The most important tool for the finishing stage is a bench scraper or a very sturdy, stiff spatula. On the island, they use massive metal scrapers on marble tables. At home, a large rimmed baking sheet works wonders as a substitute for marble. Just make sure it is completely clean and dry.
Any stray drops of water or leftover grease can interfere with the way the fudge sets. Having these tools ready before you start is key, because once the fudge hits the right temperature, things move quickly.
step-by-step Folding Process

- Combine the base. In your heavy bottomed 3 quart saucepan, stir together 2 cups granulated sugar, 1 cup light brown sugar, 1 cup heavy cream, 1/2 cup butter, 2 tbsp light corn syrup, 1/2 tsp salt, and 1/2 cup Dutch processed cocoa powder. Note: Mixing them while cold ensures the cocoa doesn't clump when heat is applied.
- Dissolve the sugars. Stir over medium heat until the butter is completely melted and the sugars are dissolved.
- Clean the sides. Use a wet pastry brush to wipe down any sugar crystals on the sides of the pot. Note: This prevents a single crystal from falling back in and turning the whole batch grainy.
- Boil to temp. Clip your candy thermometer to the side and bring to a boil. Cook undisturbed until it reaches the soft ball stage between 234°F and 240°F.
- The pour. Immediately pour the hot mixture onto a large rimmed baking sheet. Do not scrape the bottom of the pan. Note: The bits on the bottom are often overcooked and can ruin the smooth texture.
- The cooling wait. Allow the fudge to sit completely undisturbed until the temperature drops to 110°F. This will take some time, so be patient.
- Add aromatics. Pour 1 tbsp pure vanilla extract over the cooled fudge on the sheet.
- Begin the fold. Using a bench scraper, fold the fudge from the outside in towards the center.
- Work the mixture. Continue folding and "kneading" the mixture back and forth with the scraper until it transforms from a glossy liquid to a thick, matte, opaque paste.
- The set. Transfer the fudge to a parchment lined container, smooth the top, and let it rest for at least 2 hours at room temperature before slicing into 24 squares.
Resolving Potential Texture Mistakes
Fixing a Grainy Texture
If your fudge feels like it has sand in it, the sugar crystallized too early. This usually happens if you stir the mixture while it is boiling or if you didn't wash down the sides of the pot. Sugar is a bit like a social climber, if one crystal forms, they all want to join in.
To fix this in future batches, ensure your pastry brush is very wet when wiping the sides.
Correcting Fudge That Won't Set
If your fudge remains gooey or soft after cooling and folding, it likely didn't reach the full 234°F. Even a couple of degrees off can make a huge difference in candy chemistry. If it is too soft to slice, you can actually use it as an incredible cake filling or a truffle base.
Next time, calibrate your thermometer in boiling water to ensure it is accurate.
| Problem | Root Cause | Solution |
|---|---|---|
| Oily surface | Butter separated during the boil | Stir more gently at the start and keep heat at medium, never high |
| Crumbly/Dry | Overcooked beyond 240°F | Remove from heat the second the thermometer hits 235°F to account for carryover heat |
| Setting too fast | Folded while still too hot | Ensure the temperature is exactly 110°F before you start the folding process |
Common Mistakes Checklist
- ✓ Never stir the fudge once it starts boiling (this causes crystallization)
- ✓ Use a clean thermometer every time to avoid introducing old sugar crystals
- ✓ Don't scrape the "crust" from the bottom of the pot into your cooling sheet
- ✓ Wait for the full cooling period - 110°F is the "magic number" for smoothness
- ✓ Use Dutch processed cocoa for that specific Island Fudge dark color
Creative Flavor and Texture Variations
While the classic chocolate Mackinac Island Fudge is the gold standard, the beauty of this recipe is its versatility. You can easily turn this into a Turtle Fudge by folding in toasted pecans and a drizzle of salted caramel right at the very end of the folding process.
The key is to add your mix ins just as the fudge starts to lose its gloss but before it becomes too stiff to move. This ensures the additions are suspended evenly throughout the block.
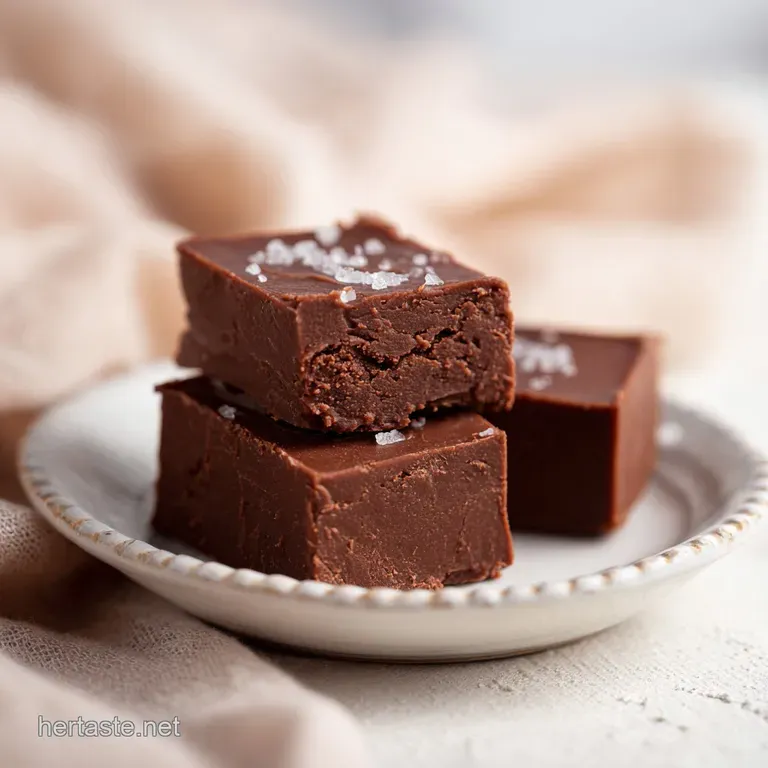
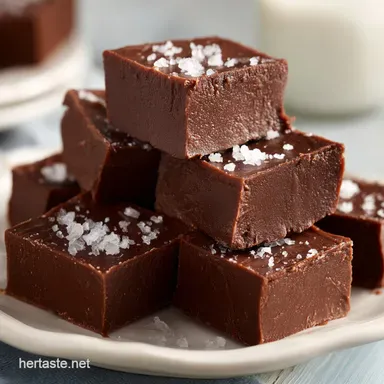
If you are a fan of saltier profiles, a Dark Chocolate Sea Salt version is life changing. Follow the recipe as written, but use a darker cocoa powder and sprinkle flaky Maldon sea salt over the top immediately after transferring it to the final container. The contrast of the rustic, sweet fudge with the sharp crunch of salt is incredible. For those who want a full "island meal" experience, you could serve this as a decadent dessert after a savory dinner of Seriously Sensational Jerk Chicken. The heat of the chicken followed by the cool, velvety fudge is a pairing made in heaven.
Maintaining Freshness and Storing Safely
Fudge is a champion of shelf life if handled correctly. Because of the high sugar content, it doesn't spoil quickly, but it can dry out and become "crusty" if exposed to air. Store your sliced squares in an airtight container with pieces of wax paper between the layers.
It will stay fresh and creamy at room temperature for about 2 weeks. I actually think the flavor settles and improves after the first 24 hours.
If you want to keep it longer, you can freeze it! Wrap the entire block or individual squares tightly in plastic wrap, then place them in a freezer safe bag. It will last for up to 3 months. When you are ready to eat it, let it thaw slowly in the fridge then bring it to room temperature.
To avoid waste, take any small crumbs or "ugly" end pieces and toss them into a blender with vanilla ice cream for the best milkshake of your life. You can also fold small chunks into brownie batter for a "fudge stuffed" treat.
Serving Suggestions for Maximum Joy
When it comes to serving Mackinac Island Fudge, I am a firm believer in the "rustic slice." Don't worry about making every piece a perfect cube. The charm of homemade fudge is the slightly uneven, hand worked edges.
Serve it on a wooden board or a vintage glass plate to really lean into that comforting, old-fashioned aesthetic. It is a very rich treat, so small 1 inch squares are usually plenty for most people.
Chef's Tip: Use a long, thin knife dipped in hot water (and wiped dry) to get clean, professional looking slices. The heat of the blade helps glide through the fudge without sticking.
Decision Shortcut: Choosing Your Texture
- For a firmer, snappier fudge: Cook the mixture to 240°F and fold it vigorously as soon as it hits 110°F.
- For a softer, "fudgy" center: Cook to 234°F and let it cool slightly longer (to 105°F) before folding.
- For a rustic, crumbly style: Stir the mixture a few times while it is cooling to encourage slightly larger crystals.
Flavor Myths
One of the biggest myths in the fudge world is that you need a marble slab to make it "authentic." While marble is great because it stays cool, a heavy rimmed baking sheet works just as well if you are patient. The marble doesn't change the flavor; it only speeds up the cooling process.
Another misconception is that you can't make fudge on a rainy day. While high humidity can make the sugar absorb extra moisture, as long as you cook it to the correct temperature on the thermometer, it will set just fine.
Finally, some people think that adding more butter makes the fudge smoother. In reality, too much fat can cause the fudge to separate and become oily. The ratio in this recipe is carefully balanced to ensure the fats emulsify perfectly with the sugar and cream.
Stick to the measurements, trust the thermometer, and you will be rewarded with a piece of Mackinac Island history right in your own kitchen. Enjoy the process, the smells, and every velvety bite!

Recipe FAQs
What is special about Mackinac Island fudge?
The signature texture and flavor come from the traditional table cooling method. By pouring the cooked sugar mixture onto a marble slab and folding it until it reaches a matte, opaque state, you create a microscopic crystalline structure that makes the fudge exceptionally smooth and dense.
Which fudge shop is best on Mackinac Island?
There is no single "best" shop, as each historic establishment uses its own proprietary ratios of heavy cream, butter, and cocoa. Most visitors prefer shops that use traditional marble slabs for cooling, which ensures the fudge achieves that iconic, melt-in-your mouth consistency found in our silky white chocolate fudge.
What is the original fudge on Mackinac Island?
The original style is a classic cocoa based fudge made with Dutch processed cocoa powder. This specific type of cocoa is essential for the deep, dark color and rich, neutral chocolate flavor that defines authentic island recipes.
Was fudge invented on Mackinac Island?
No, this is a common misconception. While Mackinac Island did not invent fudge, it became the world center for the craft in the late 19th century due to the high volume of summer tourists and the island’s unique atmosphere, which made the theater of hand working the fudge on marble slabs a
massive attraction.
How to avoid grainy fudge?
Clean the sides of your saucepan with a wet pastry brush during the heating phase to remove all stray sugar crystals. Any crystals that fall back into your pot can cause a chain reaction of premature crystallization, resulting in a gritty texture instead of a smooth, professional finish.
How to know when to start folding?
Wait until the mixture cools to exactly 110°F on your candy thermometer. Starting the folding process at this precise temperature is the secret to ensuring the sugar sets into a stable, creamy structure rather than a hard or grainy mass.
How to fix fudge that won't set?
Check your thermometer calibration, as this issue almost always stems from not reaching the 234°F to 240°F soft ball stage. If the mixture doesn't reach this temperature, there isn't enough sugar concentration to hold a solid shape at room temperature, no matter how long you let it sit.
Authentic Mackinac Island Fudge
Ingredients:
Instructions:
Nutrition Facts:
| Calories | 174 kcal |
|---|---|
| Protein | 0.7 g |
| Fat | 7.5 g |
| Carbs | 27.5 g |
| Fiber | 0.6 g |
| Sugar | 26.1 g |
| Sodium | 49 mg |
