Homemade Teriyaki Sauce: the 10-Minute Sticky Glaze for Chicken Salmon
- The Ultimate 10 Minute Homemade Teriyaki Glaze: Rich, Sticky, and Simply Brilliant
- The Science of Sticky: Why This Homemade Teriyaki Sauce Clings
- Essential Ingredients for a Traditional Teriyaki Base
- Step-by-Step: Mastering the Homemade Teriyaki Sauce Process
- Troubleshooting and Chef's Notes for Perfect Results
- Storage, Shelf Life, and Freezing Homemade Teriyaki Sauce
- Versatile Serving Suggestions: How to Use Your New Glaze
- Recipe FAQs
- 📝 Recipe Card
The Ultimate 10 Minute Homemade Teriyaki Glaze: Rich, Sticky, and Simply Brilliant
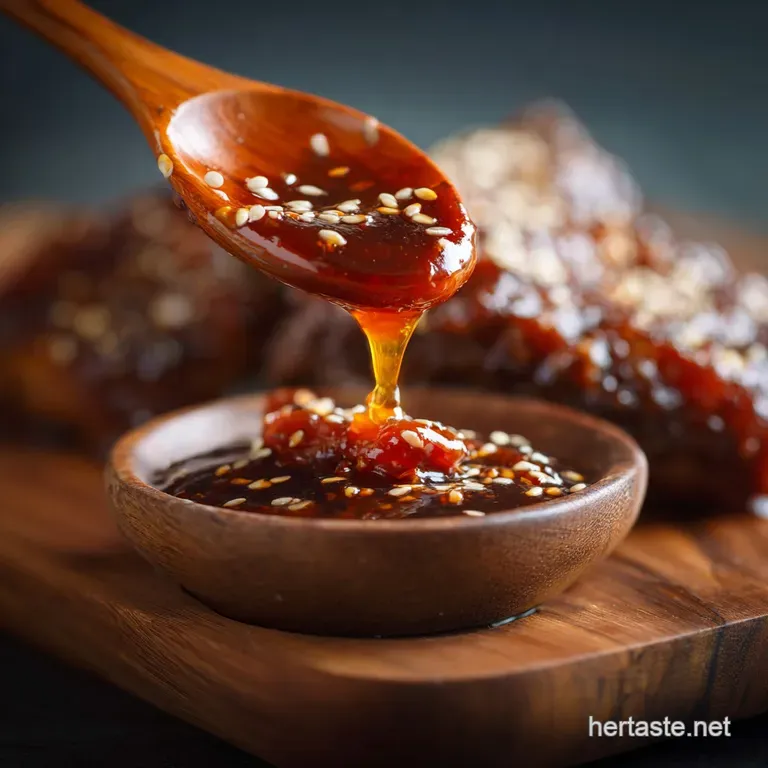
What is better than that deep, caramelized aroma hitting your kitchen when you make a proper glaze? This homemade teriyaki sauce is absolute magic. It’s rich, glossy, and perfectly balanced, promising that signature stickiness we all crave without tasting overly sweet or thin.
Forget those awful watery sauces that slide right off your meal!
Honestly, this recipe is a weeknight superhero. You can whip up a perfect batch in under ten minutes using simple pantry staples you probably already own. Why spend four bucks on a bottle of high fructose corn syrup sludge when you can make something this good, this fast, and this much cheaper?
Making it yourself means you control the sodium, too.
I used to struggle with store-bought versions that tasted metallic or had zero depth. Once I nailed the precise ratio of sake, mirin, and soy sauce, everything changed. Let’s crack on and learn the simple secrets to making the best homemade teriyaki sauce you’ll ever try I promise this recipe is a keeper.
The Science of Sticky: Why This Homemade Teriyaki Sauce Clings
What Makes This Glaze Superior to store-bought Sauces?
The biggest difference comes down to fresh flavor and true reduction. Most bottled teriyaki sauces rely on artificial thickeners and way too much sugar to compensate for low-quality ingredients. This recipe uses fresh aromatics like ginger and garlic, which bloom beautifully in the simmering liquids.
It’s concentrated flavor, not just sweet syrup.
Understanding Teriyaki: More Than Just Sweet Soy Sauce
Teriyaki literally translates to teri (lustre or glaze) and yaki (grill or broil). So, the "glaze" part is non-negotiable! Authentic Japanese teriyaki must have that deep, reflective sheen.
We achieve this by perfectly balancing the brown sugar and the rice wines, which caramelize slightly during the cook time, giving that incredible depth of color.
Achieving the Perfect Viscosity: The Cornstarch Secret
The real genius here is how we thicken the mixture. We aren’t cooking it for an hour to reduce it down to sludge; we use a simple cornstarch slurry. This method allows us to maintain the vibrant flavor of the ginger and garlic while achieving a perfectly smooth, glossy glaze almost instantly.
This is how you get that wonderful thickness that actually clings to your food.
Balancing Umami: The Role of Soy, Sake, and Mirin
We rely on equal measures of sake (Japanese rice wine) and mirin (sweet rice wine) to build the base. Sake adds savory depth and complexity, while mirin provides the essential sweetness and signature shine.
This combination, alongside quality soy sauce, ensures the sauce hits all the necessary notes: salty, sweet, sour, and intensely savory.
Chef’s Note: Do not skip the sake if you want authentic depth. It burns off the alcohol quickly, leaving only the flavor behind. Trust me on this.
Essential Ingredients for a Traditional Teriyaki Base
This recipe is built on five core pantry ingredients. While it's crucial to use the best quality you can find, you always have options if you're missing something.
| Ingredient | Substitute | Notes on Flavor Change |
|---|---|---|
| Low-Sodium Soy Sauce | Tamari or Coconut Aminos | Tamari is gluten-free and nearly identical. Coconut aminos are significantly lower in sodium but less punchy. |
| Mirin/Sake | Dry Sherry or White Grape Juice | The traditional flavor will shift slightly, but this maintains the sweet/acid balance necessary for the glaze. |
| Brown Sugar | Honey or Maple Syrup | Use slightly less (about 3 tbsp) as these liquids are intensely sweeter than crystalline sugar. |
| Fresh Ginger | Ginger Powder (less than ¼ tsp) | Fresh is always better, but if you're in a pinch, powder will work. |
| Cornstarch | Arrowroot Powder | Arrowroot works beautifully, just make sure to use a cold slurry, too. |
Deep Dive: Choosing the Right Soy Sauce (Low Sodium vs. Traditional)
I strongly advocate for using low-sodium soy sauce here. Why? Because we are reducing the sauce down, and the flavor will concentrate dramatically. If you use regular soy sauce, your final product will likely be too salty to enjoy.
If you only have regular, reduce the soy sauce quantity by 2 tablespoons and replace it with water.
The Power of Japanese Sweeteners: Mirin vs. Sugar Substitutes
Mirin is non-negotiable for that authentic Teriyaki glaze because of its sugar and alcohol content. However, if you are looking for a substitute, brown sugar provides better caramel notes than white sugar. I once made a batch using only honey and it was too floral.
Stick close to brown sugar or maple syrup if you must substitute the mirin’s sweetness.
Thickening Agents: Creating a Smooth, Lump Free Slurry
The key to thickening is always making a slurry . A slurry is just cornstarch mixed with an equal or double amount of cold liquid (in this case, water). If you dump cornstarch straight into the simmering sauce, it will clump instantly, creating impossible, gelatinous blobs.
Disaster averted!
step-by-step: Mastering the Homemade Teriyaki Sauce Process

Phase 1: Combining the Liquid Base and Aromatic Ingredients
- Gather and Combine: Get your saucepan ready. Pour in the low-sodium soy sauce, mirin, sake, water, and packed brown sugar.
- Add Aromatics: Whisk in the finely grated fresh ginger and the minced garlic. I personally use a microplane for the ginger; it makes it totally invisible in the final sauce.
- Heat Gently: Place the saucepan over medium high heat. Whisk consistently until every single sugar granule is dissolved, then bring the whole mixture to a gentle boil.
Phase 2: Achieving the Simmer and Reducing the Mixture
- Simmer and Reduce: Immediately reduce the heat to a steady, medium low simmer. Let the sauce bubble quietly for about 3 to 5 minutes. This reduction step is essential; it burns off the alcohol in the sake and deepens the umami, making the flavor intensely rich.
Phase 3: The Critical Thickening Stage (Creating the Glaze)
- Prepare the Slurry: While the base is simmering, whisk your cornstarch and 2 tablespoons of cold water together in a tiny bowl until it looks like cloudy milk. Make sure there are zero lumps.
- Thicken the Sauce: Reduce the heat to the lowest setting. Now, this is the critical part: Slowly pour the cornstarch slurry into the simmering sauce while continuously whisking the liquid vigorously.
- Cook to Glaze: Keep whisking for about 30 to 60 seconds. It thickens in seconds. Seriously, watch for the shift from watery brown liquid to that beautiful, deep, mahogany color that clings perfectly to your whisk. Don't walk away!
- Cool and Store: Once it coats the back of a spoon, remove it from the heat immediately. The glaze will thicken even further as it cools.
Troubleshooting and Chef's Notes for Perfect Results
Preventing Separation: How to Incorporate the Cornstarch Slurry Properly
The number one reason thickening fails or separates is temperature shock. You absolutely must mix the cornstarch with cold water first to make the slurry. Also, make sure your sauce is at a very gentle simmer (low heat) when you whisk the slurry in; if the heat is too high, the starch cooks too quickly and clumps up before it can integrate smoothly.
Fixing Glaze That Is Too Thin or Too Thick
If your sauce is too thick once it cools, don't panic! Just whisk in a teaspoon of hot water or stock until it loosens up to your preferred consistency. If the opposite happens it's too thin create a new, smaller slurry (½ teaspoon cornstarch plus 1 teaspoon cold water) and whisk that into the gently simmering sauce.
Problem solved!
Ideal Marinades and Finishing Touches
This homemade teriyaki sauce works wonders as both a marinade and a finishing glaze. For a marinade, let your protein or vegetables soak for at least 30 minutes, or up to 2 hours.
If you are using it as a glaze, brush it on during the last few minutes of cooking so the sugars don't burn.
Storage, Shelf Life, and Freezing Homemade Teriyaki Sauce
Refrigerator Storage: How Long Does the Glaze Last?
This glaze keeps beautifully! Once completely cooled, transfer it to an airtight container (a glass jar works best) and store it in the refrigerator. It is perfectly safe and flavorful for up to 2 weeks . Because it uses sake and mirin, the longevity is actually quite good.
Safely Freezing and Thawing Batches for Future Use
But does it freeze well? You bet. For long term storage, pour the cooled glaze into freezer safe containers or even ice cube trays for easy portioning. It keeps well in the freezer for about 3 months. To reheat, simply let it thaw overnight in the fridge and then warm it gently on the stovetop or in the microwave.
It might separate slightly, but a quick whisk will bring it right back together.
Versatile Serving Suggestions: How to Use Your New Glaze
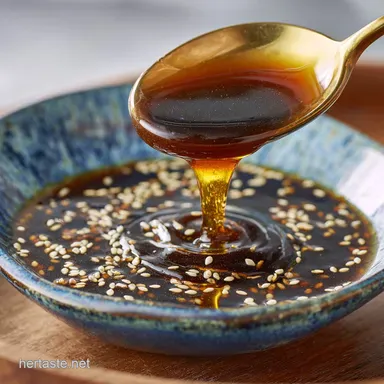
Transforming the Glaze into a Dressing or Dipping Sauce
If you want a thinner sauce perfect for dipping spring rolls or drizzling over a hearty grain bowl maybe something like my [Veggie Burrito Bowls with Chipotle Sauce Ultimate Meatless Meal Prep Recipe] just thin it out.
Whisk in a tablespoon or two of rice vinegar or hot water until you reach the desired consistency. A splash of toasted sesame oil makes it perfect for dipping.
Ideal Marinades and Finishing Touches
This is the ultimate finishing sauce for anything that hits the grill or oven. Brush it onto grilled shrimp or firm tofu for the last five minutes of cooking. It’s also brilliant drizzled generously over rice and served alongside a side dish with some contrasting texture, like a lovely [Green Bean Casserole Recipe: Homemade Velouté Crispy Shallots].
Transforming the Glaze into a Dressing or Dipping Sauce
Try tossing roasted broccoli or carrots in the hot glaze right after they come out of the oven for a beautiful, sticky side dish. Seriously, this sauce elevates everything. Next time you make a comfort dish like my [Stovetop Creamy Mac and Cheese Pumpkin: Velvety Sauce in 30 Minutes], add a drizzle of teriyaki glaze to your side veggies for a little contrasting punch!

Recipe FAQs
Why is my homemade Teriyaki sauce too thin and runny?
This usually means the sauce hasn't simmered long enough after adding the thickener, or the cornstarch slurry ratio was incorrect. To fix it, mix an additional teaspoon of cornstarch with an equal amount of cold water (the slurry), then slowly whisk it into the simmering sauce.
Ensure the sauce returns to a full boil for at least one minute to fully activate the thickening properties of the cornstarch.
How long can I store leftover homemade Teriyaki sauce, and can I freeze it?
Homemade Teriyaki sauce can be stored safely in an airtight container in the refrigerator for up to 10 days. Yes, it also freezes extremely well; due to its high sugar and sodium content, it will keep for up to 3 months in the freezer.
Pour the cooled sauce into small freezer safe containers or ice cube trays for easy thawing.
Can I make this Teriyaki glaze gluten-free or vegan?
Yes, achieving both dietary needs is simple with this recipe base. To make it gluten-free, substitute standard soy sauce with tamari or a certified gluten-free soy sauce alternative. To ensure it is vegan, simply confirm that any sweetener used (if not specified as brown sugar) is not honey.
My sauce tastes too salty. How can I balance the flavor?
If the sauce is overly salty, it needs more sweetness and/or acidity to create balance. Whisk in an additional teaspoon of brown sugar or add a small splash of rice vinegar to cut through the saltiness. If you are sensitive to sodium, consider using reduced sodium soy sauce next time you prepare the recipe.
What are good substitutes if I don't have Mirin or Sake?
Mirin (sweet rice wine) provides essential sweetness and depth, so substitute it with white grape juice mixed with a dash of sugar, or dry sherry if the alcohol content is acceptable. Sake adds a unique savory alcohol note, which can be omitted, or replaced with a few drops of dry sherry vinegar for complexity.
Can I add fresh aromatics like ginger or garlic?
Absolutely, adding finely minced fresh ginger and garlic significantly enhances the glaze for Western palates, even though they are optional in traditional Japanese versions. Add 1 teaspoon each of fresh grated ginger and minced garlic directly into the sauce before simmering.
Let them infuse for at least five minutes before thickening the glaze.
Why did my sauce become gloopy or sticky when cooled?
Cornstarch thickened sauces often develop a thicker, gloopy texture as they cool, which is completely normal. To restore the smooth, pourable consistency, gently reheat the sauce on the stovetop over low heat. If it still seems too thick, whisk in a tablespoon of water or broth while heating it.
10 Minute Homemade Teriyaki Glaze
Ingredients:
Instructions:
Nutrition Facts:
| Calories | 35 calories |
|---|---|
| Fat | 0.1 g |
| Fiber | 0 g |
