Golden Kaiser Rolls: Fluffy and Flavorful Bread Rolls for Any Occasion
Rolling Back in Time: The Story of the Kaiser Roll
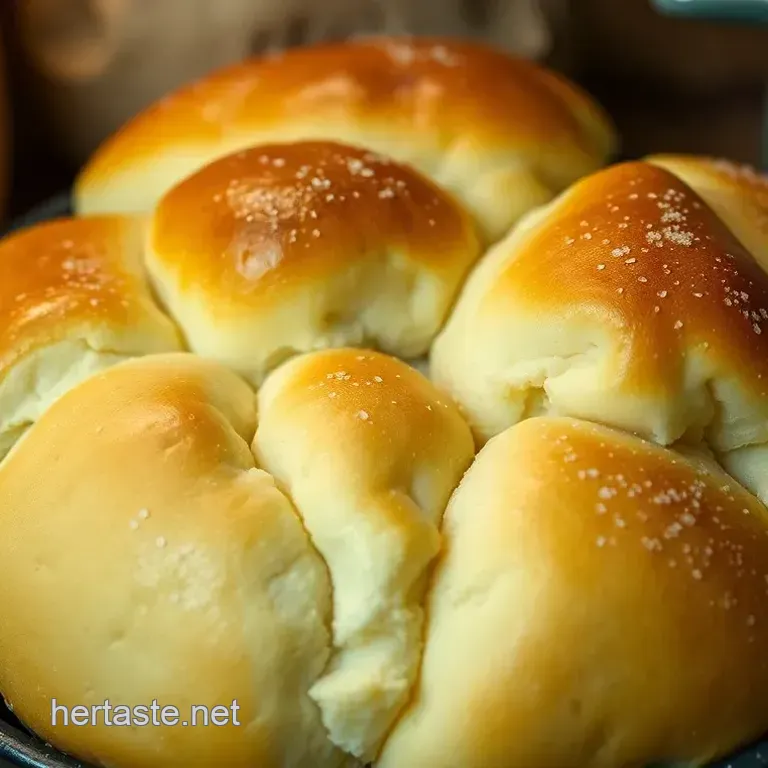
Have you ever taken a bite of a warm, freshly baked kaiser roll and just thought, “wow, this is the good stuff”? honestly, it’s one of my favorite moments in the kitchen.
There’s something about that fluffiness wrapped up in a crunchy crust that just hits different. this traditional kaiser roll has its roots in austria and is named after emperor franz joseph i.
These rolls became a staple in europe, but here in the good ol’ u.s., they’ve earned a special place, especially for sandwiches and brunches.
So, let’s take a stroll down the golden path of baking and discover why these soft dinner rolls are making waves at our dinner tables again.
A Little Bit of History, A Whole Lot of Yum
You might be wondering why we’re so obsessed with these crusty bread rolls . well, the kaiser roll has a rich history that dates back to the 18th century.
Imagine a baker in vienna, crafting these delightful rolls with a slightly sweet flavor and scoring the top to create that signature design.
Fast forward to today, and they’re a beloved choice for anyone wanting to elevate their sandwich game or impress guests at a gathering.
Making kaiser rolls is not rocket science, but it does take a little bit of warmth and patience, much like baking bread in general.
You’re looking at about 2 hours total 20 minutes of cooking, 1 hour of resting, and you can devour them right out of the oven.
The beauty is that they yield 12 rolls , perfect for a crowd or just for you to enjoy all week.
And trust me, making homemade bread rolls ? it's a game changer.
Why Kaiser Rolls Are the GOAT of Bread
Now, let’s talk about key benefits . first off, these rolls are quite nutritious. packed with carbs for energy and, if you go wild with toppings, you can snag some vitamins and minerals too.
If you’re watching your waistline (hello, holiday season prep), kaiser rolls are still a versatile option. want to go whole grain? whole wheat kaiser rolls are totally a thing.
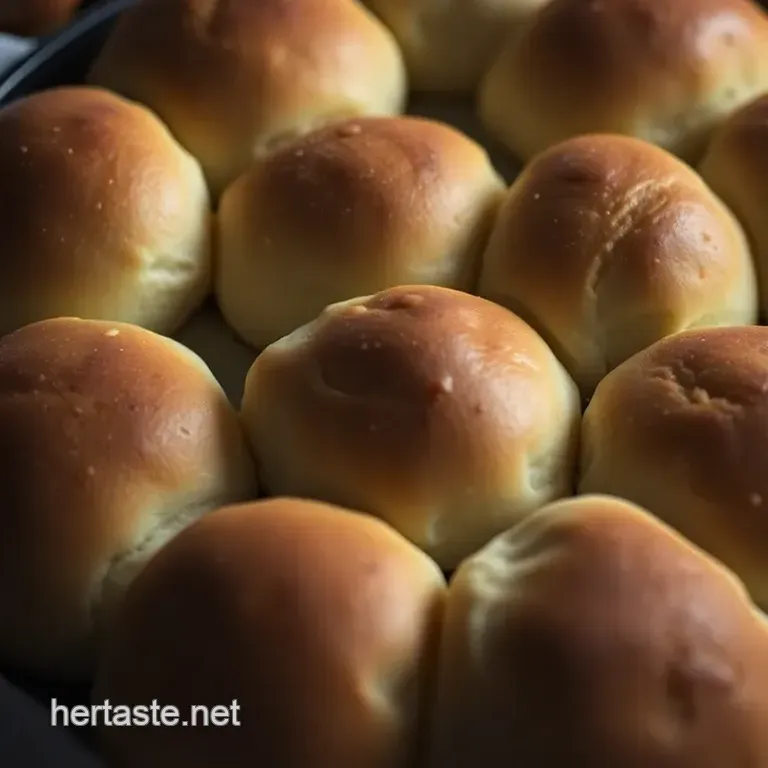
These rolls are stunning for special occasions too think brunches, picnics, or even holiday dinners. just imagine pulling a tray of golden brown kaiser rolls out of the oven and everyone gathering around to snag one while still warm.
You could even whip up cheese infused rolls or sprinkle some poppy seeds on top! not to mention that a good soft kaiser roll can be the perfect side to soups or stews ugh, i’m drooling just thinking about it .
Plus, they outperform a lot of other rolls out there. i mean, we've seen our fair share of dinner roll variations , but there’s something so satisfying about sinking your teeth into a fluffy, scored bread roll that’s been lovingly baked by you.
Ready to Roll? Let’s Get to Those Ingredients!
So, now that you’re on board with why you need to bake these rolls, let’s chat about what you’ll need.
Grab your bread baking equipment you know, your mixing bowl, baking sheet, and maybe that trusty whisk. with just a few simple ingredients like all-purpose flour, sugar, yeast, and warm water, you’re on your way to creating the ultimate flavorful bread rolls .
And don’t stress if you’re a novice at bread making, these rolls are totally forgiving. with some solid dough rising techniques and a little gumption, you’ll be baking like a pro in no time.
Stick around because up next, we’re diving into the ingredients, and you don’t want to miss out on how to craft these beauties from scratch!
Essential Ingredients Guide for Baking Fluffy Kaiser Rolls
So you want to whip up some golden kaiser rolls ? you’re in for a treat! let's dive into the must have ingredients and tools you'll need to make these fluffy and flavorful bread rolls that are perfect for any occasion.
Whether you’re an experienced baker or a novice just starting with bread making, i’m here to guide you through all the essentials.
Premium Core Components
Baking kaiser rolls starts with quality ingredients. Here’s what you’ll need:
Flour: Use 4 cups (480 g) of all-purpose flour. This is the backbone of any crusty bread recipe . Always look for high protein flour it gives you that beautiful lift!
Water: You want 1 ½ cups (360 ml) of warm water, about 110° F ( 43° C) . Check with a thermometer for precise temp; this activates the yeast.
Yeast: Go for 2 ¼ teaspoons (1 packet) of active dry yeast. You can always use instant yeast, which skips the activation step.
Sugar: A bit of sweetness from 2 tablespoons (25 g) of granulated sugar makes a big difference. It feeds the yeast and gives a subtle sweet touch to the rolls.
Salt and Oil: Use 2 teaspoons (10 g) of salt and 2 tablespoons (30 ml) of vegetable oil or melted unsalted butter. They enhance flavor and texture.
Storage Tips: Keep your flour in a cool, dry place to avoid pests. Yeast can be stored in the freezer just make sure it’s sealed tight!
Signature Seasoning Blend
Now, let’s talk about flavor. The magic happens with these essential spices and herbs:
Classic Combinations: A pinch of garlic powder and a dash of onion powder can take your kaiser rolls from good to mouth watering.
Herb Selections: Consider adding dried oregano or thyme to the dough for that artisan feel.
Flavor Enhancers: Olive oil adds richness, and if you’re feeling fancy, a sprinkle of coarse sea salt on top gives a lovely crunch.
If you really want to impress, don’t skip the poppy seed topping !
Smart Substitutions
Every baker has been there - running out of an ingredient and scrambling for a quick fix:
Flour Substitute: Need a different option? You could use whole wheat flour for a different texture.
Milk Alternatives: If you're vegan or dairy-free, almond or oat milk will work wonders.
Emergency Replacements: If you run out of yeast mix 2 teaspoons of baking powder for light rolls. It won’t be quite the same, but it'll do in a pinch.
Kitchen Equipment Essentials
You don’t need a bakery setup to create these rolls; just grab some simple tools:
Mixing bowls: Large enough to handle your dough, like an old-school one that’s seen some action!
Baking sheet: Make it lined with parchment paper for easy cleanup. Trust me, nobody enjoys scrubbing burned dough.
Sharp Knife or Lame: Scoring the rolls is key for a lovely presentation.
Towel or Plastic Wrap: This helps with rising, keeping your dough cozy.
Benefits of This Recipe
With these easy bread dough recipes , you’ll be turning out perfect dinner rolls in no time! plus, the smell of baking bread at home is like a warm hug for your soul.
Whether you’re crafting dinner roll variations for a party or whipping up herb flavored bread for a cozy family meal, these rolls have your back.
Trying to impress someone? Serve these savory kaiser rolls alongside a big bowl of chili or stuffed with deli meats for gourmet sandwiches.
Ready to dive into the instructions? Let’s get to baking those awesome kaiser rolls!
Professional Cooking Method for Fluffy Kaiser Rolls
If you've ever bitten into a traditional kaiser roll , you know it's a moment! named after the austrian emperor, they’re fluffy on the inside and crusty on the outside.
Plus, they are perfect for sandwiches or simply with butter. honestly, they’re almost like a hug for your taste buds! let’s dive into the art of making these rolls so you can wow your friends and family too.
Essential Preparation Steps
Mise en place is where the magic begins. that fancy french term just means getting everything ready before you start cooking.
Measure out your 4 cups of all-purpose flour and make sure your ingredients are at the right temperature. this makes everything so much smoother.
Time management is key, too. plan on about 2 hours from start to finish. you need roughly 1 hour 40 minutes for rising and 20 minutes for baking .
Set your timers trust me, timing precision helps avoid overthinking.
Organization is also a game changer! Keep your countertop clutter free. Lay out all your ingredients and tools beforehand. No one wants a kitchen hunt mid-recipe!
And don't forget safety. Focus while using sharp knives for scoring! That’s how you get those stunning patterns on the rolls.
Step-by-step Process
Okay, let’s get into the nitty gritty. Here’s your step-by-step guide :
Activate yeast : mix 1 ½ cups of warm water (aim for about 110° f ) and 2 tablespoons of sugar with 2 ¼ teaspoons of active dry yeast .
Let it sit for 5- 10 minutes until it’s all frothy. yum!
Make dough : whisk your flour and 2 teaspoons of salt in a bowl. create a well in the center.
Pour in your yeast mixture with 2 tablespoons of vegetable oil . stir until a rough dough forms.
Knead Dough : Dust your surface, turn out the dough, and knead for about 8- 10 minutes . You want it smooth and elastic. This is a workout for your arms!
First Rise : Pop the dough into a greased bowl, cover it, and let it rise in a warm spot for about 1 hour or until doubled.
Shape Rolls : After the first rise, punch it down (take out your frustrations!), divide into 12 pieces , and shape those puppies into tight balls.
Second Rise : Place them on a parchment lined sheet, cover them, and let them rise again for 30- 40 minutes . Look for puffy perfection!
Preheat Oven : While they’re puffing up, crank your oven up to 375° F .
Score Rolls : Use a sharp knife to score a cross or fluted pattern on top. Brush with milk and sprinkle seeds if you’re feeling fancy.
Bake Rolls : Bake for 15- 20 minutes . They should be golden and sound hollow when tapped underneath. That’s when you know they’re done!
Cool and Serve : Transfer them to a wire rack to cool. Trust me, it’ll be hard to resist diving in.
Expert Techniques
Here’s where things can get tricky, so listen up! constantly check your dough. use visual cues for doneness they should look golden and beautiful.
If they crack, breathe! it’s just the bread gaining its character.
Keep an eye on temperature during baking. If they’re browning too fast, lower your oven slightly. And if your rolls come out dense, maybe your yeast wasn’t active enough.
Success Strategies
Let’s avoid those rookie mistakes. First off, don’t skip the kneading —it’s crucial for texture. Also, ensure water is warm but not hot. 110° F is perfect for activating yeast.
If you want to prep ahead, bake these beauties the day before! They are perfect for brunch or as side dishes. Just warm them up before serving for that fresh baked effect.
Baking your own kaiser rolls is a rewarding adventure. think about the warmth of fresh bread filling your kitchen and the smiles around the table! there’s nothing quite like those fluffy dinner rolls that just beg for a hearty filling or a lovely spread.
So, what’s next? Well, if you want to dive even deeper into the world of homemade bread, stick around for some Additional Information on tips, variations, and maybe a few fun stories about bread making along the way! 🥖
Extra Recipe Goodies: Your Go-To Guide for Kaiser Rolls
Hey there, fellow bread lovers! let’s dive into the world of kaiser rolls those fluffy little champions that can take your meals from zero to a hundred in no time.
Whether you're dreaming of a classic hearty sandwich or a sidekick for your soup, these rolls are a must try. and of course, i've got some insider tips, storage hacks, and creative variations that’ll bump up your baking game.
Let’s break it down!
Pro Tips & Secrets
First off, let’s talk about those chef's insights . when you’re baking kaiser rolls , remember: the dough is your best friend.
If it’s not rising well, it might be too cold. shoot for a warm spot in your kitchen, or try using your oven on the lowest setting to create a cozy environment for that dough to rise.
Now, onto time saving techniques . you can prep the dough ahead of time! make your rolls the night before and let them rise slowly in the fridge.
The next day, just shape and bake. easy peasy!
For flavor enhancement , consider tossing in some herbs. a little dried rosemary or thyme can jazz up your rolls.
And don’t forget to score the tops this isn’t just for looks; it helps them bake evenly and gives that beautiful, rustic finish.
Presentation is key. brush the top with milk and sprinkle some poppy seeds before baking. trust me; it adds a gourmet touch.
A simple garnish of fresh herbs on the side can elevate your bread rolls to artisan status.
Perfect Presentation
Speaking of presentation, let’s dive into how to make those rolls Instagram worthy. Plating techniques are simple avoid crowding your rolls. Space them out on the plate so they can shine!
For garnish, think simple. fresh parsley or a sprinkle of flaky sea salt can go a long way. and color combos matter! golden brown rolls with a traditional herbed olive oil dipping sauce look incredible together.
Now, let’s not forget about visual appeal tips . Consider serving your rolls in a cute basket lined with a nice cloth. It’s all about the vibe, you know?
Storage & make-ahead
Now, if you’ve baked a dozen rolls and thinking, “where am i gonna put all these?” i got you! for storage , let them cool completely and stash them in an airtight container.
They will stay fresh for about 3 days on the counter or up to a week in the fridge.
For preservation methods , consider freezing them. just pop them in a freezer bag to keep them fresh for up to 3 months.
When you're ready to devour, let them thaw at room temperature and warm them in the oven for that fresh out-of-the-oven experience!
Reheating is simple too. Preheat your oven to 350° F and bake for about 5- 10 minutes. They’ll taste like they just came out of the oven!
Creative Variations
Oh, the fun part! time to get creative with your kaiser rolls. you can play with flavor adaptations by mixing in cheese hello, cheese infused rolls! or try making whole wheat kaiser rolls for a healthier spin.
And if you’re feeling adventurous, seasonal twists like pumpkin spice for fall or herb flavored bread for spring can impress your friends and family.
Don’t be afraid to mix in flavors that reflect your regional variations . Got some jalapeño cheddar? Toss it in! Have garlic powder sitting around? Go for it! Your kitchen, your rules.
Complete Nutrition Guide
It’s time to talk about that nutrition . each roll roughly packs in about 150 calories, which is pretty decent when you think about that warm, fluffy goodness! they bring a little protein kick, too.
But keep in mind the dietary considerations if you have gluten sensitivities, this might not be your jam.
When it comes to portion guidance , I usually suggest one roll per person, but let’s be honest sometimes two or three just slip right into the meal!
Wrapping Up with Encouragement
So, whether you’re whipping up some fluffy bread recipes for a gathering, brunching with friends, or just enjoying them solo, these kaiser rolls will take your meals to the next level.
I hope you’ve got tons of new ideas swirling around, ready for your next baking adventure. remember, bread making is all about practice and having fun in the kitchen.
Look into in, experiment, and most importantly, enjoy that delicious reward at the end. happy baking!
Frequently Asked Questions
What is a kaiser roll and how is it different from other rolls?
A kaiser roll is a type of bread roll known for its crusty exterior and soft fluffy interior, traditionally topped with a distinctive pattern. Unlike soft bread rolls, kaiser rolls have a thicker crust due to the baking process and are often used for sandwiches or served with meals, making them versatile and flavorful.
How do I make the perfect kaiser roll?
To achieve the perfect kaiser roll, ensure your yeast is activated properly, use warm water at about 110°F (43°C). Knead the dough well to develop gluten, which gives the rolls their structure.
Scoring the tops before baking also contributes to their iconic appearance and helps them expand properly during baking.
Can I make kaiser rolls in advance and freeze them?
Yes, kaiser rolls can be made in advance and frozen. After baking, allow them to cool completely before wrapping each roll tightly in plastic wrap and placing them in an airtight container or freezer bag. They can be frozen for up to three months. Simply thaw at room temperature and reheat before serving.
What are some delicious variations I can try with kaiser rolls?
You can easily customize your kaiser rolls by adding ingredients like shredded cheese or dried herbs to the dough for extra flavor. For a fun twist, try making herb infused rolls or using whole wheat flour for a healthier option. You can also sprinkle poppy or sesame seeds on top for added texture and taste.
How should I store leftover kaiser rolls?
To store leftover kaiser rolls, keep them in an airtight container at room temperature for up to two days or refrigerate for up to a week. For longer storage, freeze them as mentioned earlier. To refresh the texture, simply warm them in the oven for a few minutes before serving.
What nutritional considerations should I be aware of when making kaiser rolls?
Kaiser rolls are relatively low in fat but are high in carbohydrates, so if you're watching your carb intake, consider modifications such as using whole wheat flour. Each roll contains about 150 calories, with a good amount of protein.
You can further adjust nutrition by incorporating ingredients like seeds or herbs for added benefits.
Golden Kaiser Rolls Fluffy And Flavorful Bread R