Churned Ice Cream Delight: Chocolate & Strawberry
- Let’s Scoop Some Joy with Churned Ice Cream Delight: Chocolate & Strawberry
- Essential Ingredients Guide for Your Churned Ice Cream Delight
- Mastering the Art of Professional Cooking: The Essentials for Home Chefs
- Pro Tips & Secrets for Churned Ice Cream Delight: Chocolate & Strawberry
- Perfect Presentation of Your Churned Ice Cream Delight
- Storage & Make-Ahead Tips
- Creative Variations You Can Try
- Complete Nutrition Guide
- Expert FAQ Solutions
- Wrapping It All Up
- 📝 Recipe Card
Let’s Scoop Some Joy with Churned Ice Cream Delight: Chocolate & Strawberry
Oh my gosh, can we just talk about the magical feeling of summer? it’s that bittersweet time when the sun shines just right, and all you can think about is something cool and creamy to beat the heat.
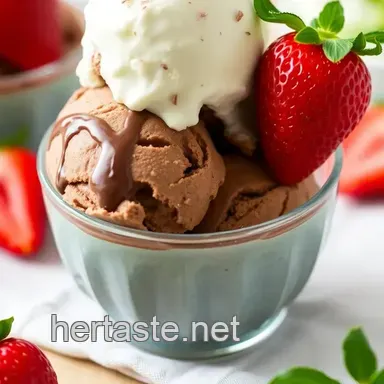
Picture this: you’re lounging on your porch, soaking in the warmth while holding a cone of churned ice cream delight: chocolate & strawberry .
Sounds perfect, right? the blend of rich chocolate and vibrant strawberry brings back all the good vibes. seriously, who doesn’t love a classic flavors dessert that celebrates the best fruits and chocolates together?
This isn’t just any dessert, folks. homemade ice cream has a rich history, tracing back to the early days of ice harvesting and sweet cream in america.
The tradition of making chocolate strawberry ice cream has traveled through generations, and here we are today, still falling in love with those creamy treat recipes on our back porches.
It's no wonder this dessert perks up summer picnics or family reunions it’s a total crowd pleaser!
So, how easy is it to whip up? honestly, it’s medium in the difficulty level. you’ll need to tackle some egg tempering techniques, but don’t sweat it! with just a little patience and practice, you’ll be a pro.
Prep time will take roughly 20 minutes , then let it chill for an hour before you start making your frozen masterpiece.
When you’re all said and done, you’ll yield about 4-6 servings perfect for sharing (or not)!
Now, let’s dive into the perks of this delicious creation. first off, it’s packed with health benefits! strawberries bring all those luscious vitamins, while the creamy base gives you that gratifying feel good factor.
Plus, who can resist that chocolate and strawberry pairing ? it’s divine , i tell you! perfect for those summer get-togethers or even a quiet night in, this recipe is for everyone family-friendly and oh-so-refreshing.
But wait, there’s more! let’s talk numbers. the cost is surprisingly low given the yield. just a few bucks for some heavy cream, sugar, and berries, and you’re golden.
And when you consider how much delight you get from a scoop (or two), it’s a win-win if you ask me!
Ready for the best part? making your ice cream means you can customize it! want it extra chocolatey? throw in some more cocoa.
Feel like a swirl of strawberries? you got it! the ice cream machine instructions are easy to follow, and you’ll feel like a total rockstar tossing in all those flavors! from easy ice cream recipes to rich chocolate varieties, there are endless possibilities to make this dessert your own.
So, are you drooling yet? is your mind buzzing with strawberry dessert ideas ? let’s get to the fun part: the ingredients! it’s time to roll up our sleeves, grab the best chocolate for ice cream , and embark on this sweet journey.
You’ll be left with creamy homemade treats that warm hearts and fill bellies. trust me; your friends will be begging for your ice cream baking tips after they taste this delight!
Let’s get to those ingredients, shall we?
Essential Ingredients Guide for Your Churned Ice Cream Delight
When diving into the world of homemade ice cream , it’s all about the ingredients. these essentials set the stage for creating that dreamy, creamy concoction everyone loves, especially in those hot summer months.
Let’s break down the must have components for our churned ice cream delight: chocolate & strawberry .
Premium Core Components
Quality matters , folks! Using the right ingredients can make or break your icy treat. Here’s a brief rundown:
- Heavy Cream - Aim for 2 cups (480 ml) . This gives you that rich and creamy texture we crave. You want to look for the highest fat content, like at least 36%.
- Whole Milk – Use 1 cup (240 ml) . Go for whole milk over skim trust me, it’s worth it!
- Granulated Sugar – Grab 3/4 cup (150 g) for that perfect sweetness.
- Unsweetened Cocoa Powder – That’s 3/4 cup (65 g) of indulgence, adding the rich chocolate depth.
- Chocolate Syrup – 1/2 cup (120 ml) for an ultra chocolatey kick.
- Dark Chocolate (optional) Toss in 1/2 cup (120 g) , finely chopped, for extra richness. The best chocolate for ice cream should have at least 70% cocoa for that gourmet touch.
Storage tips: Keep your dairy products in the back of the fridge for the coldest temperatures. They typically last about 5-7 days past the sell-by date, but always trust your nose!
Freshness is key inspect that cream for any signs of curdling. and be sure to grab fresh strawberries for your strawberry swirl recipe ; look for berries that are bright red with no mushy spots.
Signature Seasoning Blend
Okay, let’s talk seasoning. Your ice cream may not exactly scream “seasoning,” but the right flavors elevate it!
- Vanilla Extract - A must have for that deep flavor, you only need 1 teaspoon (5 ml) .
- Lemon Juice – Just a hint ( 1 teaspoon (5 ml) ) in your strawberry mix brightens the dessert beautifully.
Play around! For a twist, you might try infusing your base with some fresh mint or a hint of espresso.
Smart Substitutions
We all forget something at the grocery store or run out of an ingredient. No sweat! Here are some smart swaps:
- No heavy cream? You can mix whole milk with a bit of butter for richness.
- Hankering for strawberry flavor but out of fresh berries? Use frozen strawberries , or make a no-churn strawberry ice cream using jam.
- Watching sugar? Try maple syrup instead of granulated sugar.
The key here is to stay flexible. You can always improvise with what's in the pantry.
Kitchen Equipment Essentials
Now, onto the tools of the trade! You don’t need to buy fancy gadgets, but a few essentials will go a long way.
- Ice Cream Maker - This is your golden ticket to creamy goodness. You’ll be churning away in no time.
- Medium Saucepan - Perfect for heating your base.
- Whisk and Mixing Bowls - Can’t do without these babies.
- Fine Mesh Sieve or Blender - This helps you get that silky smooth strawberry puree or keeps it chunky, depending on your vibe.
- Spatula - Great for folding and stirring without a mess.
Ready to Create?
Once you’ve gathered your premium ingredients and tools, you’re all set to dive into our flavorful churned ice cream delight: chocolate & strawberry ! it’s time to make those rich and creamy desserts that everyone will adore.
Keep your ice cream machine instructions handy, and let’s whip up some magic that’ll leave you and your loved ones wanting more.
Get ready to impress them with your easy ice cream recipes !
It’s gonna be a delicious ride, and I can't wait to show you how to get there!
Mastering the Art of Professional Cooking: The Essentials for Home Chefs
Let’s be real: cooking can feel like a maze sometimes. but hey, whether you're whipping up a weeknight dinner or making a churned ice cream delight: chocolate & strawberry to cool off in the summer, there are some pro tips that can make things a lot easier.
So, grab that apron because we're diving into some essential preparation steps that every home cook should know!
Essential Preparation Steps
Mise en place is the first step to culinary success. it means having everything in its place before you start cooking.
You want your ingredients pre-measured, chopped, and ready to go. this not only saves you time but also makes the cooking process way less chaotic.
Imagine trying to bake a cake while searching for flour no thank you!
Time management is another biggie. trust me, you’ll feel like a superhero if you can juggle your cooking time well.
Set timers on your phone or oven to keep track of what's cooking. while your chocolate ice cream base is chilling, you can use those precious moments to mix up that fresh strawberry swirl.
Who doesn’t love multitasking?
Next up: organization. keep your workspace tidy. it’s not just about looking good; it makes things safer and way more efficient.
Remember, a cluttered counter can lead to cluttered minds and we don’t want that chaos while making delicious homemade ice cream!
Lastly, don’t forget safety considerations . always use oven mitts, and keep a fire extinguisher nearby (just in case)! cooking is fun, but we want to keep it safe, especially when you’re working with heat or sharp knives.
Step-by-step Process
Alright, time to get into the nitty gritty with some clear step-by-step instructions . Let’s take our Churned Ice Cream Delight: Chocolate & Strawberry , for example.
Prepare the chocolate base: combine 2 cups (480 ml) of heavy cream, 1 cup (240 ml) of whole milk, 3/4 cup (150 g) of granulated sugar, and 3/4 cup (65 g) of cocoa powder in a medium saucepan over medium heat.
You want it steaming but not boiling. stir it till it looks heavenly!
Chill Your Mixture: Let your chocolate base cool for about 1 hour in the fridge. Super important! If you skip this, your ice cream won’t churn right!
Make the swirl: while your base is cooling, toss 1 cup (150 g) of fresh strawberries with 1/4 cup (50 g) of sugar and 1 teaspoon (5 ml) of lemon juice in a bowl.
Let it sit for 15- 20 minutes to create that luscious syrupy goodness.
Churn Away: Pour the chilled chocolate base into your ice cream maker and churn it for about 30 minutes , or until it reaches a soft serve consistency.
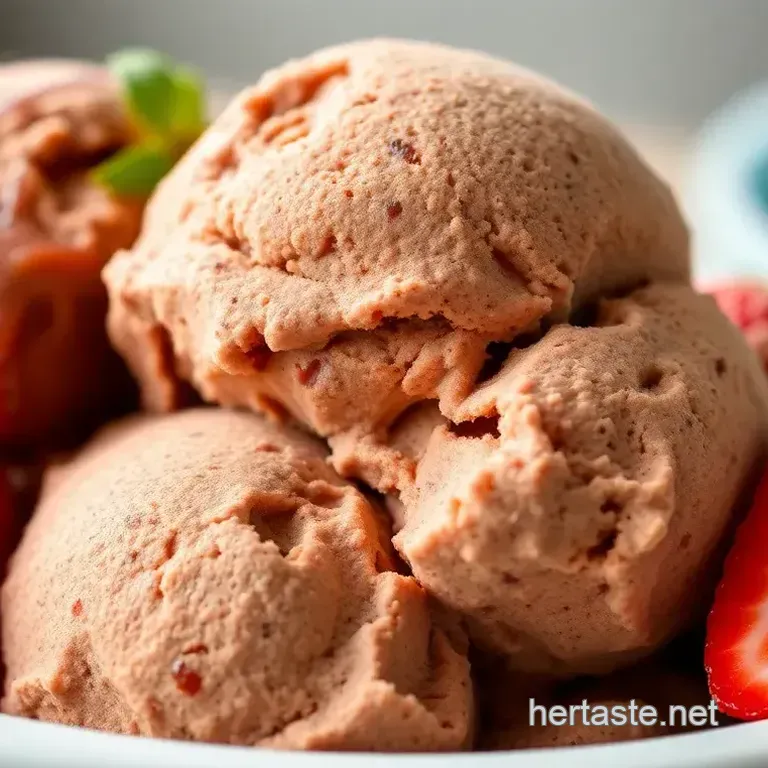
Swirl It Up: Layer your churned chocolate ice cream and strawberry mixture in a container, gently folding them together. The key is to make those beautiful swirls!
Freeze: Finally, pop that delightful creation in the freezer for at least 4 hours . Patience, my friend!
Expert Techniques
Now, let’s sprinkle in some expert tips to elevate your game even more!
First things first: always use high-quality chocolate for a rich flavor. You deserve the best chocolate for your ice cream, right?
Also, pay attention to your timing precision . Over churning can turn ice cream into a frosty disaster. Aim for that perfect creamy texture, and let your taste buds guide you!
Create quality checkpoints during the process. before mixing flavors together, taste test. is it good? if you want to amp up that chocolate flavor, don’t hesitate to add a bit more cocoa.
Get creative!
Success Strategies
As important as knowing what to do, it’s crucial to know what not to do ! for instance, avoid eyeing the measurements precision matters.
A wrong scoop here or there can ruin all that hard work, especially when making creamy desserts.
Keep a mental checklist or notes for quality assurance tips . every time you churn, jot down what worked and what didn’t.
Want to avoid icy ice cream? make sure your base is well chilled before churning, and aim to serve it fresh!
If you want to get ahead of the game, consider make-ahead options . prepare that chocolate base or strawberry swirl the night before.
You’ll be all set for a last minute dessert that’ll wow your guests!
Final Thoughts
Cooking can be a bit of a rollercoaster ride, but with these strategies in mind, you're well on your way to mastering your kitchen.
The journey is just as delicious as the destination, especially when you dive into that decadent churned ice cream delight: chocolate & strawberry at the end.
Just remember, cooking is all about having fun, experimenting, and sometimes making a mess.
Stick around for some additional information and inspiration on all things ice cream, and let’s continue this adventure together!
Pro Tips & Secrets for Churned Ice Cream Delight: Chocolate & Strawberry
Oh my gosh, making your own homemade ice cream is such a game changer! with this churned ice cream delight: chocolate & strawberry , you’ll discover that it’s not just about the flavors; it’s a whole experience.
Here are some of my favorite pro tips and secrets to take your churned ice cream game to the next level.
Chef's Personal Insights
First off, don’t rush it! tempering eggs might sound fancy, but it’s just about taking your time. warm those eggs slowly so they don't scramble.
And trust me, using the best chocolate for ice cream really makes a difference. it’s like night and day! go for that rich, intense chocolate when making your rich chocolate ice cream base.
Time Saving Techniques
Got a tight schedule? no problem! you can whip up the chocolate base in advance and let it chill overnight.
Just make sure to let it warm a bit before churning. it’ll save you so much time on a hot summer day when friends drop by for a quick dessert.
Flavor Enhancement Tips
Wanna kick up the flavor? add a pinch of salt! it enhances both the chocolate and strawberry flavors. plus, a splash of vanilla extract in both layers really ties everything together.
And if you’re feeling adventurous, toss in some mint to balance that rich chocolate with a refreshing aftertaste.
Presentation Advice
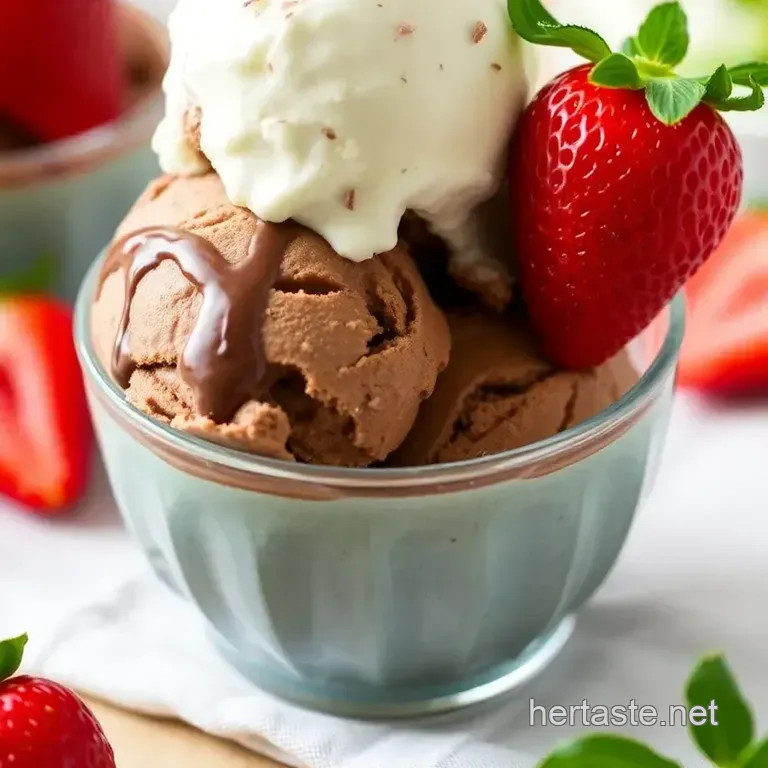
Let's talk presentation! after you’ve created your delicious swirl of chocolate and strawberry, take a moment to make it look pretty.
Layer the ice cream in a sleek bowl or cone. a little garnish with fresh mint leaves or a drizzle of chocolate syrup can really elevate your creation.
Instagram would love it!
Perfect Presentation of Your Churned Ice Cream Delight
Let’s face it, we eat with our eyes first. that’s why i’m super into plating techniques . a perfect scoop of your chocolate strawberry ice cream can shine when you serve it right.
Color Combinations
Mixing those rich, dark tones of the chocolate with the vibrant red of the strawberries creates an eye-catching dessert. you could sprinkle some crushed nuts on top for a crunch factor.
Trust me, your guests will be asking for seconds just from how beautiful it looks!
Visual Appeal Tips
Always work in odd numbers when you’re garnishing. three chocolate shavings here, two strawberries there - it brings balance and draws the eye in.
And if you really want to level up your game, use a shiny, dark bowl to create a dramatic contrast against the creamy ice cream.
Storage & make-ahead Tips
Alright, let’s face it, even the best of us have ice cream that melts faster than we can eat it. Storage guidelines are super important here.
Preservation Methods
Keep your churned ice cream delight in an airtight container. avoid air bubbles, or your creamy homemade treats will turn into icy rocks.
Use plastic wrap inside the container before sealing it to keep things fresh longer.
Reheating Instructions
Not really applicable for ice cream, but a quick tip: if it’s too hard when you pull it out, leave it at room temperature for about 5- 10 minutes before trying to scoop.
No one likes a workout just to get ice cream!
Creative Variations You Can Try
The beauty of this recipe? You can totally make it your own. If you’re craving a twist, here are some creative variations to consider.
Seasonal Twists
In the fall, how about a pumpkin chocolate ice cream ? just swap in pumpkin puree and spices instead of strawberries! you can also get fruity and try a fresh fruit ice cream with whatever’s in season.
Dietary Modifications
Need to go dairy-free? use almond milk and coconut cream instead. it’ll still be rich and creamy, just in a different way.
And if you're watching your sugar intake, try a no-churn strawberry ice cream with some natural sweeteners like honey or stevia.
Complete Nutrition Guide
I know, I know, desserts are indulgent, but you can totally enjoy them guilt free.
Detailed Breakdown
This splendid Churned Ice Cream Delight typically clocks in around 350 calories per serving. Packed with flavors and, let’s be real, if you're using fresh strawberries, you're adding a bit of goodness in there too!
Health Benefits
Strawberries are rich in vitamin C, and cocoa is full of antioxidants. So, you can enjoy this creamy dessert recipe knowing it’s got some perks.
Expert FAQ Solutions
You’ve got questions, and I’m here with answers!
Common Questions
“Can I make this without an ice cream maker?” Yes! You can totally try a no-churn strawberry ice cream . Just whip and freeze!
Troubleshooting Guide
If your ice cream doesn’t seem to set, your mix might have been too warm. Always chill, chill, chill!
Wrapping It All Up
Let me tell you, there’s nothing like a scoop of churned ice cream delight: chocolate & strawberry on a hot summer day.
It’s rich, it’s fruity, and it’s such a crowd pleaser! you’ve got this, even if you’re just starting out. look into in and enjoy the process of making these easy ice cream recipes right at home.
So, go ahead, gather your friends, and let the frozen treats for summer roll! You’ll never buy store-bought ice cream again. Happy churning!
Churned Ice Cream Delight Chocolate Strawberry