Chill Liquid Nitrogen Vanilla Ice Cream: My Go-To Recipe
- Your Ticket to a Cool Culinary Adventure
- A Quick Scoop of History
- Why This Ice Cream is a Total Game-Changer
- Your Guide to Flavor and Fun
- Essential Ingredients Guide
- Discover the Art of Professional Cooking
- Additional Recipe Information for Your Instant Creamy Delight: Liquid Nitrogen Vanilla Ice Cream
- Frequently Asked Questions
- 📝 Recipe Card
Your Ticket to a Cool Culinary Adventure
Oh my gosh, have you ever watched those cooking shows where chefs whip up liquid nitrogen ice cream in seconds, and it comes out looking all creamy and magical? it totally blew my mind the first time i saw it! the thought of making chill liquid nitrogen vanilla ice cream fast seemed wild, but i had to try it.
Spoiler alert: it was a blast! honestly, if you’ve ever wanted to impress your friends or throw a summer party, this is the dessert you want in your back pocket.
A Quick Scoop of History
Liquid nitrogen ice cream isn’t just a trendy dessert; it has roots in modern culinary techniques. this quick freezing magic, known as flash freezing , caught on in the food world because it locks in flavors and creates the creamiest textures.
The science behind it is radiant literally! when it comes to summer dessert ideas, nothing wipes out the heat quite like this icy treat.
Nowadays, homemade vanilla ice cream has become a popular choice, not just for hot days but for any occasion. it’s simple: just a few ingredients and a dash of creativity, and you’re in business.
What’s awesome is that this creamy ice cream recipe takes about 12 minutes, from start to finish. so, if you’re clock watching, you’ll be able to serve four valleys of pure delight without wearing yourself out.
Why This Ice Cream is a Total Game Changer
Let’s get down to it. what makes this liquid nitrogen vanilla ice cream special? first off, it’s super creamy . you get that smooth, velvety texture we all crave in ice cream.
Plus, it’s loaded with natural flavors think real vanilla bean, not the sketchy stuff that comes in a bottle. not only does it taste bomb, but you can whip it up in a flash.
And health wise, while we’re indulging in our sweet desires, this ice cream keeps things a bit lighter than store-bought versions packed with preservatives.
You control what goes into it! you can even make dairy-free ice cream options using coconut cream if that’s your vibe.
Stressed about spending too much? don’t sweat it! most of the ingredients won’t break the bank, and the yield is perfect for sharing or for satisfying that midnight craving.
This dreamy treat isn’t just for backyard barbecues either. it’s perfect for birthdays, date nights, or even a cozy movie marathon.
Seriously, when the weather gets hot, having a scoop of this on hand will make you feel like a total rock star.
Your Guide to Flavor and Fun
Okay, enough chit chat! let’s dive into the good stuff: how to make this magical creation at home! before i spill the beans on ingredients, think about how this could become your go-to instant ice cream recipe .
Just imagine: guests gather, and you break out your ice cream making equipment , and before they can say “sundae,” you serve up gourmet ice cream creations topped with whatever delightful toppings you can think of.
Chocolate sauce? yes, please! fresh berries? count me in!
Make sure to take a moment and grab your protective gear . safety is a must when you’re playing with liquid nitrogen.
Nobody wants a frostbite story to tell over dessert, right? plus, a little preparation will help get that dreamy ice cream texture just right.
Ready for the list of ingredients? Let’s make some ice cream!
Essential Ingredients Guide
Are you ready to elevate your culinary game? Let’s dig into the essentials you need for crafting some epic ice cream, especially if you're trying to whip up that Chill Liquid Nitrogen Vanilla Ice Cream Fast !
Premium Core Components
Firstly, knowing your ingredients is crucial. Here’s what you need and how to pick each one.
Heavy Cream: 2 cups (480 ml) – Look for a cream with at least 36% fat. You want thick and luscious ice cream!
Whole Milk: 1 cup (240 ml) – This adds creaminess and blendability.
Granulated Sugar: 3/4 cup (150 g) – The sweetness factor! Always choose pure cane sugar; it melts beautifully.
Pure Vanilla Extract: 1 tablespoon – Trust me, skip the imitation stuff. Real vanilla adds magic.
Vanilla Bean Paste: 1 teaspoon (optional) More flavor, more fun!
For storage, keep your heavy cream and milk in the fridge. sugar? it just sits happily in your pantry until you need it.
Generally, heavy cream lasts about a week after the sell-by date if stored properly, so check those quality indicators!
Signature Seasoning Blend
Now onto flavor enhancements! Think of spices like the unsung heroes of your recipes. Here are some essential combos and pairings:
Essential Spice Combinations: Consider a pinch of sea salt to amplify sweetness and balance flavors.
Herbs and Aromatics: Fresh mint or a sprinkle of cinnamon can add a unique twist!
Remember that ice cream isn’t just about the base feel free to get creative. Add some crushed cookies or a swirl of fudge for a personal touch.
Smart Substitutions
Every cook has been there you’re mid-recipe, and oops! No heavy cream in sight. No biggie. Here’s how to navigate those kitchen hurdles:
Common Alternatives: Use half and-half if you’re in a pinch. It’s not as rich, but your ice cream will still be tasty!
dairy-free Options: Go for coconut cream for a super creamy dairy-free ice cream that’s just as satisfying.
Emergency Replacements: No vanilla extract? Try almond extract or a favor like orange zest instead!
Seasonal Options: If you can, use seasonal fruits like peaches or berries to flavor the ice cream. Talk about fresh!
Kitchen Equipment Essentials
To make your homemade vanilla ice cream (or any homemade ice cream, really), you’ll need some basic tools.
Must Have Tools: A strong mixer, a mixing bowl, and of course, an ice cream scoop are essential for the job.
Alternative Equipment Options: If you don’t have a stand mixer, a trusty whisk and some elbow grease work just fine!
Preparation Tips: Chill your mixing bowl before you start. It helps keep the cream cold while you're mixing.
Storage Solutions: Once your ice cream is made, keep it in an airtight container in the freezer for optimal texture.
Getting the right equipment ensures you can execute those flash freezing techniques like a pro!
So there you have it! whether you’re whipping up your creamy ice cream recipe or experimenting with new flavor variations for ice cream , making sure you have the right ingredients and tools is crucial .
And hey, if you're feeling extra adventurous, there's nothing like a chilling liquid nitrogen adventure in your kitchen.
Now that we've laid the groundwork, let’s dive into the fun part: making that Instant Creamy Delight: Liquid Nitrogen Vanilla Ice Cream ! You're just moments away from indulging in a homemade treat that’ll impress your family and friends!
Discover the Art of Professional Cooking
Alright, friends! let’s dive into the delicious world of professional cooking methods. whether you’re a home chef hoping to impress or just want to whip up a lovely meal for your crew, these tips will make all the difference.
Seriously, mastering the basics is key, and today, we’re breaking it down step-by-step.
Essential Preparation Steps
Before you become the culinary wizard you aspire to be, you've got to nail down your mise en place . this french term just means having everything in its place.
Chop your veggies, measure your ingredients, and have your tools ready. when things are organized, cooking becomes a breeze!
Next up is time management . keep an eye on the clock. i can’t tell you how many times i’ve had food burning because i got distracted! set a timer for each step.
Trust me, it makes things smoother.
Now let’s talk safety considerations . if you’re using equipment or ingredients that can be hazardous like, oh i don’t know, liquid nitrogen make sure you’ve got on gloves and goggles.
It sounds intense, but you don’t want any accidents ruining your cooking vibes.
Step-by-step Process
Here’s how to create your mouthwatering masterpiece:
- Prepare Your Ingredients : Have everything prepped and ready to go.
- Set Up : Gather your cooking tools. No one likes running around looking for a spatula.
- Temperature Control : For this, keep an eye on those critical temperatures ! Most meats need to hit 165° F to be safe. Make sure your pans are hot enough so you get a sizzle when you add your food.
- Timing Precision : Timing is everything. Overcooked steak? No thanks! Stick to your cooking times and maybe a minute extra, just in case.
- Visual Cues for Doneness : Look for colors and textures. A piece of salmon should be a lovely pink inside when it’s done!
Expert Techniques
Now let’s delve into some pro techniques. one thing i swear by is knowing your quality checkpoints . taste as you go! a little pinch of salt can elevate your dish from average to gourmet status.
Got a stubborn sauce that's just not cooperating? Don’t fret! A splash of cream or a dash of vinegar can work magic. Talk about troubleshooting tips!
Success Strategies
Time to chat common mistakes! one biggie is not tasting your food. seriously, don’t skip this step. it’s the number one way to end up with bland grub.
Also, avoid overcrowding the pan; give each ingredient space to breathe and cook properly.
Ensure that you practice quality assurance . What does that mean? Simply keep an eye on texture and flavor. Baked a cake that turned out dense? Maybe it was overmixed at the start!
And listen, if you’re planning a get-together, consider make-ahead options ! Prepping a delicious meal earlier can take the stress off and allow you to enjoy time with your guests.
Now, let’s switch gears and get a little specific ever heard about chill liquid nitrogen vanilla ice cream fast ? sounds wild, right? this is where flash freezing techniques come into play.
You can transform a simple ice cream recipe into a show stopping dessert in mere minutes!
Instant Creamy Delight : with liquid nitrogen makes for the most awesome summer dessert ideas .
Wrapping it Up
So, there you have it! professional cooking methods made easy. if you keep these tips in your back pocket, you’ll find navigating the kitchen comes naturally.
Remember, cooking is about experimenting, and picking up new skills along the way. don't stress if things don’t turn out perfect the first time have fun with it!
Want to get to work on that ice cream? Keep reading; we’ll explore all the exciting ways to create dreamy creamy ice cream recipes next!
Additional Recipe Information for Your Instant Creamy Delight: Liquid Nitrogen Vanilla Ice Cream
Pro Tips & Secrets
Alright, let’s talk pro tips for making that liquid nitrogen vanilla ice cream like a champ! first off, chill your mixing bowl in the freezer before starting.
This little trick helps the mixture stay cold longer, making it easier to whip up that creamy ice cream texture we all love.
And speaking of whipping, don’t rush it ! pour the liquid nitrogen slowly while whisking to prevent splatters. it's like a dance smooth and steady wins the race! oh, and keep an eye on the consistency; as soon as it starts to thicken up, you want to stop adding nitrogen.
Too much nitrogen and you’ll get icy instead of creamy. trust me, i've been there!
If you want to kick the flavor up a notch, consider using vanilla bean paste and real vanilla beans. The flecks of bean make it look homemade and fancy.
Perfect Presentation
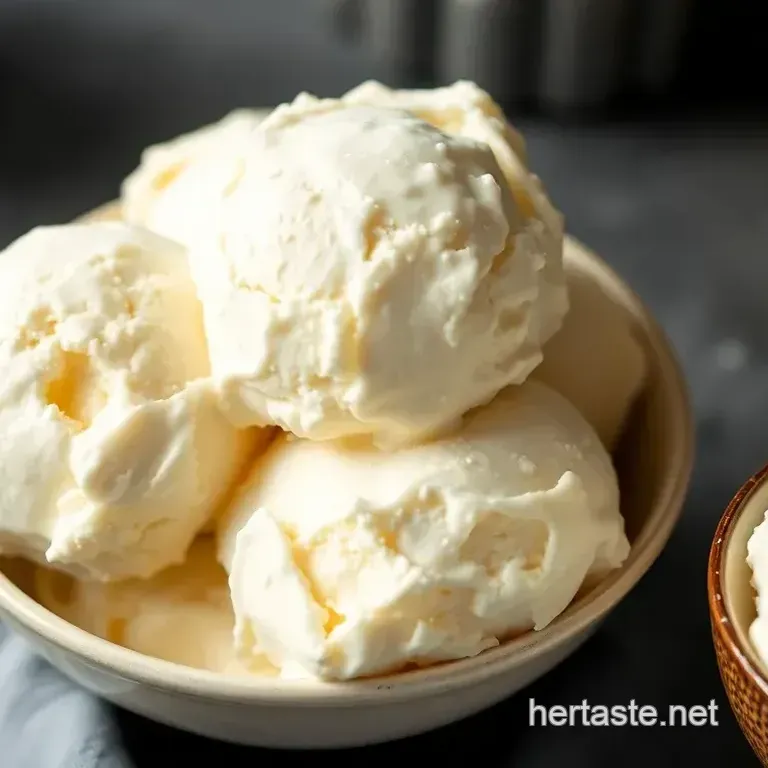
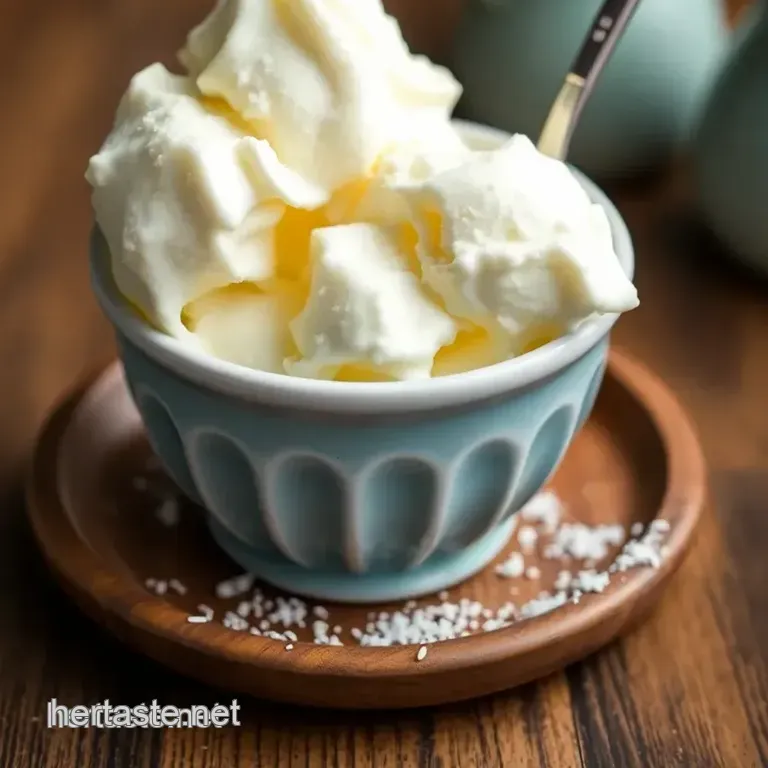
Now, let’s get down to the fun part plating ! it’s all about that eye appeal, right? you can serve your smooth, creamy ice cream in chilled bowls or waffle cones.
Layering is also a fun way to serve. get a scoop of vanilla, drizzle some chocolate sauce, then add another scoop on top.
It's all about those color combinations ! think vibrant toppings like fresh berries or sprinkles to contrast against the rich white of the ice cream.
Garnish with a sprig of mint for that pop of green. not only does it look fantastic, but it adds a fresh aroma too! presentation can turn a regular dessert into a gourmet ice cream creation .
Storage & make-ahead
So, what if you want to enjoy your delicious ice cream later? well, storing it isn't too tricky. place it in an airtight container.
It'll keep in the freezer for about 2 weeks , if you can resist that long!
Before serving after storage, let it sit out for a few minutes. this softens it a bit, making it easier to scoop.
If it’s too hard, you might need a jackhammer to get a scoop out! seriously, no one wants that.
Creative Variations
Feeling adventurous? let’s talk creative variations ! want to swap flavors? try adding cocoa powder for a chocolate version. or how about a fruity twist? substitute some milk with puree of fresh strawberries for a refreshing summer treat.
If you're looking for dietary modifications , going dairy-free? use coconut cream and almond milk instead of the regular ingredients.
Just be mindful of flavor; the coconut adds a unique taste. but hey, that can be a win in my book!
Complete Nutrition Guide
Here’s the lowdown on the nutrition for this ice cream. each serving packs about 300 calories . it’s got around 5 grams of protein, but fair warning on the sugar because it’s about 24 grams.
If you’re keeping an eye on that, maybe skip the toppings or use fresh fruit instead.
Just remember, treats are okay in moderation! It’s about balance after all.
Wrapping It Up
So there ya go! you’re all set to make your own liquid nitrogen vanilla ice cream fast! with just a few simple ingredients and some kitchen gadgets, you can impress your friends or just enjoy a decadent treat on a hot day.
Don't sweat it if things don’t come out perfect the first time; that’s part of the fun! experiment with flavors and techniques.
Maybe you’ll discover a flavor combo that knocks your socks off. just trust your instincts in the kitchen it's all about having fun while making those satisfying frozen desserts .
So, grab that liquid nitrogen and let the ice cream magic begin! enjoy!
Frequently Asked Questions
What precautions should I take when making Chill Liquid Nitrogen Vanilla Ice Cream Fast?
When handling liquid nitrogen, it’s crucial to wear safety goggles and insulated gloves to prevent frostbite or injury. Always work in a well ventilated area to minimize the risks associated with nitrogen vapors, and make sure to use stainless steel or plastic equipment, as glass can shatter.
Always pour slowly and in small amounts to control the freezing process safely.
Can I make Chill Liquid Nitrogen Vanilla Ice Cream Fast without a mixer?
While a stand or hand mixer simplifies the process, you can make it without one. Just whisk the ingredients together in a bowl and continually stir as you slowly add liquid nitrogen. It will require more muscle and attention, but it’s certainly possible to achieve a creamy texture!
How can I store leftover Chill Liquid Nitrogen Vanilla Ice Cream Fast?
If you have any leftover ice cream, transfer it to an airtight container and store it in the freezer. It’s best consumed within a week for the best texture and flavor, but it can last longer. When storing, be sure to press plastic wrap directly onto the surface to minimize ice crystal formation.
What are some variations for Chill Liquid Nitrogen Vanilla Ice Cream Fast?
You can easily customize this ice cream recipe based on your flavor preferences. Try adding 1/2 cup of cocoa powder for chocolate ice cream, or substitute milk with fresh strawberry puree for a fruity twist.
Other variations might include adding espresso powder for a coffee flavor or opting for dairy-free substitutes like coconut cream.
How does using liquid nitrogen affect the taste and texture of the ice cream?
Using liquid nitrogen creates an incredibly smooth and creamy texture due to the rapid freezing process, which prevents the formation of large ice crystals. This technique intensifies the flavors, allowing the rich vanilla bean essence to shine through in ways that traditional ice cream making methods may not achieve.
Is it safe for kids to help make Chill Liquid Nitrogen Vanilla Ice Cream Fast?
While kids can assist in some stages of the ice cream making process, they should not handle liquid nitrogen without adult supervision. It's essential to keep them at a safe distance while pouring the nitrogen and ensure they wear protective gear if they do come close.
Always explain safety measures clearly to avoid any accidents.
Chill Liquid Nitrogen Vanilla Ice Cream Fast

